ZS-RS70BT_E92 [GB] 4-15 (1)
4-15 (1)
P
Oper
©2013 Sony Corpor
ZS-RS70BT
*
and VOLUME +
have a tactile dot.
Illumination
T
has the following two
featur
Indication of function change
When switching t
center of the illumina
intensity to notify the user of a function
change.
function,
lit in blue.
Lighting effects f
Lighting effects (both sides of the illumina
are lit in r
the music sourc
or off as desired (See
function”).
Europe Only
Disposal of waste ba
(applicable in the Eur
Union and other Eur
countries with separ
collection syst
T
indicates tha
product shall not be tr
On certain batt
combination with a chemic
chemical symbols for mer
are added if the ba
0.
these batteries ar
help prevent pot
for the envir
could otherwise be caused b
waste handling of the batt
the materials will help to c
resour
In case of pr
or data integrity r
connection with an inc
battery should be replac
staff only
treat
end-of-life to the applic
the recycling of electric
equipment.
For all o
how to remove the ba
safely
collection point f
batteries.
For mor
this product or batt
Civic Office,
service or the shop where you pur
product.
Licenc
patents lic
T
trademark or tr
Corpor
countries.
certain intellectual pr
Use or distribution of this technology outside
of this product is pr
appropriat
by the Bluetoo
marks by Sony C
trademark of NFC F
Stat
Google Inc.
of their respective owners.
and
®
marks are no
F
Ar
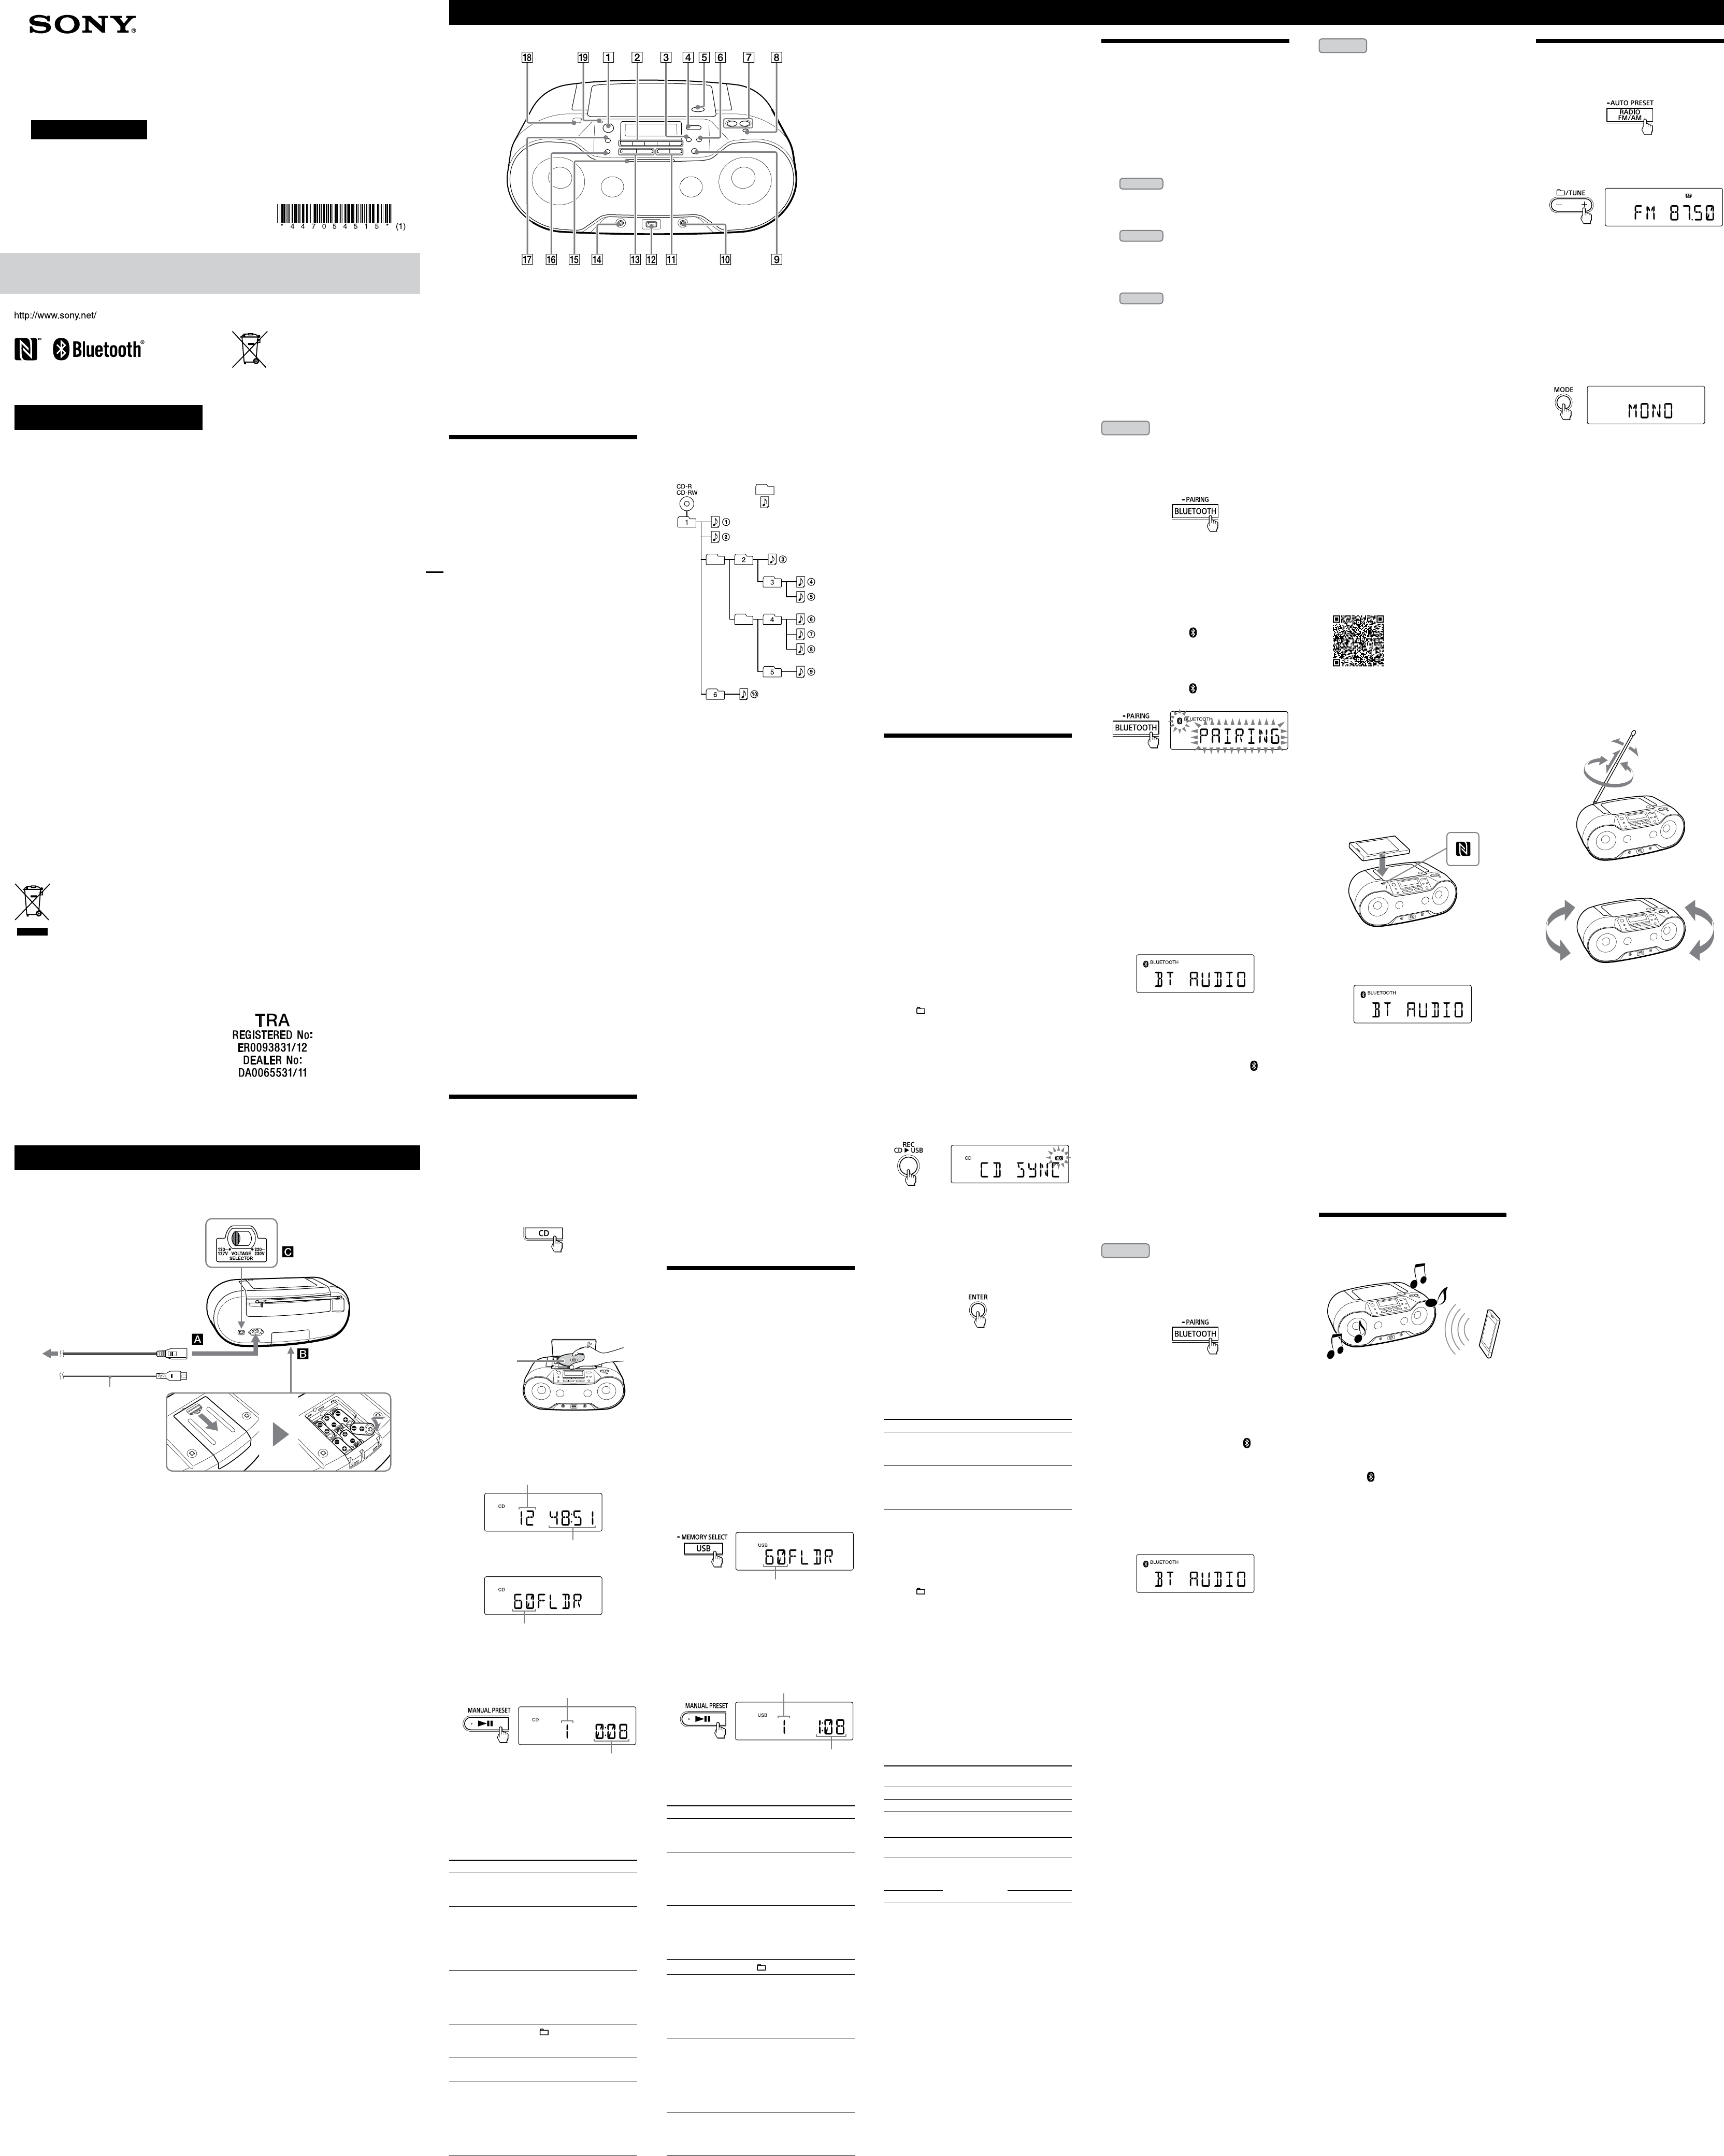
Basic Oper
Befor
T
Pr
.
on the power of this unit using the direct
power
In this manual,
using the direct power
T
Pr
,
,
,
AM
or AUDIO IN
while the unit is turned
off.
function selected
T
Pr
.
T
steps from 0 t
displayed.
T
Connect headphones t (headphones) jack
.
T
Pr
.
“MEGA BASS”
T
again.
T
demonstr
models only)
Since demonstr
the demonstra
following cases;
USB function.
established in the Bluetoo
“NO BT”
T
down MODE
until
on the display
Note
Demonstration mode does no
operating using ba
T
T
that synchroniz
default,
as desired
Hold down LIGHT SYNC
until
OFF”
T
again until
Playing a music disc
Y
this unit.
in CD-DA disc f
audio files are r
Level 2 or Joliet
1 Pr
to turn on the CD function.
2 P
,
a disc in the CD compartment with the
label side up.
When placing the disc,
part of the disc until a click sound is heard and
the disc snaps in the disc holder
Label side up
3 Close the CD c
by pushing down at the PUSH OPEN/
CL mark
.
(Example:
T
T
(Example:
T
* If MP3/WMA files are present only on the r
direct
the display
4 Press
to start playback.
T
Playing time
When you play an MP3/WMA disc,
name*
1
and song title are displayed bef
playing time*
2
appears.
*
1
If there is no f
display
*
2
“--:--”
Other oper
To Do this
P Press
.
playback,
again.
Stop playback Press
.
after playback is
stopped,
the beginning of the track/
file you were last playing
(Resume Play).
Cancel Resume
Play
Press
twice.
pres
after you canc
Resume Play
from the beginning of the
first track/file
Select a folder
on an MP3/
WMA disc
Press
(Folder) + or
.
Select a track/
file
Press
or
.
skip track
Find a point in a
track/file
Hold down
or
during playback,
the button at the desir
point.
while paused,
to
start playback after the
desired point is f
Tip
Resume Play is canc
,
the CD compartment or turn off the unit.
Note
When r
until
the USB device without performing this step may
corrupt the da
device itself
T
Pr
repeat
is stopped.
For de
back page.
Notes on the USB devic
when:
folders to a USB devic
files.
WMA files are skipped
follows:
Note that even if the file name has the c
extension but the actual file w
different audio f
noise or may malfunction.
and WMA PRO formats canno
the following cases;
folder ex
USB device e
USB device e
folder).
8 (including the
T
and folder structure
not guar
were originally enc
software
interrupte
all.
using up to 32 char
marks.
by the unit will appear as
2.4 of the ID3 tag format f
WMA tag format (defined b
Systems F
When a file has the ID3 or WMA tag inf
song title,
displayed.
information,
File name instead of the song title.
“NO ARTIST”
name.
“NO ALBUM”
name.
ID3 and WMA tag information c
to 32 char
Recor
to a USB devic
Y
or a currently playing tr
rec
or USB stor
When r
rec
rec
files are r
original MP3/WMA files.
For c
USB devices”
1 Connect the USB devic
(USB)
port
.
2 P
compartment.
T
Pr
T
folder
Press (Folder) + or
repeat
the folder you want.
T
Perf
progr
T
Select and start playback of the track/file you
want to r
3 P USB
.
“REC”
the amount of free spac
When the c
“FREE***G”/“FREE***M”
space on the devic
and then
If
insufficient space on the devic
rec
.
anyway
4 Pr
.
Recor
device while r
Playback stops aut
Recor
Playback continues when r
track/file is c
Other oper
To Do this
Stop r Press
.
is creat
rec
Remove a USB
device
Pr
,
until
on the display
disconnect the USB devic
T
USB device
1 Select the audio file or folder you w
erase
Press
or
to select an audio file.
Press
(Folder) + or
to select a folder
2 P
.
“ERASE?”
3 P
.
“TRACK ERASE?”
on the display
4 Pr
.
T
“COMPLETE”
Folder and file gener
When first r
folder is cr
Folders and files ar
transf
Synchr
1
Recor
sourc
Folder name File name
MP3/WMA Same as the rec
2
CD-DA “FLDR001”*
3
“TRACK001”*
4
Single tr
Recor
sourc
Folder name File name
MP3/WMA
“REC1”*
5
Same as the
rec
sourc
2
CD-DA “TRACK001”*
4
*
1
Recor
specific folder and only your f
(Progr
*
2
assigned.
*
3
to a maximum of 255 (including the
“MUSIC”
*
4
*
5
time single track r
Notes
mode,
changed to normal play
erase oper
on the device or damage the devic
is output and
creat
rec
USB device r
rec
the same name as folder or file alr
the USB device,
after the name without overwriting the original
folder or file.
playback or pause.
folder to be er
Note on c
T
Use of the music beyond this limit requir
permission from the c
Example of folder structur
playing or
T
follows:
Folder
MP3/WMA file
Notes on MP3/WMA discs
on that disc.
displayed.
WMA files on the disc,
play to begin or for the ne
start to play
unneces
MP3/WMA discs.
WMA files are skipped
follows:
MP3:
WMA:
Note that even if the file name has the c
extension but the actual file w
different audio f
noise or may malfunction.
and WMA PRO formats canno
following cases:
When the to
511.
When the to
disc ex
When the dir
9 (including the
with up to 32 char
marks.
by the unit will appear as
2.4 of the ID3 tag format f
WMA tag format (defined b
Systems F
When a file has the ID3 or WMA tag inf
song title,
displayed.
information,
File name instead of the song title.
“NO ARTIST”
name.
“NO ALBUM”
name.
ID3 and WMA tag information c
to 32 char
T
Pr
repeat
stopped.
For de
back page.
Listening to music on a USB
device
Y
device (a digital music player or USB st
media).
Audio files in MP3 and WMA formats* c
played on this unit.
For c
USB devices”
* Files with DRM (Digital Rights Management)
copyright pr
online music store c
you try to play one of these files,
the next unpr
1 Connect the USB devic
(USB)
port
.
Note
T
2 P
to turn on the USB function.
T
folder number appears on the display
T
* If the USB device does not have a volume label,
“ST
A volume label is a name that you can assign t
data stor
3 Pr
to start playback.
T
and then the file number and playing time
appear
File number
Playing time*
* If the playing time is longer than 100 minutes,
“--:--”
Other oper
To Do this
P Press
.
playback,
again*.
Stop playback Press
.
after playback is
stopped,
the point where you stoppe
playback (Resume Play).
Cancel Resume
Play
Press
twice.
pres
after you canc
Resume Play
from the beginning of the
first file.
Select a folder
Press
(Folder) + or
.
Select a file Press
or
.
skip files one by one.
T
hold down
or
and
release the button a
desired tr
Find a point in
a file
Hold down
or
during playback,
the button at the desir
point.
while paused,
to
start playback after the
desired point is f
Remove a USB
device
Hold down
DEV”
and then disconnect the USB
device.
* When playing a VBR MP3/WMA file,
restart fr
W
T
not expose this appar
T
expose this appar
and do not place obje
as vases,
As the main plug is used to disc
from the mains,
acc
abnormality in the unit,
from the A
T
sourc
wall outlet,
off.
Do not install the applianc
such as a bookc
Exc
headphones can cause hearing los
Do not expose the ba
batteries installed) t
sunshine,
T
Notic
following inf
applicable t
in countries appl
dir
T
behalf of Sony Corpor
Minato-k
relat
European Union legislation shall be addr
the authorized r
GmbH,
Germany
please ref
separa
Disposal of Old Electrical &
Electr
(Applicable in the Eur
Union and other Eur
countries with separ
collection syst
T
indicates tha
household waste
to the applicable c
recycling of electric
By ensuring this product is disposed of c
you will help prevent pot
consequenc
health,
inappropriat
recycling of ma
natur
about recycling of this pr
your local Civic Office
disposal service or the shop where you
purchased the pr
P
Making a wir
with Bluetoo
Y
function built in to your devices.
Choose one of the following thr
methods best suited f
For de
to the oper
device.
P
see
P
Bluetooth devic
other befor
Connecting with a pair
see
P
T
has been paired
One touch c
(NFC):
see
P
Using an NFC-c
establish a Bluetoo
touching the unit with it.
Check the following befor
1 m of each other
the OPR/BA is lit.
device ar
P
P
Bluetoo
1
Pr
to turn on the
Bluetoo
2 T
Bluetoo
For de
supplied with the device
If no devices have been pair
you pres
for the first time
after you purchase the unit,
automaticall
Bluetooth indic
) and
display flash.
3 Hold down BL
until
two beeps are hear
T
Bluetooth indic
( ) and
display flash.
4 P
Bluetoo
5 Select
the display of the Bluetoo
If
the device’
Note
Some devices canno
devices.
6 If P
display of the Bluetoo
“0000.
T
“BTAUDIO”
* “Pas
“PIN code,
Tip
T
to 6 for each devic
Notes
5minutes, ) flashes.
If pairing mode is cancelle
proc
unit cannot be pair
whose P
need to pair those devic
following case
pairing proc
T
devices.
have been paired
connection time is the oldest among the 9
paired devic
but sound will be heard fr
devices.
P
Connecting with a pair
device
1
Pr
to turn on the
Bluetoo
2 T
Bluetoo
Tip
In the case of the last
device,
connection with it if the devic
function is on.
established,
) on the
display stays on.
3 Sele
the display of the Bluetoo
If neces
which the unit supports.
profile
T
T
“BTAUDIO”
Notes
devices.
device,
Bluetooth devic
Bluetoo
Bluetooth st
and switch to the Bluet
automaticall
connection with a Blue
the AC power c
Hold down PO
ST
turned off and enters Bluet
T
“BT ST
(and enters standby mode in c
models).
Connect the A
,
compartment
.
For models with a voltage sele
to the local power line voltage
T
T
AC power c
or
(only for models with
a voltage selector)
Notes
dims,
of the batteries with new ones.
USB devices or optional c
T
T
mode automaticall
T
while holding down
.
buttons,
Notes
only).
European models).
P
Connecting with a smartphone by
One touch (NFC)
By just touching the unit with an NFC
smartphone,
to the Bluetoo
paired and c
Compatible smartphones
Smartphones with the NFC function built-in
(OS:
About NFC
NFC (Near Field Communic
enabling short-r
between various devic
and IC tags.
communica
touching the relev
location on NFC c
1 T
smartphone.
For de
supplied with the smartphone.
If your smartphone OS is Android 2.3
or later
Pr
If your smartphone OS is Android 4.
or later
Pr
2 Download and inst
Connect”
“NFC Easy Connect”
for Andr
Google P
Search f
following two-dimensional code t
and install the free app
are r
T
countries and/or r
Tip
For some smartphones,
may be available without downloading the app
“NFC Easy Connect.
and specifications may be diff
description here
operating instructions supplie
smartphone.
For the two-dimensional c
Use a two-dimensional code r
3 S
smartphone.
Make sur
displayed.
4 T
Keep t
on the unit until the smartphone responds.
Note
If your smartphone screen is lock
smartphone will not function.
then touch the smartphone to the N mark
again.
Smartphone responds
(unit rec
Follow the on-scr
the connection.
When the Bluet
“BTAUDIO”
Tips
the following.
move the smartphone slightly across the N
mark on the unit.
disconnect.
just touch the smartphone to a differ
to switch the c
example,
with NFC-c
the smartphone to the unit to change the
Bluetooth c
connection switching).
Listening to music on a
Bluetoo
Opera
Bluetooth devic
instructions supplied with your Bluetoo
1 Make the Blue
the unit and the device
For de
proc
with Bluetooth devic
connection is establishe
indicator (
) on the display stays on.
2 S
then adjust the volume.
Set the volume of the Bluetoo
modera or +
on the unit.
After use
Do any of the following.
Bluetooth devic
opera
device.
disconnect (NFC
only).
T
stor
1 Pr
to turn on the
Bluetoo
2 Hold down ERASE
until
appears on the display
3 P
to r
paired devic
When the pair
“COMPLETE”
T
befor
.
Listening to the r
1 Pr
repea
select the band
2 Hold down TUNE + or
until the
frequency digits begin t
display
T
frequencies and st
station.
If you cannot tune t
automatic tuning mode,
repeat
step.
When an FM ster
lights up on the display
Tip
If the stere
repeat
will lose the stere
improve.
T
(Uruguay
Singapore
T
neces
1 Pr
repea
select a band.
2 Hold down MANU
until
“FM-
3 Hold down RADIO FM/AM
until the
current tuning st
4 Press
or
to select the desir
tuning step.
“FM 50K”
100 kHz interval) in the FM band,
(for 9 kHz interval) or
interval) in the AM band can be selecte
5 Press ENTER
.
Changing the tuning interval erases all the FM/
AM preset st
preset st
interval.
T
rec