18/47
Grundig Intermedia GmbH
Thomas-Edison-Platz 3
D-63263 Neu-Isenburg
CLOCK RADIO
SCN 120
SCN 130
www.grundig.com
These
device suppor leaving resi-
dues on the furniture sur
which -
sible to remo
▪
ate climate.
▪ Do
as
Clean
moist leather clot
▪ Do
ter
e
ers or fire.
▪ Nev
No warr claims are ac-
cepted
incorrect handling.
Compliance wit
The
RoHS not
harmful and pr mater specified in the
Directiv
Package information
Pack materials of the product are
manufactured
accordance with our National
Envir
of
tic
rial collection points designated
ties.
This device is noise-suppressed according to the
applicable EU directiv This product fulf the
European directiv 20 2009/1
and
of
on the Grundig Homepage
www
SCN 1
A~
Output 1
Max. P
<4.5W (operation)
<1W (standby)
SCN 1
A~ , 50/60
Output 1
Max. P
<1
<1W (standby)
Output
USB host (For SCN 1
5V 1A charge out
Back up micro
Back up DC Batt
Frequency bands:
FM 8
Circuit features:
Loudspeaker: 2 - 1/4 inch
Output P
Dimensions:
W x H x L 1
W
T
POWER SUPPL
Mains operation
Check
the
mains supply
cialist dealer
1
(1~ , 50/60 Hz).
Caution:
▪ The device is connected to the mains with the
pow
the mains, pull out the plug.
▪ The mains plug
shall
obstructed during intended use.
Inserting t
The back-up
are not lost in the case of a pow
1 the batter compartment by pressing
area mark
2
batter
(micro batteries, 2 x 1
3 Close the batter
Note:
▪ Remove
you
long period of time.
Environmental note:
▪ Batter
heavy metal, should not be disposed of with
household
ies
lations.
RADIO MODE
Antenna
For
the wire antenna accordingly
Switching on and off
1 the device fr standby with
»ON/OFF « button.
2 the device to standby wit »ON/OFF «
button.
Searching for and saving radio sta-
tions - automatically
Y
1 Activate the station search by pressing
»TUNING+/HR « TUNING-/MIN «
until
through.
The search stops when a station is found.
Note:
▪ To
press » TUNING+/HR « or TUNING-/MIN «
sev
2 Press PRESET «
the memor
3 Press » TUNING+/HR « or » TUNING-/MIN «
buttons to select the preset.
4 Press the » PRESET « button to save the station.
Note:
▪
they
5 T
Selecting stor
1 Select the prPRESET « button
to select the preset stations one af
Adjusting t
1 the volume »VOLUME -/AL 1 « or
»VOLUME +/AL 2 « buttons.
Setting the brightness of t
1 Press the »SLEEP/SNOOZE/DIMMER « button
to adjust
lev
TIMER MODE
Setting the time
1 Switc the device to standby with
»ON/OFF « button.
2 Press and hold the » TIME/MODE « button for
two seconds to activate the setting. The current
day d1 «
is Mondayd7 « is Sunday
3 Then TIME/MODE «
setting the current time.
4 Press » TUNING-/MIN « to set the minutes;
5 Press » TUNING+/HR « to set the hours;
6 Press the » TIME/MODE « button again to con-
firm the settings.
Setting the alarm time
1 SwitcON/OFF « but-
ton;
2 Press hold the » VOLUME « button
for alarm 1 or »VOLUME +/AL 2 « for alarm 2;
3 For ex press and hold
»VOLUME -/AL 1 « button to Then the alarm
days
6 - 7).
Cancelling the alarm
1 Press »ON/OFF « while the alar
Note:
▪ The
alarm time.
Activating and deactiv
1 In standby mode, »VOLUME 1 « or
»VOLUME +/AL «
with last used alarm settings.
2 For example, if pressed » VOLUME «
ton, the last used alarm time would be displayed;
3 By VOLUME «
button,
the » « and the » « icons.
Sleep timer
1 Press and hold the
»SLEEP/SNOOZE/DIMMER « button for
2 seconds to activate the sleep timer
2 Then repeatedly pr the
»SLEEP/SNOOZE/DIMMER « select
the auto timer fr 1 to
minutes.
▪ Descr
1 - 7 (Alarm is active during the week)
1 - 5 (Alarm is active on weekdays)
6 - 7 (Alarm is active at the weekend)
4 Press the » TUNING-/MIN « or
»TUNING+/HR « buttons to adjust the alarm
days.
5 Press the » VOLUME -/AL 1« button to confirm;
6 Press the » TUNING-/MIN « button to set the
alarm minutes;
7 Press the » TUNING+/HR « button to set the
alarm hours;
8 Press the VOLUME -/AL 1«
alarm 1 settings.
Note:
▪ The de
alarm duration is 60 minutes.
Interrupting t
▪ Press »SLEEP/SNOOZE/DIMMER «
the alarm is sounding.
Note:
▪ The
will be sounded again af
SETUP AND SAFET EN
▪
playback
other
▪
(water drops or splashes). Do
not place an vessels such as
vases
be
on t electr components,
thus presenting a safet
▪ Do
such as candles on the device.
▪
all
device
damaged
the mains cable.
3
press and hold »SLEEP/SNOOZE/DIMMER «
button
the button again until »OFF « is displayed.
Charging
SCN 1
The USB socket the back side pro DC
pow
the
priate
operating modes
to the user manual or the manufacturer of the mobile
phone
pow
only
from a USB stick.
▪ The
bottom of the device.
▪ Do
treme
b
Compliance wit t WEEE Directive
and Disposing of t
This product complies with EU WEEE Directive
(20 This product bears a classif
symbol for
(WEEE).
This
high qualit parts and mater which
can
cling.
with normal domestic and other wastes at
the end of its ser life. T it to the collection
center the electrical electronic
equipment. Please consult your local authorities to
learn about these collection centers.
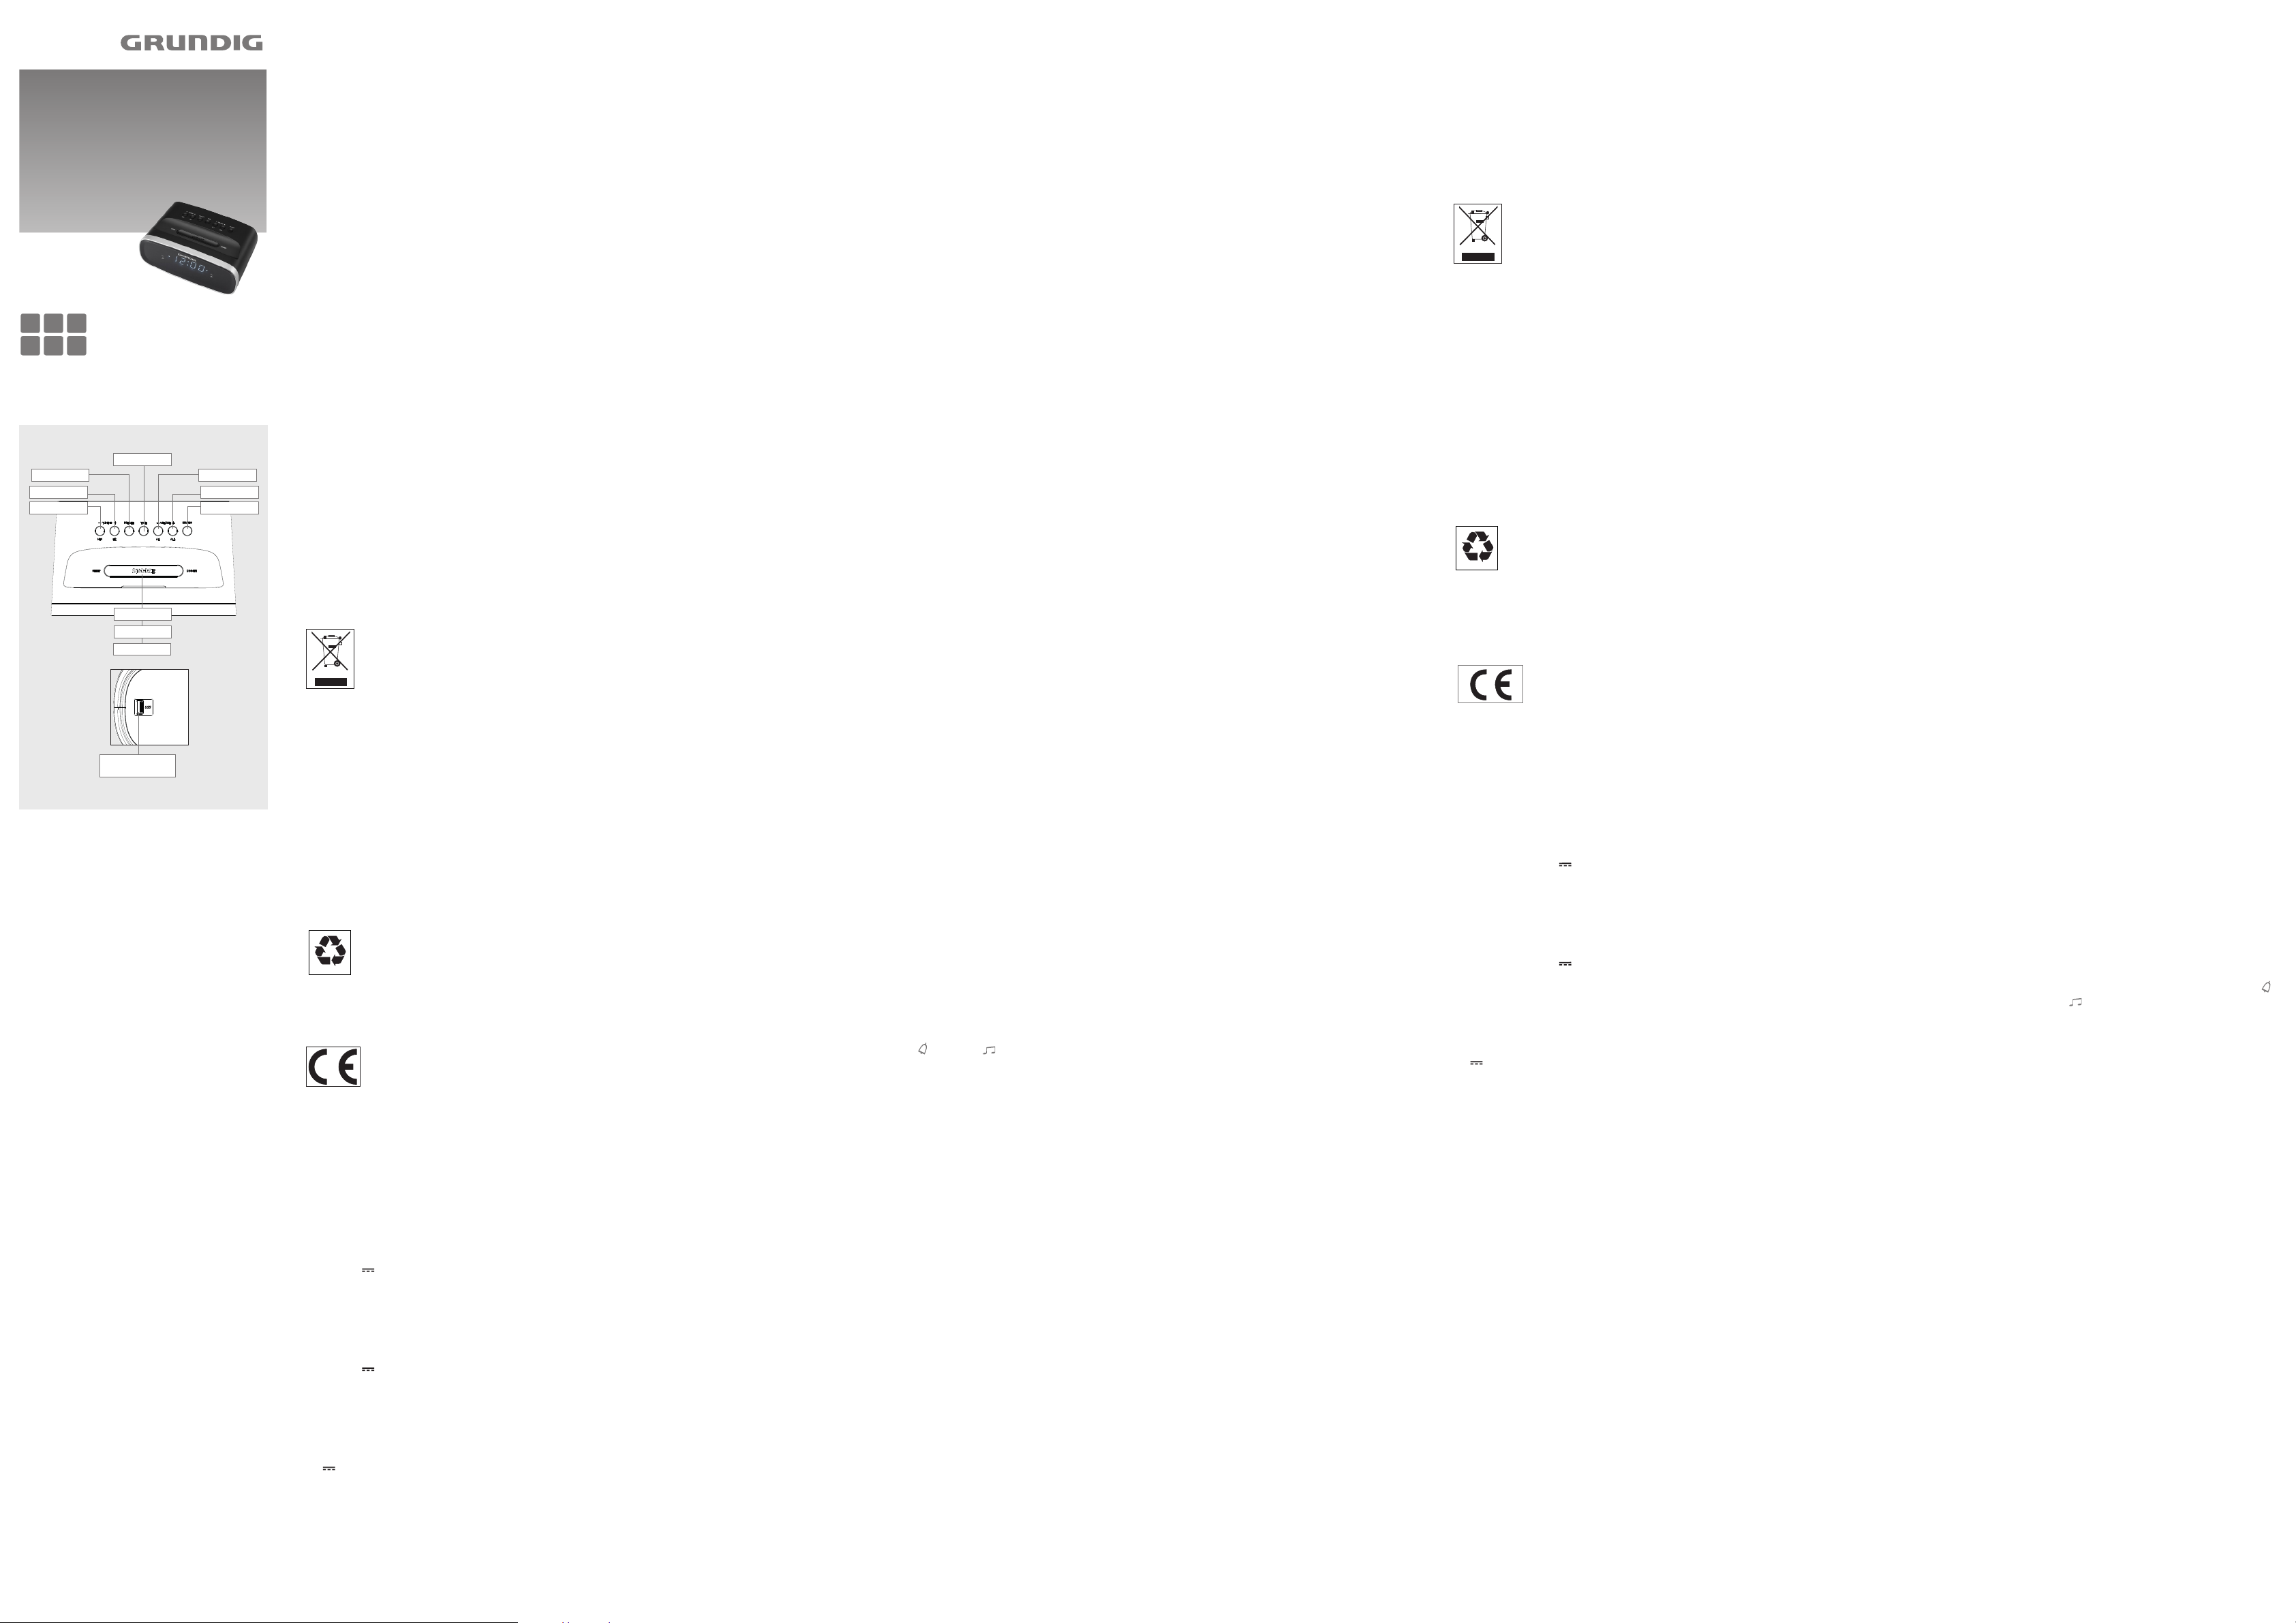
TUNING+/HR VOL+/AL 2
VOL-/AL 1
TUNING-/MIN
ON/OFF
PRESET
TIME
Alway disconnect the mains
cable during a stor
▪ malfunctions occur due to
static
mains
device.
mains adapter and connect it
again af
▪ Mak sure the device is ade-
quately
the
pers, table cloths, cur
▪ When
the -
ture -
ious
most
additives.
SLEEP
SNOOZE
DIMMER
USB
(SCN 130)
EN DE FR
PL ES TR
SIC DE
▪
gabe
Jede andere V ist
ausdrücklich ausgeschlossen.
▪ Sie das Ger vor
Feuchtigk (T und Spritz-
wasser). S Sie keine mit
Flüssigk gefüllten Gefäße
(V
Gerät. könnten -
pen und mit der auslaufenden
Flüssigk
heit beeinträchtigen.
▪
quellen, z.B. K auf das
Gerät.
▪ stellen eine Gefahr
für
Auch wenn das Gerät ausge-
schaltet
Blitzschlag in das Stromnetz
beschädigt wer Bei einem
Gewitter
Netzst
▪ T
wegen -
überspannung oder wegen
einer elektr Auf-
dung, setzen Sie das Gerät
zurück. Ziehen Sie hier den
Netzstec und schließen Sie
ihn
der an.
▪
Belüf des Ger Bede-
cken Sie die Lüf
nicht
V
▪ -
len des Gerätes, dass Ober-
flächen v Möbeln mit den
ver Lacken und
K beschichtet sind,
welche -
sätze Diese
k u.a. das Material der
Gerätefüße
Rück
fläche ents die sich nur
schwer nicht mehr -
nen lassen.
▪ V
einem gemäßigten Klima.
▪ Reinigen Sie das
Reinigungsmitteln; andernfalls
k Gehäuse beschädigt
wer
mit einem sauberen,
T
▪ Sie niemals das Ge-
häuse
ler
Schäden -
ßer Handhabung.
▪ Das
der Unterseite des Gerätes.
▪ Stellen Sie das Gerät nicht in
unmittelbare N
oder in die pralle Sonne; da-
durch die K beein-
trächtigt.
Entsorgung von Altgeräten:
Dieses Produkt erfüllt die V der EU-WEEE-
Direktiv
nem
ronische Altgeräte (WEEE) gek
Dieses Gerät wurde aus hochwer
Materialien hergestellt, die wieder
wendet und recycelt werden können.
Entsorgen
Einsatzzeit nicht mit dem regulär
Hausmüll; geben Sie es s bei einer
Sammelstelle zur Wieder von elektri-
schen und elektr Altgeräten ab. Ihr
Stadtver
Sammelstellen in Ihrer Nähe.
Einhaltung von RoHS-Vorgaben:
Das von Ihnen er Produkt er die
V
enthält
chen und unzulässigen Materialien.
Informationen zur Verpackung
Die V Produkts ge-
mäß unserer nationalen Gesetzgebung
aus recy Materialien herge-
stellt. Entsorgen Sie die
V nicht mit dem Hausmüll
oder anderem Müll.
Bringen
stellten Sammelstelle für Verpackungsmaterial.
Technische Daten
Dieses Gerät
den geltenden EU-Richtlinien. Dieses
Produkt erfüllt die europäischen
Richtlinien 20
und 20 Den genauen W der
K
Homepage
www
Spannungsversorgung
A Input:1~ ,
Ausgangsleistung: 5V 1
Max. Leistungsaufnahme:
<4.5 W (im Betrieb)
<1 W (Stand-by)
Spannungsversorgung
A~ , 50/60
Ausgangsleistung: 5V 1
Max. Leistungsaufnahme:
<1
<1 W (Stand-by)
Ausgangsleistung:
USB host (For SCN 1
5V 1A charge out
Reserve-Mikrobatterien:
Reservebatterie: 2 x 1
Wellenbereich:
FM 8
Stromkreisfunktionen:
Lautsprecher: 2 - 1/4 inch
Ausgangsleistung: 1 W
Abmessungen:
W x H x L 1
Gewicht
T
STROMVERSOR
Netz-Betrieb
Prüfen Sie, ob die auf dem T (an der
Unterseite des Ger
mit der ör
Ist dies nicht der Fall, w Sie sich an Ihren
Fachhändler
1 an die Steckdose anschließen
(1
Vorsicht:
▪ Nur
vom
dass
zugänglich -
stände behindert
▪ Die Steckdose sollte sich
Gerätes befinden
Reservebatterien einsetzen
Die
te
gehen.
1
markier
nach unten schieben.
2 Sie beim Einlegen der Batterien die
am Boden des Batt gekennzeichnete
P
AAA).
3 Schließen Sie das Batteriefac
Hinweis:
▪ Entfernen Sie die Stützbatterie, wenn Sie das
Gerät
die durch ausgelaufene Batterien
nicht gehaftet werden.
Umwelthinweis:
▪ Die
im -
rien müssen in Altbatteriesammelgefäße
Handel -
gern gegeben wer
RADIOMODUS
Antenne
Für
K
Ein- und ausschalten
1 ON/OFF «
aus dem Bereitschaftsmodus ein.
2 ON/OFF «
in den Bereitschaftsmodus.
Radiosender automatisch suchen und
speic
Sie können 1
chern.
1 Aktivieren Sie die Sendersuche, indem
Sie die T »TUNING+/HR « oder
»TUNING-/MIN « drücken, bis die
Frequenzanz
Suche s sobald ein Sender gefunden
wird
Hinweis:
▪ Drücken Sie für einen s V-
lauf der Frequenz mehrmals kurz die Taste
»TUNING+/HR « oder » TUNING-/MIN «.
2 Halten Sie zum Aktivieren Speicherfunktion
die TPRESET « gedrückt.
3 Drücken Sie zur Auswahl der V
die Taste »TUNING+/HR « oder
»TUNING-/MIN « .
4 Drücken
»PRESET «.
Hinweis:
▪ -
speicher
Sender überschrieben.
5 Wiederholen Sie
die Schritte 1 bis 4.
Gespeic
1 Rufen Sie eine
Drücken »PRESET «
die vor
Lautstärke anpassen
1 Sie die Lauts mit der T
»VOLUME « VOLUME «
an.
Anzeigehelligkeit einstellen
1 Drüc Sie zum Eins der Helligkeit
auf hoch, mittel oder gering die T
»SLEEP/SNOOZE/DIMMER «.
TIMER-BETRIEB
Datum und Uhrzeit einstellen
1 ScON/OFF «
in den Bereitschaftsmodus.
2 Halten Sie zum Aktivieren der Eins die
TTIME/MODE «
Der d1 «
für Montag, »d7 « für Sonntag.
3 Drücken
dann erneut die TTIME/MODE «.
4 Drücken Sie zum Eins des Minutenwertes
»TUNING-/MIN «.
5 Drücken Sie zum Einstellen des Stundenwertes
»TUNING+/HR «.
6 Drücken Sie
neut die TTIME/MODE «.
Alarmzeit einstellen
1 ScON/OFF «
in den Bereitschaftsmodus.
2 Halten Sie für Alar 1 die Taste
»VOLUME «
»VOLUME +/AL 2 « gedrückt.
3 Beispiel: Halten Sie die T
»VOLUME -/AL 1 « gedrückt, ansc
blinken die
6 - 7).
▪ Beschreibungen der Alarmtage sind wie folgt
1 bis 7 (Alarm ist während der Woche aktiv)
1 bis 5 (Alarm ist an Wochentagen aktiv)
6 bis 7 (Alarm ist am Wochenende aktiv)
4 Drücken Sie zum Anpassen der Alarmtage
die T »TUNING-/MIN « oder
»TUNING+/HR «.
5 Drücken Sie zum Bestätigen die Taste
»VOLUME -/AL 1 «.
6 Drücken Sie zum Eins
TTUNING-/MIN «.
7 Drücken Sie zum
TTUNING+/HR «.
8 Drücken Sie zum Abschließen der Alarm-1-
Einstellungen die TVOLUME -/AL 1 «.
Hinweis:
▪ Das
auf. Die Alarmdauer beträgt 60 Minuten.
Alarm unterbrec
▪ Drücken Sie »SLEEP/SNOOZE/DIMMER «
währ
Hinweis:
▪ Das Alar
tönt nach neun Minuten erneut.
Alarm abbrechen
1 DrücON/OFF «,
tönt.
Hinweis:
▪ Der Alarm -
zeit erneut.
Alarm aktivieren und deaktivieren
1 Drüc Sie im Bereitschaftsmodus zum
Aktivieren des Alarms mit den zuletzt ver-
wendeten Alarmeinstellungen die T
»VOLUME -/AL 1 « oder »VOLUME +/AL 2 «.
2 Beispiel: Bei Be der T
»VOLUME -/AL 1 « wird die zuletzt ver
Alarmzeit angezeigt.
3 Durch wiederholtes Drücken der Taste
»VOLUME «
eingestellte Alar sowie die Symbole » «
und » « an.
Schlaf
1 Halt Sie zum Aktivieren des Schlaftimers
etwa 2 Sekunden lang die Taste
»SLEEP/SNOOZE/DIMMER « gedrückt.
2 Drücken Sie anschließend wiederholt die T
»SLEEP/SNOOZE/DIMMER «, um den Timer
der automatischen Abschaltung auf 90 bis 1
Minuten einzustellen.
3 Sie den Schlaf vor der ein-
gestellten Zeit ab, indem Sie die T
»SLEEP/SNOOZE/DIMMER « etwa 2
Sekunden gedrückt
dann wiederholt, bis »OFF« angezeigt wird.
Mobiltelefon aufladen (nur bei Grun-
dig SCN 1
Der USB- an der Rückseite bietet 5 V
Gleichspannung
V Sie das Mobiltelefon über ein geeig-
netes Kabel mit dem USB- Die USB-
Stromv
lich des Bereitschaftsmodus, verfügbar Beac
Sie
an
sen
Anschluss
nur
bspw
Datenträger verwendet wer