Viene mostrata la frequenza della stazione su cui si è sintonizzati.
Sullo schermo apparirà il bit rate dell’audio digitale che state ricevendo.
Sullo schermo apparirà una barra che indica la forza del segnale. Più è forte il segnale, più la barra
sarà lunga.
DLS è l’acronimo di Dynamic Label Segment, un messaggio che l’emittente può includere nelle
proprie trasmissioni. Di solito questo messaggio comprende informazioni come dettagli sul
programma e altro.
Descrive lo stile del programma che viene trasmesso. Se le informazioni non sono disponibili, sullo
un’unica frequenza. Vi sono trasmissioni multiple locali e nazionali, quelle locali contengono stazioni
specichedellavostraarea.
1. Per selezionare la radio FM, premete il pulsante MODE. Sullo schermo compariranno la
scritta FM e la frequenza.
2. Perattivarelaricercaautomatica,tenetepremutoilpulsante▲o▼perselezionareil
numerodimemoriadesideratonchénoninizieràlaricercadellabandadifrequenza.
Sullo schermo comparirà “Searching...>” o “Searching...<”, e la ricerca terminerà
automaticamente non appena verrà trovata una stazione. (Fig. 6) (Fig. 7)
3. Perattivarelaricercamanuale,premeteripetutamenteilpulsante▲o▼.
4. Per selezionare la modalità audio, premete il pulsante SELECT per passare da “Auto” a
“Mono”.
questa impostazione manualmente, cosa utile quando il segnale è di scarsa qualità.
UK-4
UK-5
UK-6
UK-7
DAB auto scan
The auto scan will search for the entire DAB Band III channels. After the scan has finished, the first alphanumerically
found station will be automatically selected.
1. To activate auto scan, first press the MENU button to enter into the Tune Select Menu and then press the ▲ or
▼ button to select “Autoscan”, finally press the SELECT button to confirm, the display will show “Scanning …”
and a progressing slide bar. (F. 3)
2. All the stations that have been found will be stored automatically, to explore the stations that have been found,
press the ▲ or ▼ buttons and when you find a station that you would like to listen to, press the SELECT button.
DAB manual tune
1. To select manual tune, first press the MENU button to enter into the Tune Select Menu, then press the SELECT
button to select “Manual tune”. (F. 4) (F. 5)
2. Press the ▲ or ▼ button to move through the DAB channels, the display will show “5A to 13F” and their
associated frequencies.
3. When your desired frequency appears in the display, press the SELECT button to confirm. The name of the
station group (ensemble/multiplex) will be displayed.
4. To listen to the station selected, press the SELECT button again.
DAB secondary services
On some occasions you will see a “>” symbol directly after the name of the station, this indicates that there are
secondary services available to that station. These secondary services contain extra services that relate to the
primary station. E.g. a sports station may want to add extra commentaries. The secondary services are inserted
directly after the primary station. To select the secondary station, press on the SELECT control once.
DAB display modes
Every time you press the INFO button, the display will cycle through the following display modes:
FACTORY RESET
When you move the radio to another part of the country, your pre-tuned and stored DAB stations may no longer be
available. If this is the case then you will need to reset your radio back to its original factory settings; to perform a
factory reset, please do the following:
Note: All of your stored DAB & FM presets will be lost once the reset has taken place.
HEADPHONE JACK
A 3.5mm type headphone jack is located at the back of the radio. Connect a set of headphones (not included) to this
jack for private listening without disturbing others. The speaker is automatically disconnected when the headphones
are in use.
IMPORTANT: When using headphones always set the volume to a low level before you put the headphones on.
Then insert the headphones and gradually increase the volume to a comfortable listening level.
1. Connect the radio to AC mains (via the AC/DC adaptor), then slide the POWER ON/OFF switch to the “ON”
position to turn the radio on.
2. Press and hold the MENU button until the display shows “Press SELECT to confirm reset”.
3. Release the MENU button and press the SELECT button once, the display will first show “Restarting …” and
after the reset is completed, the radio will then automatically enter into the DAB mode and perform auto scan
function. After the scan has finished, the radio will select and display the first alphanumerically found station.
SPECIFICATION
***SPECIFICATION SUBJECT TO CHANGE WITHOUT FURTHER NOTICE.
POWER SUPPLY : AC/DC ADAPTOR INPUT: 100-240V~60/50Hz OUTPUT: 6V 0.8A
DC(BATTERY) 6V 1.5V(UM3) x 4
OUTPUT POWER : 1.0 W
FREQUENCY RANGE : DAB 174 - 240 MHz
FM 87.5 - 108 MHz
UNIT DIMENSION : 181 (L) x 45 (W) x 105 (H) mm
WEIGHT: 0.4kg
FM radio
1. To select FM, press the MODE button, the display will show FM and the frequency.
2. To activate auto search, press and hold the ▲ or ▼ button until it starts to scan up or down the frequency band,
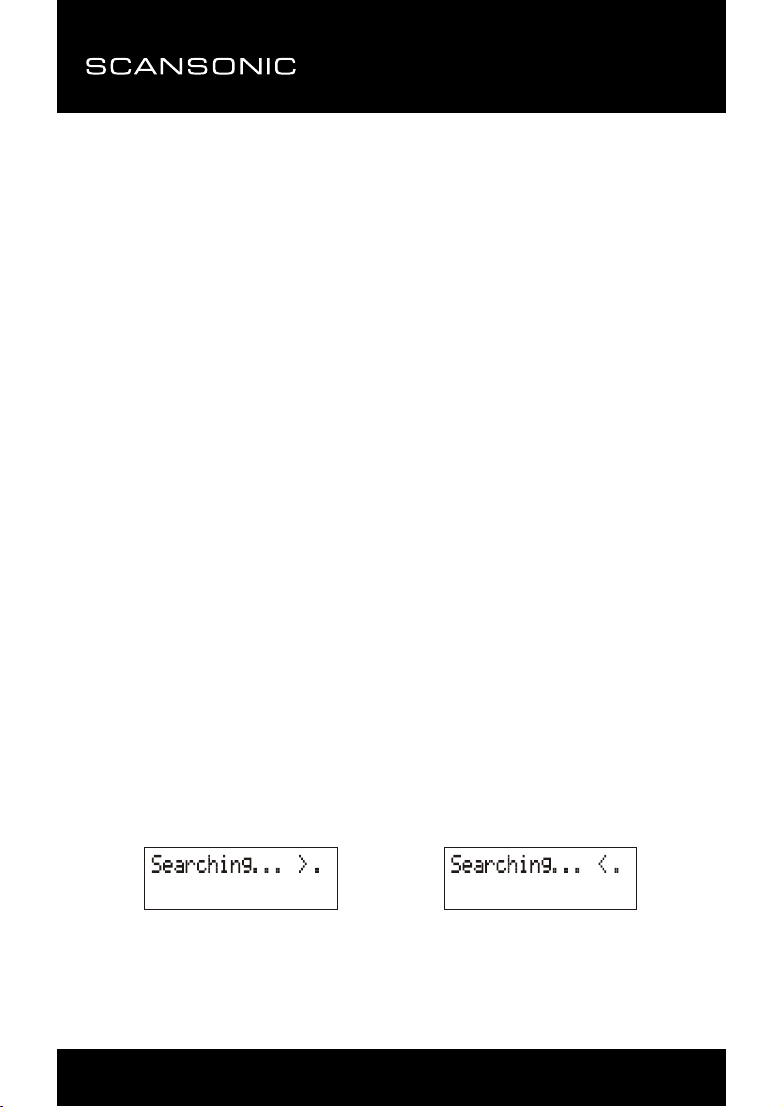
the display will show “Searching … > .” or “Searching … < .”, and it will stop automatically once a station has
been found. (F. 6)(F. 7)
3. To activate manual search, repeatedly press the ▲ or ▼ button.
4. To select audio mode, press the SELECT button to toggle between the “Auto” or “Mono” selection.
Note: The radio will automatically switch between stereo and mono mode, but you can override this and switch this
function manually which is helpful for poor signal reception.
STORING AND R ECALLING S TORED STATIONS
In either DAB or FM mode, you can store up to 10 stations to the favourite pres ets; this will en able you to get direct
access to your favourite stations.
1. To store a preset, fir st tune to your desired statio n, then press and hold the PRESET button, the display will
show “Empty preset 1”, and the preset number will flash. (F. 8)
2. Press the ▲ or ▼ button to select your desired station preset number.
3. Press the SELECT to confirm your selection, the display will show “Preset # saved” (F. 9)
4. To recall a preset station, first press the PRESET bu tton once, then press the ▲ or ▼ button to scroll up or
down the presets that you have stored. When the display shows your desired preset number, release the
buttons. If the preset hasn't been allocated a station, the display will show “Empty preset #”.
Time and date
The time and date will be automatically updated by the broadcasted information; it is no need to set the clock
manually. In the unlikely event that no clock information is received, the display will show “<TIME/DATE>”.
Frequency
The frequency of the present station will be displayed.
Audio bit rate
The display will show the digital audio bit rate being received.
Signal strength
The display will show a slide bar to indicate the signal strength, the stronger the signal, the longer the bar will be from
left to right.
DLS
DLS stands for Dynamic Label Segment which is a scrolling message that the broadcaster may include in their
transmissions. The message usually includes information such as programme details …etc.
Programme type
This describes the style of the programme that is being broadcast. If the information is not available, the display will
show “<Programme Type>”.
Ensemble/Multiplex (Group name)
The Ensemble/Multiplex is a collection of radio stations that are bundled and transmitted together in a single
frequency. There are national and local multiplexes, local ones contain stations that are specific to that area.
Note: Press and hold the INFO button for longer than 2 seconds, the software version number will be displayed.
Ensemble/Multiplex(Group name)
Time/Date Signal strength
DLS
Audio Bit Rate
Programme Type
Frequency
F.3 F.4 F.5
F.8