Über dieses Produkt
• Mit diesem Produkt können Sie Audio von einem Pioneer
DVD-Player/Monitor mit RCA-Ausgang über ein normales
Auto-UKW-Radio hören.
Zur besonderen Beachtung
• Durch den Gebrauch dieses Systems kann die
Nutzempfindlichkeit Ihres Radios etwas abnehmen.
• Beim Fahren auf unebenen Straßen kann der Player unter
Umständen nicht jedes Tonsignal richtig wiedergeben.
• Bei Anschluß dieses Systems an eine fadingmindernde
Autoantenne können Verzerrungen auftreten, wenn ein
Sender ein starkes Signal auf der Frequenz ausstrahlt, die für
das System verwendet wird. In einem solchen Fall auf eine
andere Frequenz schalten.
• Für Gebrauch dieses Systems stellen Sie dessen Ein/Aus-
Schalter auf ON.
• Wenn Sie Radio hören wollen, stellen Sie den Ein/Aus-
Schalter des Systems auf OFF.
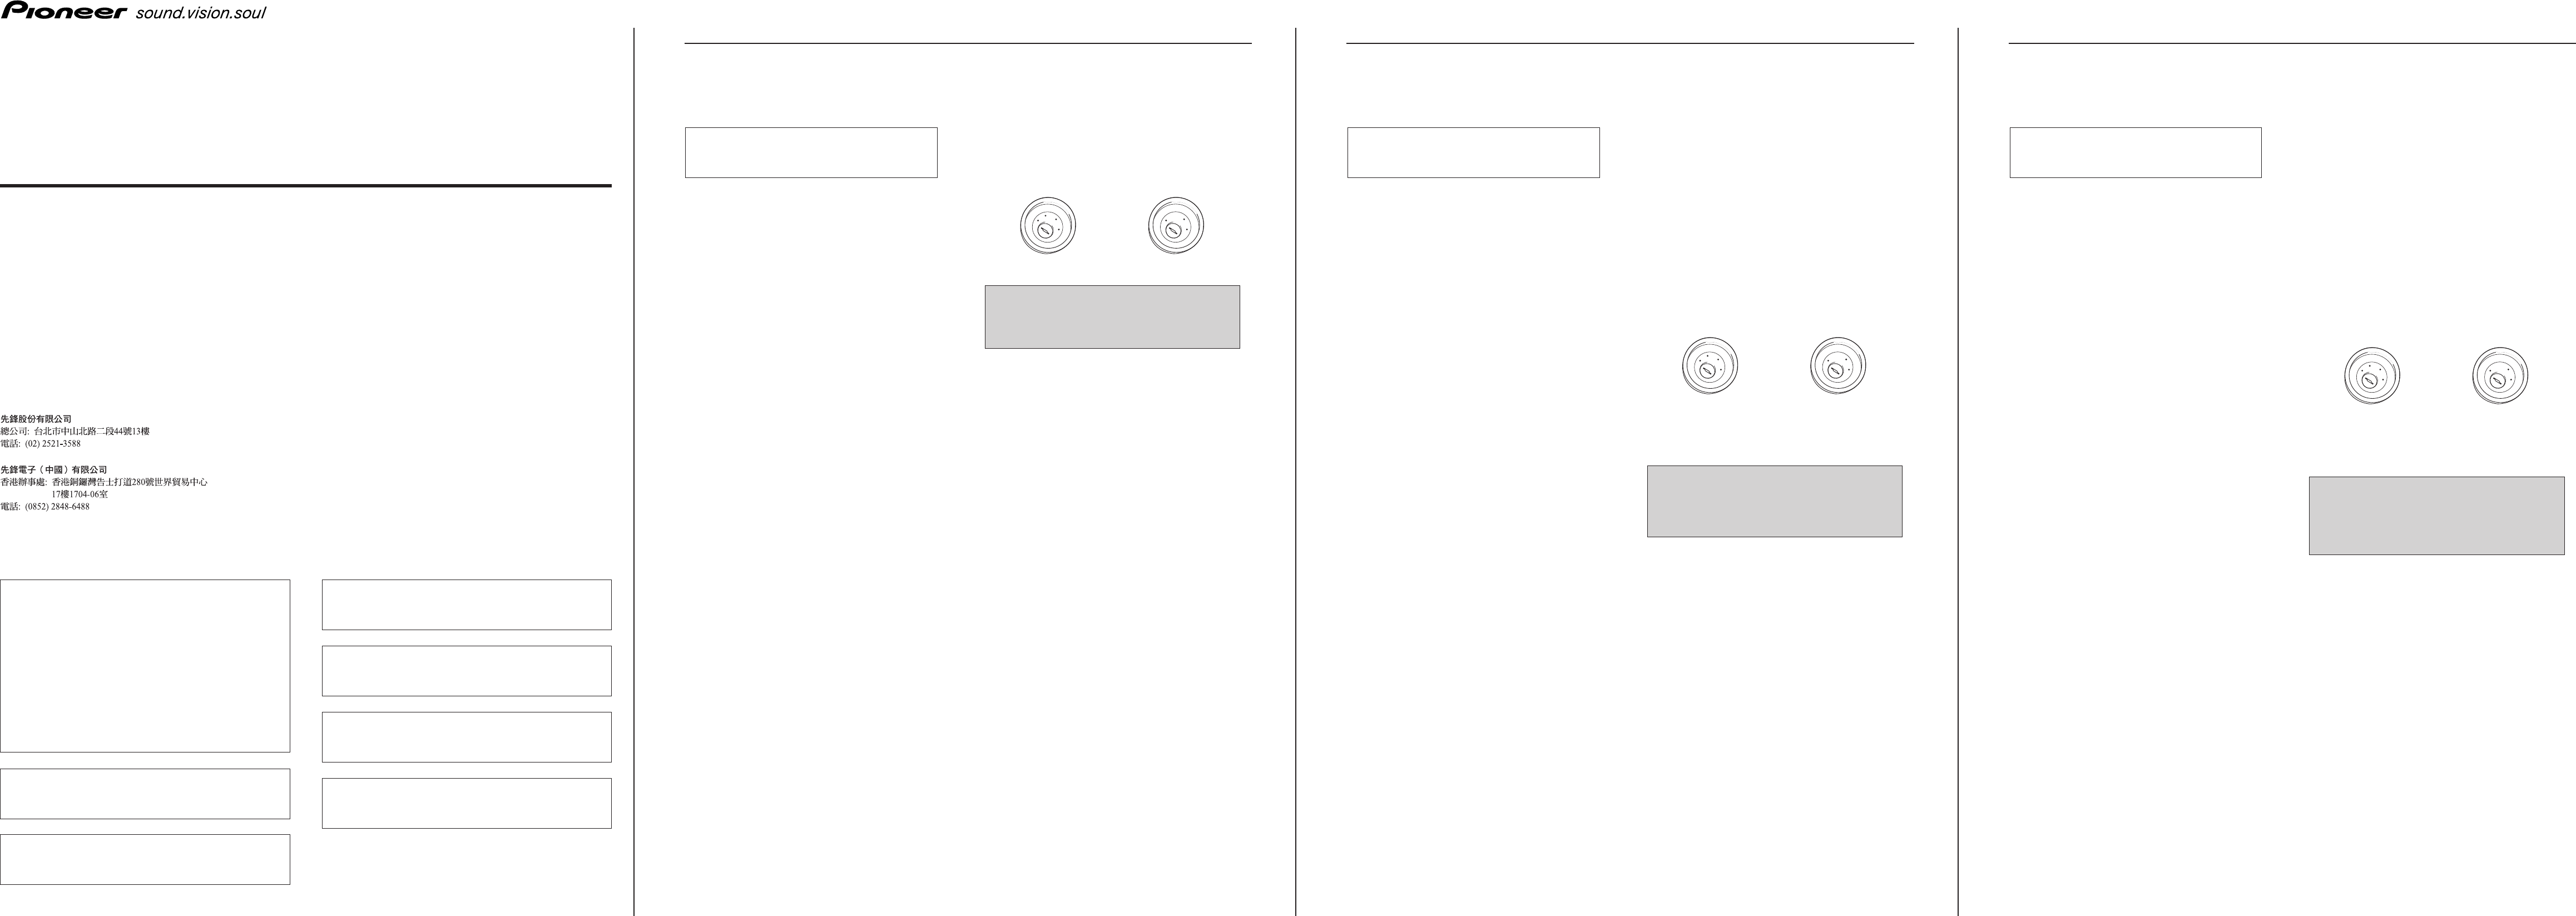
Anschließen der Geräte (Abbildungen 1,
2 und 3 stellen empfohlene Beispiele dar)
1 Dieses Produkt
2 Links (Weiß)
3 Recht (Rot)
4 Ein/Aus-Schalter (Kabel: 2 m)
Im Störungsfall
Falls das Gerät nicht richtig funktioniert, wenden Sie sich
bitte an Ihren Händler oder eine Pioneer-
Kundendienststelle in Ihrer Nähe.
• Sichern Sie die Leitungen mit Kabelklemmen oder
Klebeband. Zum Schutz der Leitungen sollten sie an den
Stellen, wo sie Metallteile berühren, mit Klebeband
umwickelt werden.
• Verlegen und sichern Sie alle Leitungen so, daß sie keine
beweglichen Teile wie die Gangschaltung, die Handbremse
und Sitzschienen berühren. Die Leitungen dürfen nicht an
Stellen entlanggeführt werden, die heiß werden, z.B. an
einer Heizungsauslaßöffnung. Wenn die Isolierung einer
Leitung schmilzt oder aufreißt, besteht die Gefahr eines
Kurzschlusses mit der Karosserie.
• Verkürzen Sie keine Leitungen. In diesem Fall kann es
vorkommen, daß die Schutzschaltung nicht arbeitet, wenn
sie gebraucht wird.
• Führen Sie niemals anderen Geräten Strom zu, indem Sie
die Isolierung der Stromversorgungsleitung dieses Geräts
durchschneiden und davon Strom abzapfen. Dadurch wird
die Strombelastbarkeit der Leitung überschritten, was zu
Überhitzung führt.
• Benutzen Sie beim Auswechseln von Sicherungen nur
Sicherungen mit dem auf dem Sicherunshalter angegebenen
Nennwert.
• Wenn dieses Gerät in einem Auto eingebaut wird, das auf
dem Zündschalter keine ACC (Zubehör)-Position hat, sollte
die rote Leitung des Geräts an eine Klemme angeschlossen
werden, die mit der ON/OFF-Operation des Zündschalters
gekoppelt ist. Andernfalls kann die Autobatterie entleert
werden, wenn Sie mehrere Stunden von dem Fahrzeug weg
sind.
ACC-Position Keine ACC-Position
5 Rot (ACC)
An eine Stromversorgung anschließen, (12 V Gleichstrom),
die mit dem Zündschloß ein- und ausgeschaltet wird.
Dieses Kabel nicht an Stromversorgungsklemmen
anschließen, die ständig mit Strom versorgt werden.
Andernfalls kann die Batterie entleert werden.
6 Sicherungshalter
7 Schwarz (Erdung)
An die Karosserie (Metallteil) anschließen.
8 Antennenausgang (1,5 m)
9 Antenneneingang (1,5 m)
0 RCA-Kabel (mitgeliefert, 6 m)
! Zu Audio-Ausgängen
@ Autoantennenstecker
# Auto-Stereo-Anlage mit UKW-Tuner
$ Pioneer Overhead-Monitor
% Pioneer Programmquellen-DVD-Player
(Einzelbetriebsmodus)
^ Pioneer TV-Tuner
& Pioneer DVD-Player (Einzelbetriebsmodus)
• Das Massekabel (schwarz) unbedingt an ein Teil der
Fahrzeugkarosserie oder an ein anderes Metallteil schließen,
das richtig am Fahrgestell geerdet ist. Bei lockerem
Anschluß des Massekabels kann es zu Rauschen bzw.
Betriebsstörungen des Systems kommen.
• Kontrollieren Sie nach, ob Installation und Verkabelung
vollständig und richtig durchgeführt worden sind. Die
abgenommenen Auto-Bauteile wieder anbringen, dann das
Kabelende an den Minuspol (–) der Batterie anschließen.
• Dieses Gerät ist für Fahrzeuge mit 12-V-Batterie und
negativer Erdung (Minuspol an Masse) ausgelegt. Prüfen Sie
vor dem Einbau in ein Wohnmobil, einen Lastwagen oder
Bus die Batteriespannung.
• Um Kurzschlüsse im elektrischen Systen zu verhindern, ist
unbedingt vor dem Einbau das Minus-Batteriekabel
·
abzutrennen.
• Einzelheiten zum Anschluß des Leistungsverstärkers und
anderer Einheiten lesen Sie bitte in der Anleitung für das
jeweilige Produkt nach, und nehmen Sie dann die
Anschlüsse entsprechend vor.
• Führen Sie die rote Leitung nicht durch ein Loch in den
Motorraum zum Anschluß an die Batterie. Dadurch wird die
Isolierung der Leitung beschädigt, was zu einem sehr
gefährlichen Kurzschluß führen kann.
• Kabel dieses Produkts und die anderer Produkte können
unterschiedliche Farben haben, auch wenn sie die
gleichen Funktionen haben. Beim Anschluß dieses
Produkts an ein anderes Produkt unter Bezugnahme auf
die mit beiden Produkten mitgelieferten
Installationsanleitungen die Kabel mit derselben
Funktion verbinden.
Deutsch
Sobre este producto
• Este producto le permite escuchar al audio de un
lector/monitor de DVD Pioneer con una salida RCA y con una
radio FM regular de automóvil.
Precaución
• Cuando utilice este sistema, la sensibilidad efectiva de su
radio se reducirá ligeramente.
• Cuando conduzca por carreteras accidentadas, el
reproductor quizás no reproduzca cada sonido
apropiadamente.
• Cuando se conecta este sistema a una antena de diversidad
del vehículo, puede haber distorsión si una emisora está
transmitiendo una señal fuerte en la frecuencia que está
usando para el sistema. Si esto ocurre, cambie a otra
frecuencia.
• Cuando desee utilizar este sistema, cambie el interruptor de
alimentación del sistema a la posición ON.
• Cambie el interruptor de alimentación del sistema a la
posición OFF cuando desee escuchar a la radio.
Conexión de las unidades (En las figuras
1, 2 y 3 se muestran ejemplos
recomendados)
1 Este producto
2 Izquierda (Blanco)
3 Derecha (Rojo)
4 Interruptor de alimentación (cable: 2 m)
En caso de problemas
Cuando la unidad no funcione correctamente, póngase
en contacto con su distribuidor o centro de servicios
autorizado de Pioneer más cercano.
• Asegure el cableado con abrazaderas de cables o con cinta
adhesiva. Para proteger el cableado, envuélvalo con cinta
adhesiva donde éstos se apoyan sobre las piezas de metal.
• Coloque y asegure todo el cableado de tal manera que no
toque las piezas en movimiento, tal como la palanca de
cambio de velocidades, el freno de mano, y los pasamanos
de los asientos. No coloque el cableado en lugares que se
calientan, tal como cerca de la salida de un calefactor. Si el
material aislante del cableado se derritiera o se gastara,
habrá el peligro de un cortocircuito del cableado a la
carrocería del vehículo.
• No acorte ningún conductor. Si lo hiciera, la protección del
circuito podría fallar al funcionar cuando debería.
• Nunca alimente energía a otros equipos cortando el
aislamiento del conductor de alimentación provista de la
unidad y haciendo un empalme con el conductor. La
capacidad de corriente del conductor se excederá, causando
el recalentamiento.
• Cuando reemplace algún fusible, asegúrese de utilizar
solamente un fusible del ratio descrito en el soporte de
fusibles.
• Si se instala esta unidad en un vehículo que no tiene una
posición ACC (accesorio) en el interruptor de encendido, el
conductor rojo de la unidad deberá conectarse al terminal
conectado con las operaciones del interruptor de encendido
ON/OFF. Si no se hace esto, la batería del vehículo podría
drenarse cuando usted esté lejos del vehículo por varias
horas.
Posición ACC No en la posición ACC
5 Rojo (ACC)
Al terminal de energía eléctrica controlado por el
interruptor de encendido del vehículo (12 V CC.) ON/OFF.
No conecte este cable a los terminales de alimentación a
los que se suministra alimentación continuamente. Si el
cable se conecta a estos terminales, la batería podrá
agotarse.
6 Portafusible
7 Negro (masa)
A la carrocería del veículo (parte metálica).
8 Salida de antena (1,5 m)
9 Entrada de antena (1,5 m)
0 Cable RCA (suministrado, 6 m)
! A las salidas de audio
@ Clavija de antena de automóvil
# Equipo estéreo de automóvil con sintonizador FM
$ Monitor de techo Pioneer
% Lector de DVD fuente Pioneer (modo independiente)
^ Sintonizador de TV Pioneer
& Lector de DVD Pioneer (modo independiente)
• Asegúrese de conectar el conductor de masa (negro) a la
carrocería del vehículo o a alguna otra parte metálica que
esté conectada apropiadamente a masa al chasis. Si el
conductor de masa no está conectado apropiadamente,
pueden ocurrir ruidos o el sistema puede funcionar
incorrectamente.
• Compruebe que la instalación y el cableado se han
completado correctamente. Reemplace los componentes de
automóvil quitados; luego, conecte el extremo del cable al
terminal negativo (–) de la batería.
• Esta unidad es para vehículos con batería de 12 voltios y con
conexión a tierra. Antes de instalar la unidad en un vehículo
recreativo, camioneta, o autobús, revise el voltaje de la
batería.
• Para evitar cortocircuitos en el sistema eléctrico, asegúrese
de desconectar el cable de la batería · antes de comenzar
con la instalación.
• Refiérase al manual de cada producto para los detalles en la
conexión del amplificador de potencia y otras unidades,
luego realice las conexiones correctamente.
• No pase el conductor rojo a través de un orificio en el
compartimiento del motor para conectar a la batería. Esto
dañará el material aislante del conductor y causará un
cortocircuito peligroso.
• Los cables para este producto y aquéllas para otros
productos pueden ser de colores diferentes aun si
tienen la misma función. Cuando se conecta este
producto a otro, refiérase a los manuales de instalación
de ambos productos y conecte los cables que tienen la
misma función.
Español
About This Product
• This product lets you listen to audio from a Pioneer DVD
player/monitor featuring an RCA output with a regular car
FM radio.
Precaution
• When you use this system, the effective sensitivity of your
radio will be reduced slightly.
• When driving on an uneven road, the player may not
reproduce every sound properly.
• When this system is connected to a vehicle’s diversity
antenna, there may be distortion if a station is broadcasting
a strong signal on the frequency you’re using for the system.
If this occurs, switch to another frequency.
• When you want to use this system, switch the power switch
of the system to the ON position.
• Switch the power switch of the system to the OFF position
when you want to listen to the radio.
Connecting the Units (Figures 1, 2 and 3
are recommended examples)
1 This product
2 Left (White)
3 Right (Red)
4 Power switch (cable: 2 m)
5 Red(ACC)
To electric terminal controlled by ignition switch (12 V DC)
ON/OFF.
In case of trouble
When the unit does not operate properly, contact your
dealer or the nearest authorized Pioneer Service Station.
Do not connect this lead to power source terminals to
which power is continuously supplied. If the lead is
connected to such terminals, the battery may be drained.
6 Fuse holder
7 Black (ground)
To vehicle (metal) body.
8 Antenna output (1.5 m)
9 Antenna input (1.5 m)
0 RCA cable (supplied, 6 m)
! To audio outputs
@ Car antenna plug
# Car stereo with FM tuner
$ Pioneer overhead monitor
% Pioneer source DVD player (stand-alone mode)
^ Pioneer TV tuner
& Pioneer DVD player (stand-alone mode)
• Be sure to connect the ground lead (black) to the vehicle
body or some other metal part that is properly grounded to
the chassis. If the ground lead is not properly connected,
noise may occur or the system may not operate correctly.
• Check whether installation and wiring have been completed
correctly. Replace the removed car components, then
connect the end of the cable to the negative (–) terminal of
the battery.
• This unit is for vehicles with a 12-volt battery and negative
grounding. Before installing it in a recreational vehicle, truck,
or bus, check the battery voltage.
• To avoid shorts in the electrical system, be sure to
disconnect the · battery cable before beginning installation.
• Refer to each product’s manual for details on connecting the
power amp and other units, then make connections
correctly.
• Secure the wiring with cable clamps or adhesive tape. To
protect the wiring, wrap adhesive tape around them where
they lie against metal parts.
• Route and secure all wiring so it cannot touch any moving
parts, such as the gear shift, handbrake, and seat rails. Do
not route wiring in places that get hot, such as near the
heater outlet. If the insulation of the wiring melts or gets
torn, there is a danger of the wiring short-circuiting to the
vehicle body.
English
• This device complies with Part 15 of the FCC Rules.
Operation is subject to the following conditions: (1) This
device may not cause harmful interference, and (2) this
device must accept any interference received, including
interference that may cause undesired operation.
Changes or modifications to this product by other than
an authorized service facility could void authorization to
use this equipment.
• Information to User
Alteration or modifications carried out without
appropriate authorization may invalidate the user’s right
to operate the equipment.
CD-V61FM
FM MODULATOR
MODULATEUR FM
Owner’s Manual
Mode d’emploi
Printed in Japan
Imprimé au Japon
<CZR3094-A> E
Published by Pioneer Corporation.
Copyright © 2002 by Pioneer Corporation.
All rights reserved.
Publication de Pioneer Corporation.
Copyright © 2002 Pioneer Corporation.
Tous droits de reproduction et de traduction réservés.
PIONEER CORPORATION
4-1, MEGURO 1-CHOME, MEGURO-KU, TOKYO 153-8654, JAPAN
PIONEER ELECTRONICS (USA) INC.
P.O. Box 1540, Long Beach, California 90801-1540, U.S.A.
TEL: (800) 421-1404
PIONEER EUROPE NV
Haven 1087, Keetberglaan 1, B-9120 Melsele, Belgium
TEL: (0) 3/570.05.11
PIONEER ELECTRONICS ASIACENTRE PTE. LTD.
253 Alexandra Road, #04-01, Singapore 159936
TEL: 65-6472-1111
PIONEER ELECTRONICS AUSTRALIA PTY. LTD.
178-184 Boundary Road, Braeside, Victoria 3195, Australia
TEL: (03) 9586-6300
PIONEER ELECTRONICS OF CANADA, INC.
300 Allstate Parkway, Markham, Ontario L3R OP2, Canada
TEL: (905) 479-4411
PIONEER ELECTRONICS DE MEXICO, S.A. de C.V.
San Lorenzo 1009 3er. Piso Desp. 302
Col. Del Valle Mexico, D.F. C.P. 03100
TEL: 55-5688-52-90
< KNKNF/02F00000 >
• Dieses Produkt entspricht den EMC-Richtlinien
(89/336/EEC, 92/31/EEC) und CE-Markierungsrichtlinien
(93/68/EEC).
• Questo prodotto è conforme alle direttive EMC
(89/336/CEE, 92/31/CEE) e alla direttiva sul marchio CE
(93/68/CEE).
• Este producto cumple con las Directivas EMC
(89/336/CEE, 92/31/CEE) y Directiva de Marcación CE
(93/68/CEE).
• This product complies with the EMC Directives
(89/336/EEC, 92/31/EEC) and CE Marking Directive
(93/68/EEC).
• Ce produit est conforme aux directives relatives à la
compatibilité électromagnétique (89/336/CEE, 92/31/CEE)
et à la directive CE relative aux marquages (93/68/CEE).
• Dit product voldoet aan de eisen m.b.t.
elektromagnetisme (89/336/EEC, 92/31/EEC) en CE
markering richtlijnen (93/68/EEC).
• Do not shorten any leads. If you do, the protection circuit
may fail to work when it should.
• Never feed power to other equipment by cutting the
insulation of the power supply lead of the unit and tapping
into the lead. The current capacity of the lead will be
exceeded, causing overheating.
• When replacing fuse, be sure to use only fuse of the rating
prescribed on the fuse holder.
• If this unit is installed in a vehicle that does not have an ACC
(accessory) position on the ignition switch, the red lead of
the unit should be connected to a terminal coupled with
ignition switch ON/OFF operations. If this is not done, the
vehicle battery may be drained when you are away from the
vehicle for several hours.
ACC position No ACC position
• Do not pass the red lead through a hole into the engine
compartment to connect to the battery. This will damage the
lead insulation and cause a very dangerous short.
• Cords for this product and those for other products may
be different colors even if they have the same function.
When connecting this product to another product, refer
to the supplied Installation manuals of both products
and connect cords that have the same function.