1211
2. Press FAV once.
•If
Favorite Channel Scan
has been set up, scanning of
favorite channels will start with up to 100 channel changes
or until stopped by pressing any key.
•If
Favorite Channel Scan
has not been set up, scanning
will start with the current channel, and continue up to
100 channel changes or until stopped by pressing any key.
3. To stop scanning channels at any time, press any key
once.
PROGRAMMING FAVORITE CHANNEL SCAN
In the CBL/SAT or TV mode,you can store a list of up to 10 favorite channels,
in any order, that will be immediately scanned when
FAV is pressed (see
Using Channel Scan
on the previous page).
NOTE: Favorite channels can only be programmed for one mode.After programming, if FAV
is pressed while in another mode,the remote control will start scanning all channels instead
(if applicable to the selected device).
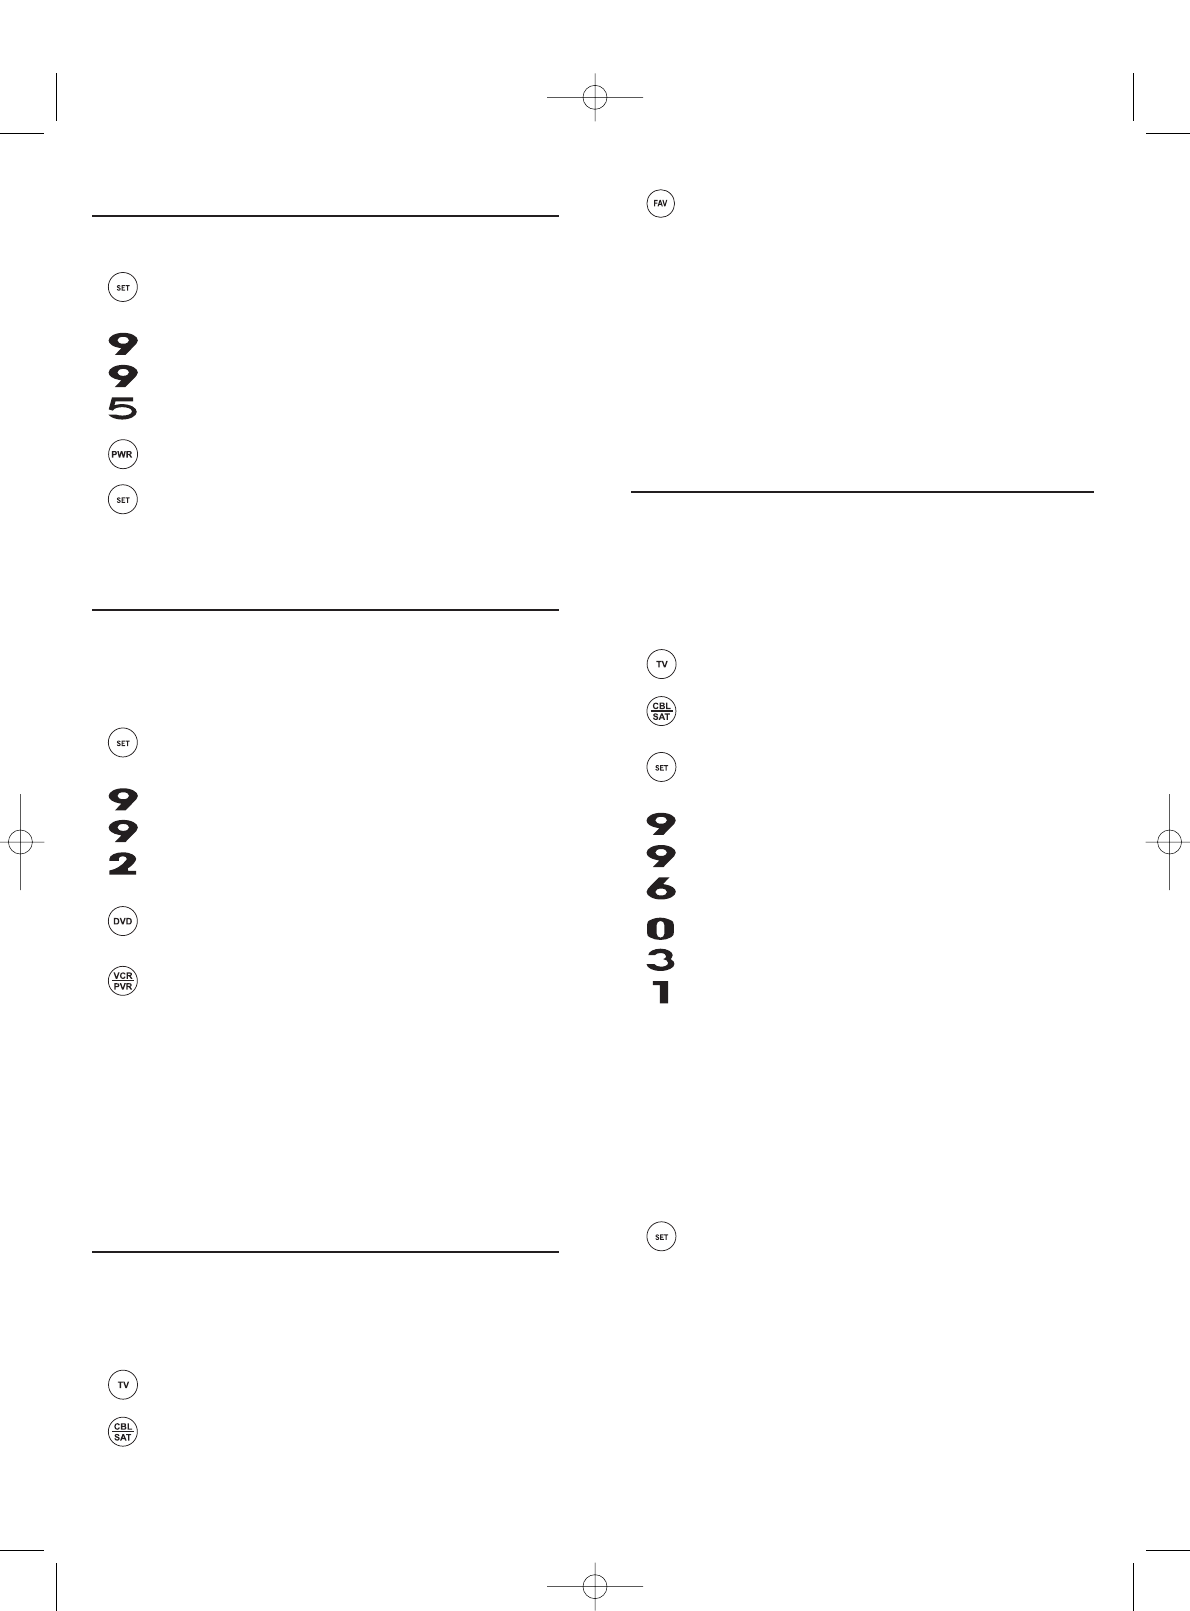
1. On the remote control,press CBL/SAT or TV once.
2. Press and hold
SET until the LED (red light) blinks twice,
then release SET.
3. Enter
9 - 9 - 6.The LED will blink twice.
4. Use the keypad to enter a favorite channel number (e.g.,
031). Then press SET once.
NOTE: If the original remote control required pressing an Enter key
to change the channel, also press the ENTER key after the channel
number (e.g., 0 - 3 - 1 - ENTER). On some satellite receivers and cable
boxes, you may need to press the SELECT (OK) key instead of ENTER.
5. If desired,repeat step 4 for each channel to be stored, up
to a total of 10 channels.
NOTE:If you try entering more than 10 channels,the remote control
will automatically exit programming. To change your favorite chan-
nel list at this point, you will first need to delete the existing list by
performing the steps in “Clearing Custom Programming”on page 14.
Then, perform the instructions in this section once again.
6. To exit programming with less than 10 favorite channels
stored,press and hold SET until the LED blinks twice.
Otherwise, the remote control will automatically exit the
program after 10 channels have been stored.
PROGRAMMING A MASTER POWER MACRO
(continued)
Clearing The Master Power Macro
1. Press and hold SET until the LED (red light) blinks twice,
then release
SET.
2. Enter 9 - 9 - 5.The LED will blink twice.Then press POWER
once.
3. Press and hold
SET until the LED blinks twice, then release
SET.The
Master Power Macro
is now cleared.
RE-ASSIGNING DEVICE KEYS
The One For All 4 Device Universal Remote Control can be set to control a
second PVR,VCR,or DVD player.For example,to control a TV,a cable box,
and
two DVD players
,re-assign the unused VCR/PVR key to operate the second
DVD player as follows:
1. On the remote control,press and hold
SET until the LED
(red light) blinks twice, then release SET.
2. Enter
9 - 9 - 2.The LED will blink twice.
3. Press
DVD once.
4. Press
VCR/PVR once. The LED will blink twice. The VCR/PVR
key is now ready to be set up to control your second DVD
player. See
Programming Device Control
on page 8.
To re-assign a second VCR or PVR (or DVR) to the unused
DVD key, repeat
steps 1 through 4 .However,in step 3 substitute VCR/PVR for DVD,and in step
4 substitute
DVD for VCR/PVR.Now the DVD key will be ready to be set up as
your second VCR or PVR (or DVR). See
Programming Device Control
on page
8.
NOTE: Only one device can be assigned to an unused device key at a time.
USING CHANNEL SCAN
In the CBL/SAT or TV mode,use the FAV key to start a 3-second scan of all
channels.Or,if programmed, use the FAV key to scan only your favorite
channels to view a desired channel (see
Programming Favorite Channel Scan
on next page. )
1. Press
CBL/SAT or TV once.