2/2USER’S GUIDE (Basics)
You can use 4 SO to enable and disable the
effects descri
● Hall Simulator
The hall simulator effect s
unconstrained brilliance, other distinctive
characteristics concert ha
You can also adjust t
● Surround
The Surround effect coustics th
from the speakeit is coming
directions (virtual
NOTE
• The Surround eff
Digital Piano’s bk PHONES jack or bp LINE OUT ,
L/MONO jacks.
■ To enable or disable the
Surround effects
1.
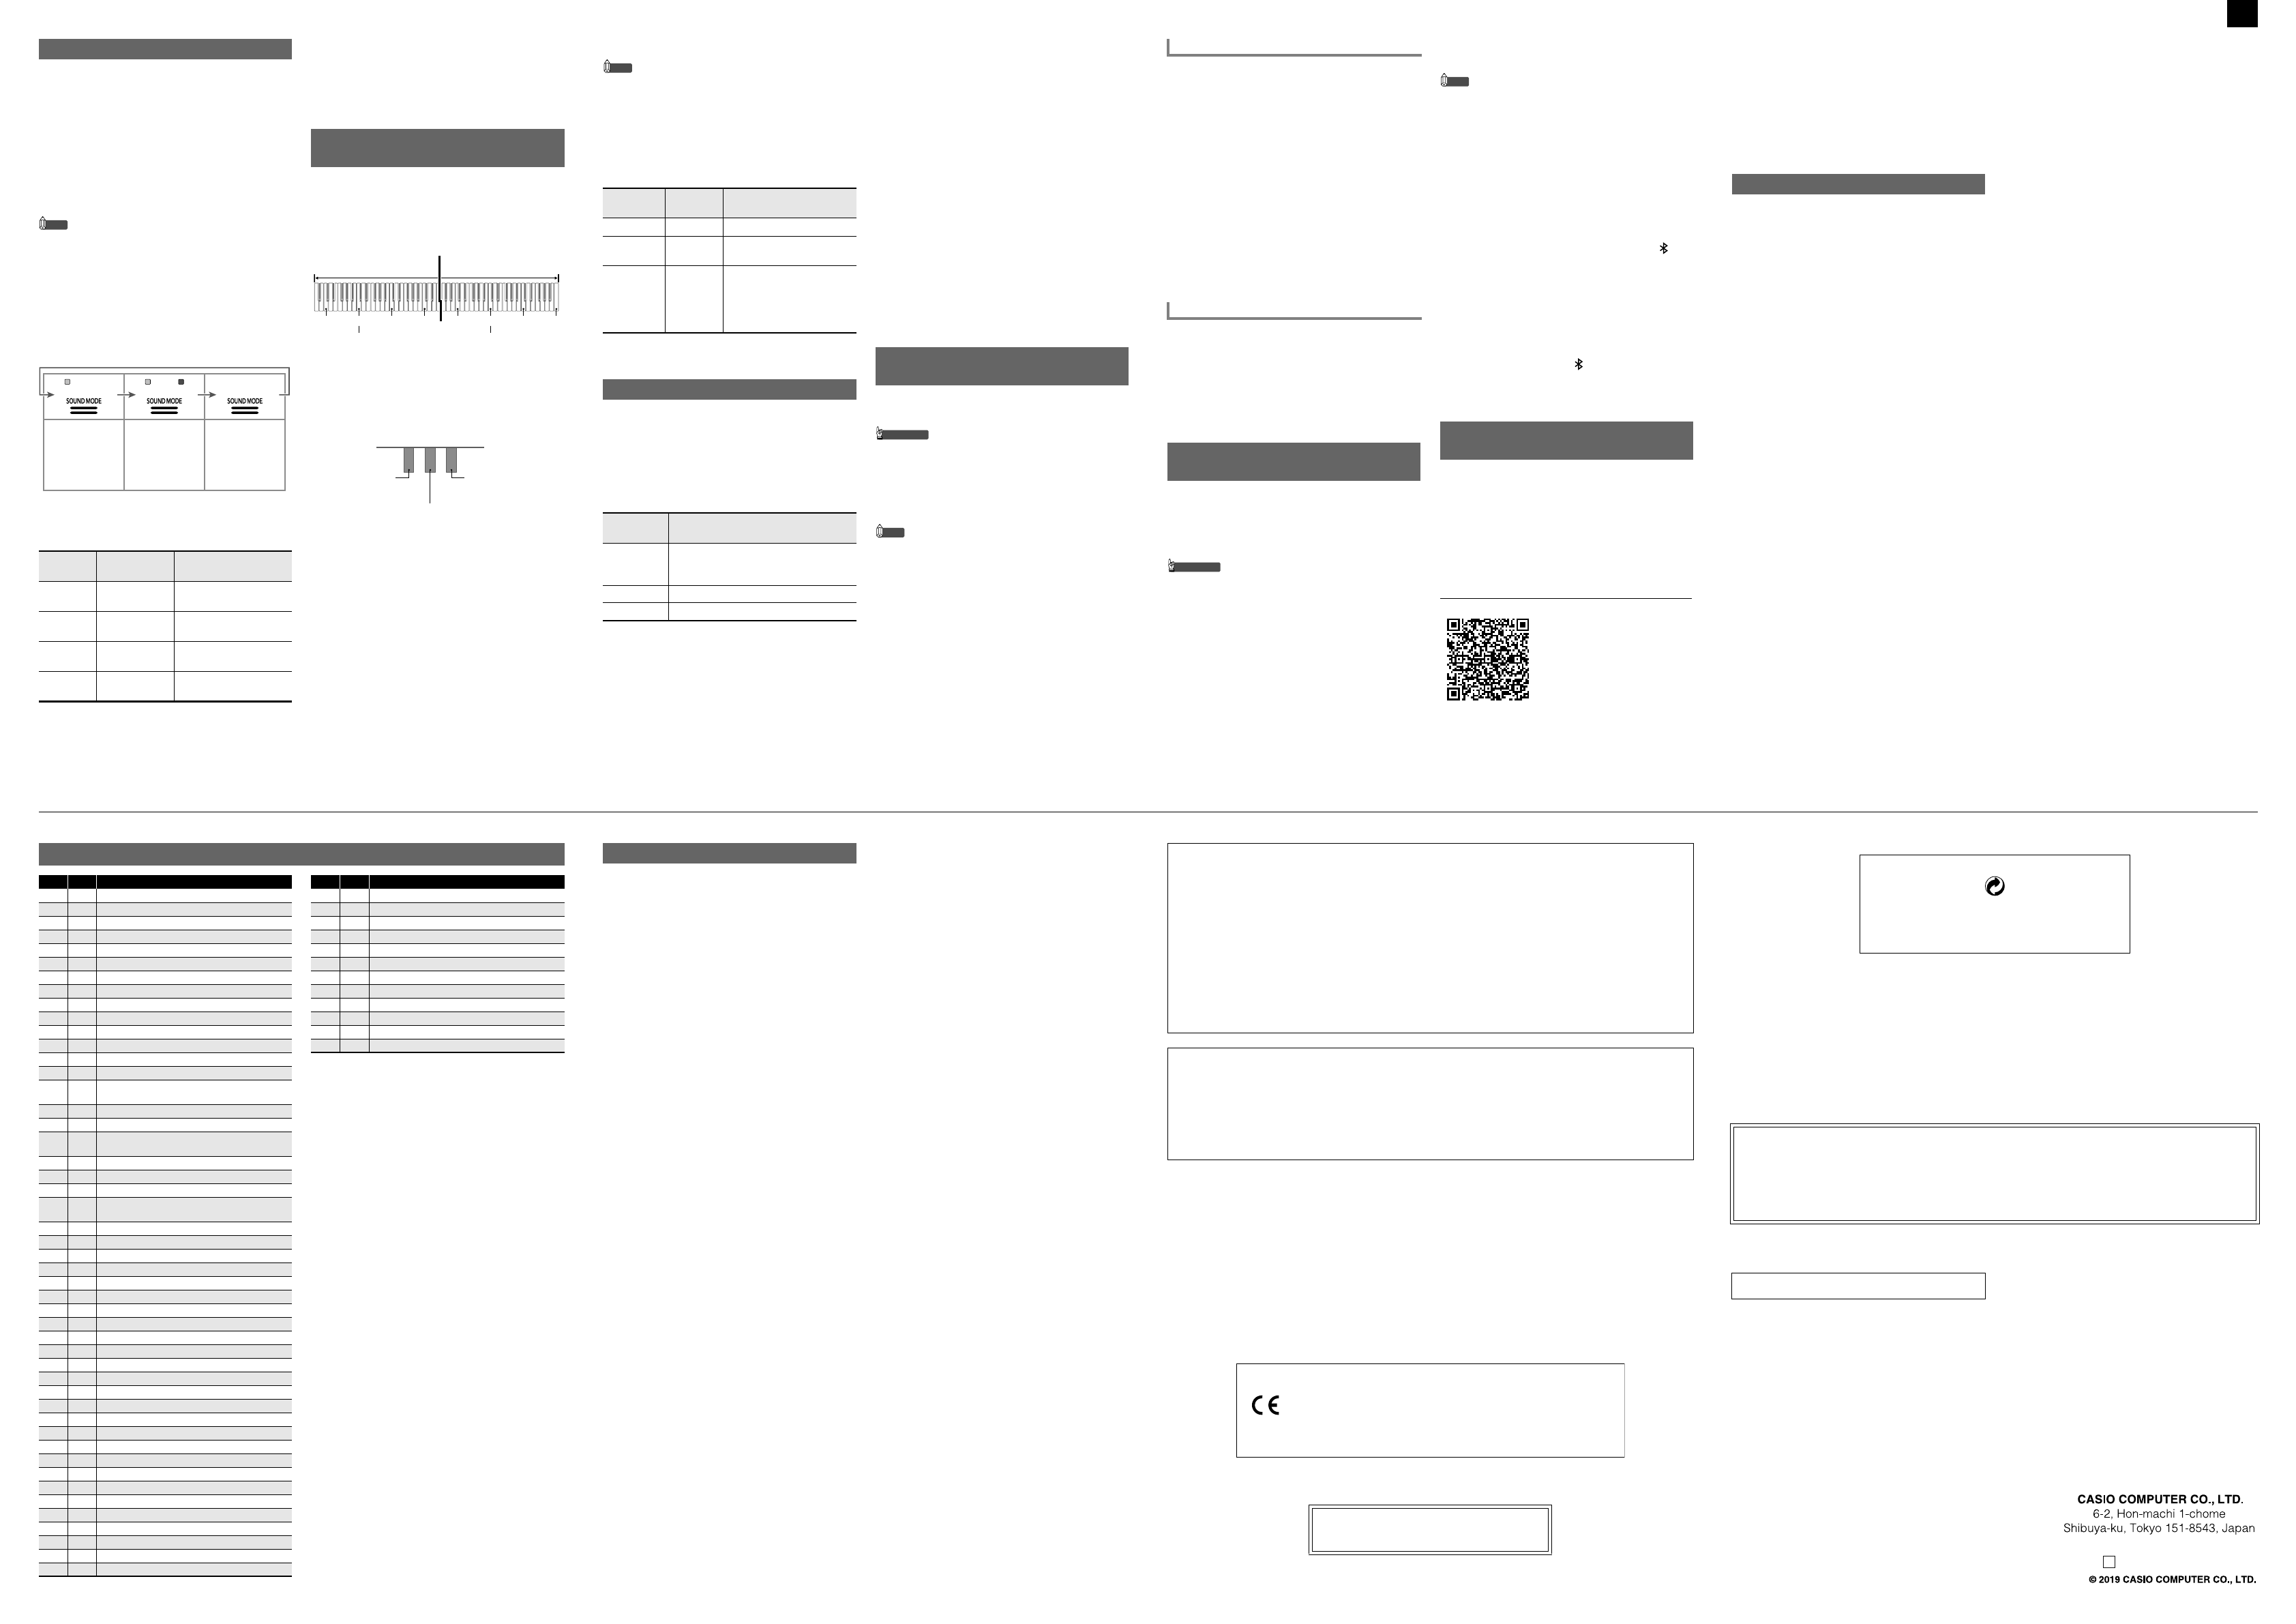
Touch 4 SOUND MODE .
• Each touch will cycle between the settings, and the
current setting is ined by the LED lig
shown below.
■ To specify the Hall Simulator type
1.
While holding do4 SOUND MODE , press a
keyboard key from A0 through C1.
2.
Release 4 SO .
■ To spe
1.
While holding down 4 SOUND MODE , press the
F1 (Surround Type 1) or F{ 1 (Surround Type 2)
keyboard key.
2.
Release 4 SO .
You can split
left and right sides h
The Duet Mode is the
the teacher playing o
same song on the right
■ Pedal Operation when
• If you are using t
Unit, the left o
pedal, while the
damper pedal. Only t
keyboard supports half
• To use the supplied
affects
it to the bm DAMPER PEDAL jack.
is not supported in t
Using the Sound Mode
Pressing
this key:
Selects this
setting:
Description
A0 1: STANDARD
HALL
Standard concert hall
B} 0 2: OPER
HALL
Uniquely shaped S
Concert Hall
B0 3: BERLIN
HALL
Berlin arena type classic
concert hall
C1 4: BRITISH
STADIUM
Large outdoor
the London suburbs
Hall Simulator
enabled
Surround
(Initial default)
Hall Simulator
enabled
Surround en
Hall Simulator
disabled
Surround disab
Splitting the Keyboard for Duet
Play
Split po
Left keyboard Right keyboard
(middle C) (middle C)
Left side damper
pedal
Left and right
damper p
Right side da
(Half-peda
supported)
■ To use the Duet Mode
• For
setting below, see the “FUNCTION Button + Keyboard
Key” entry of
1.
While holding d3 FUNCTION , press the C4
keyboard key.
Each time the C4 keyboar
this setting,
newly selected setting.
2.
After the setting is the
3 FUNCTION .
The Digital Piano comes wit
piano
You can also t
a built-in song and
■ To listen to Music Library song
1.
While holding d6a , press o
keyboard keys below to
• For informati
keyboard keys, song
the “Music Library List”.
2.
After selecting a song, release 6a.
3.
To start song playback, touch 6a.
• Playback will
song is reach
6a.
■ To select a playback part and play
1.
Perform steps 1 and 2 under “To listen to Music
Library songs” to select the song you want to
practice.
2.
As required, perform the procedure under
“Specifying the Tempo”
song.
3.
Select the playback par
part).
(1) While6a,
(leftmost white
Each pres
the settings
L only lit: Left-
muted.
R only lit: Right
muted.
LR both lit: Both
(2) Release 6a.
4.
To start song play6a.
• Play the muted part
Your Digital Piano can
keyboard and play it b
• CASIO COMPUTER CO.
for any damages, lost pr
parties
to malfunction, repair, or for
• Should power fail during recording,
the track you ar
NOTE
• The
track and right han
tracks can be combined into a single song. Here we will
present a
track
to the User’s Guide
website.
• Up
be recorded for a
Notification
Tone
Setting Description
Off tone Off Duet Mode exited.
Option
× 1
On Du
Option
× 2
Pan Left-side keyboa
output from
right-side keyboard not
output from
while in the Due
Listening
Pressing
this key:
Does this:
C1 to B5 Selects th
to 60) that
keyboard
B0 Selects the ne
B} 0 Selects t
Recording and Playing Back
Performances (MIDI Recorder)
1.
Touch 70 (REC
This enters reco, which
flashing 70 (REC) (red) and 6a (white) lights.
2.
To start
This causes the 70 (REC) (red) light to chan
flashing to lit,
progress.
• If, during a
remaining recordable
indicator will start to flash more quickly. Recording
stops automatically when
recordable notes becomes
3.
When you 70 (
or 6a.
This 70 (REC) light whi
4.
To replay the rec6a.
1.
While holding down 6a ,
key.
2.
Release 6a.
3.
To start playback, touch 6a.
• Playback wil
recording is rea
touch 6a.
This Dig
system. After you pair
device that is Blueto
playback from the
Piano’s speakers.
• Before performing the pairing operation, tur
the volume levels
external device
• If external device notes that sound through the
Digital Piano spe
external device
■ To pair the Digital Piano with a Bluetooth
audio device
NOTE
• For
setting below, see the “FUNCTION Button + Keyboard
Key” entry of th
• The Digital P
eight Bluetoo
one device can
time.
1.
On
external device, t
2.
On the Digital Piano, hold3 FUNCTION as
you press the D1 keyboa
This causes the Digit ) to
flash, which indicates pai
• If
automatically at this point
3.
Release 3 FU .
4.
On the Bluetooth setting screen
device, select “CASIO
• This completes pairing,
Piano’s Bluetooth icon ) to change from fla
to lit.
• Now output
the Digital Piano’
You can use
with a phone, t
operations described below.
• Control the Dig
Controller)
• Transfer music dat
■ To download the smart device app
Download
website and install it
https://s
To record keybo
To perform playback
Using the Digital Piano as a
Bluetooth Speaker System
Linking with
Function)
■ To link to a smart device
After installing t
device, use a ilable USB cable to connect
the smart devi
port.
After connect
the smart devi
about operation
app.
Model: PX-S1000BK/PX-S100
Keyboard: 88-key piano keyboard;
range (–2 to +2
semitones; Oc
Sound Source: Number of Tones: 18
tones + 1 low-range bass ton
tone); Split (
polyphony: 192 notes;
levels, Off); Tuning:
(0.1Hz
other types
Acoustic Simulator: Hammer response,
String
on action noise, Key off a
Sound Mode: Hall simulator (4 t
Other Effects Chorus (4 t
3)
Demo Song: 1
Music Library: Built-in
approximately 90KB per
10 songs)* ; Son
MIDI recorder song p
* Based on 1KB = 102
2
bytes
MIDI Recorder: Fun
Number of Song: 1; Number of Tracks: 2; Capacity:
Approximately 10,000
Protection: Built-in f
Adjustable (Settin
playback.)
Metronome:
to 255; Metronome
Pedals: Included SP-3 p
(off, on), sostenuto
(start, stop), te
pedal unit: Damper
(off, on)
Other Functions: Auto Resume; Op
Notification tones (Se
volume)
Bluetooth Connection: Bluetooth Version:
Profile: A2DP; Support
Bluetooth Class 2; Transmission Freq
to 2480 MHz; Maximum Wi
MIDI: 16-ch
Inputs/Outputs: P
× 2; Power: 12V DC;
(3.5mm) (Input impeda
LINE OUT R, L/MONO jacks: Standard jacks (6.3mm) × 2
(Output impedance:
MAX);
jack (6.3mm); PEDAL UNIT jack: Prop
Acoustics: Amp output: 8W
(oval) × 2
Power Su 2-w
Batteries: 6 AA-size alkaline batt
Continuous Operation:
Playback of built-in demo
Actual continuou
battery type and pe
AC Adaptor: AD-A1215
Auto Power Off:
adaptor power) or
last operation, can
Power Consumption: 12V = 10W
Dimensions: 132.2
9 1/8 × 4 inch)
Weight: Approximately 11.2kg (
• Specifications and d
notice.
Product Specifications
*1 Keyboard Key Note
Music Library List
No. *1 Title
1 C1 Nocturne Op.
2 C{ 1 Fantaisie-Impromptu Op.
3 D1 Étude Op.10-3 “Cha
4 E} 1 Étude Op.10-5 “B
5 E1 Étude Op.10-12 “
6 F1 Étude Op.25-9
7F{1 Prélude Op.
8 G1 Valse Op.64-1
9A}1 Valse Op.64-2
10 A1 Moments Musicaux 3
11 B} 1 Impromptu Op.90-2
12 B1 Marche Militaire 1 (Duet)
13 C2 Frühlingslied [Lieder Ohne Worte
14 C{ 2 Fröhlicher
15 D2
Von fremden Län
[Kinderszenen]
16 E} 2 Träumerei [Kinderszenen]
17 E2 Tambou
18 F2
Menuet BWV Anh.114
[Clavierbüchlein der A
19 F{ 2 Inventio 1 BWV 772
20 G2 Inventio 8
21 A} 2 Inventio 13 BWV 784
22 A2
Praeludium 1 BWV
[Das Wohltemperierte K
23 B} 2 Le Co
24 B2 Gavotte
25 C3 Sonatina Op.36-1 1st Mov.
26 C{ 3 Sonatine Op
27 D3 Sonate K.545 1st Mov.
28 E} 3 Sonate K.331 3rd
29 E3 Rondo K.485
30 F3 Für Elise
31 F{ 3 Marcia
32 G3 Sonate Op.13 “Path
33 A} 3 Sonate Op.13 “Pa
34 A3 Sonate Op.13 “Pathéti
35 B} 3 Sonate Op.27-
36 B3 Rhapsodie 2
37 C4 Waltz Op.39-15 (Duet)
38 C{ 4 Liebesträume 3
39 D4 Blumenlied
40 E} 4 La Prière d’une
41 E4 Csikos Post
42 F4 Humoresque Op.101-7
43 F{ 4 Melodie [Lyrische Stü
44 G4 Sicilienne Op.
45 A} 4 Berceuse [Dolly] (Duet)
46 A4 Arabesque 1
47 B} 4 La Fille aux Cheveux de
48 B4 Passepied [Suite bergamasque]
49 C5 Gymnopédie 1
50 C{ 5 Je Te Veux
51 D5 Salut d’Amour
52 E} 5 The
53 E5 Maple Leaf
54 F5 L’arabesque [25 Etüden Op
55 F{ 5 La Styrienne [25 Etüden
56 G5 Ave Maria [25 E
57 A} 5 Le retour [2
58 A5 La chevaleresque [25 Etüden
59 B} 5 No.13 [Études de Mécanisme Op
60 B5 No.26 [Études de Mécanisme Op.849]
No. *1 Title
Be sure to read
precautions.
Location
Avoid the following l
• Areas exposed to direct sunl
• Areas subjected to temper
• Near a radio, TV, v
The above devices will not cause malfuncti
product, but the
audio or video of
User
• Never use benzine, a
agents to
• To clean the product or
cloth moistened in a
neutral deterge
cloth before wiping.
Included and Optional Accesso
Use only accessories that a
product.
fire, electric s
Weld Lines
Lines may be visi
are “weld lines
They are n
Musical Instrument Etiquette
Always be aware of others
product. Be especiall
keep the volume at
steps
window and using
AC Adaptor Handling Precau
• Never insert metal, any othe
product’s DC12V terminal.
accident.
• Do not tr
product with anoth
• Use a power outlet
unplug the AC ada
whenever else you need t
• The AC adaptor
use
Do not place any containe
contains liquid on t
• Never cover the AC adap
cloth, a curtai
• Unplug
plan to use the
• The AC adaptor
malfunctions or be
purchase a new one.
• AC adaptor oper
Temperature: 0 t
Humidity: 10% to
• Output polarity:
&
Operating Precautions
Important!
Please note the fis product.
• Before using the AD-A12150LW Adae to check the
Carefully check the power cord and other serio
AC adaptor that is
• The product is not int
• Use only CASIO AD-A12150LW ada
• The AC adaptor is not a toy.
• Be sure to disconnect tct.
NOTICE
This equipment has its
the pr
installation.dio frequency not installed and
accordance with the instructe to radio communicat
guarantee thaallati
to radio or rning th
to try to coring measures:
• Reorient or relocate the receiving
• Increase the separation between
• Connect the equipment into an om
• Consult the dealer or an expnced radio/TV telp.
FCC CAUTION
Changes or modifications notsponsible f
authority to
Declaration of Conform
Model Number: PX-
Trade Name: CA
Responsible party: CASIO
Address: 570 MT.
Telephone number:
This device complies wits subject to
(1) This devices device nte
including in
Manufacturer:
CASIO COMPUTER CO., LTD.
6-2, Hon-machi 1-chome, Shibuya-ku, Tokyo 151-8543, Japan
Responsible within the European Union:
Casio Europe GmbH
Casio-Platz 1, 22848 Norderstedt, Germany
www.casio-europe.com
Declaration of Conformi
Company and product na
may be registe
■ About the AC adaptor that comes with
Note the following AC ad
• Never pull on the cord with excessive force.
• Never repeatedly pull on th
• Never twist the cord at the
• Before moving the Digital Piano, btor
• Loop and bundle the poC a
• Any rt or
use, any otheents of this manual witonsent o
• IN NO EVENT SHALL CASIINCLUDING, WITHOUT
LIMITATION,
ARISING OUT ODUCT,
ADVISED OF THE POSSIBILITY OF SUCH DAMAGES.
• The contents of thce
A labels rating is
This recycle mark indicates that the p
the environm
MA1907-D
Printed in China
C
Continued on sheet 3/4
[Continued below left]
PXS1000_A2_EN.fm 2