8
After making the connections to your unit, activate the 651T by switching
the power button on the rear panel to 'On', then press the Standby/On
button on the front of the unit or remote.
Note:
When used for the first time, the unit will peform a DAB full scan
when turned on.
Tuning and listening
Press the Standby/On button.
Press the Band button to toggle between bands.
In FM/AM mode, use the buttons to manually tune in 0.05MHz
increments or press and hold the or button.
DAB mode
Because DAB stations are transmitted in digital multiplexes containing
several stations bundled together the 651T needs to scan and find the
available multiplexes in your area before it can allow you to step through
the stations they contain.
The quick scan scans all the most common bands for multiplexes, whilst
the full scan will scan all possible DAB frequencies and may take up to a
couple of minutes to complete.
Performing a scan is only required at first setup and perhaps occasionally
afterwards to see if any new services have been added in your area.
If you are using the 651T for the first time or have moved to a different
geographic location always perform a full scan. It is recommended to
perform a factory reset before performing a full scan to erase all stored
presets and existing stations.
Quick scan is accomplished by briefly pressing the Autotune button.
Full scan is accomplished by pressing and holding the Autotune button.
Once a scan has been performed, use the buttons to browse
through receivable station. Then press Select/Mode to listen to your
chosen station.
Note:
DAB mode the 651T can be set to Autoselect On or Off. When On if
you browse to a station in the display (using the buttons) and then
press nothing for a few seconds, the display will automatically tune to that
station.
When Off you need to press Select after browsing to a station to tune to
that station (if nothing is pressed the 651T reverts to the current station
after a couple of seconds).
Press and hold the Select/Mode button to set Autoselect On. Press and
hold again the Select/Mode button to set Autoselect Off
DAB settings
It is possible to change the DAB region setting for this unit. This is
necessary if the unit has been moved to a different region location.
Note:
Changing the DAB region will erase all the stored DAB presets.
1. Press and hold the Select/Mode button when powering up the unit to
access the advance setting.
2. Use the buttons and select ‘DAB settings’. Press the
Select/Mode button to change the DAB region settings.
3. Use the buttons to browse through the available country DAB
region setting Europe, Canada, Korea and China.
4. Select the correct region and press the Select/Mode button to accept
the new changes.
5. Restart the unit and perform a full station scan.
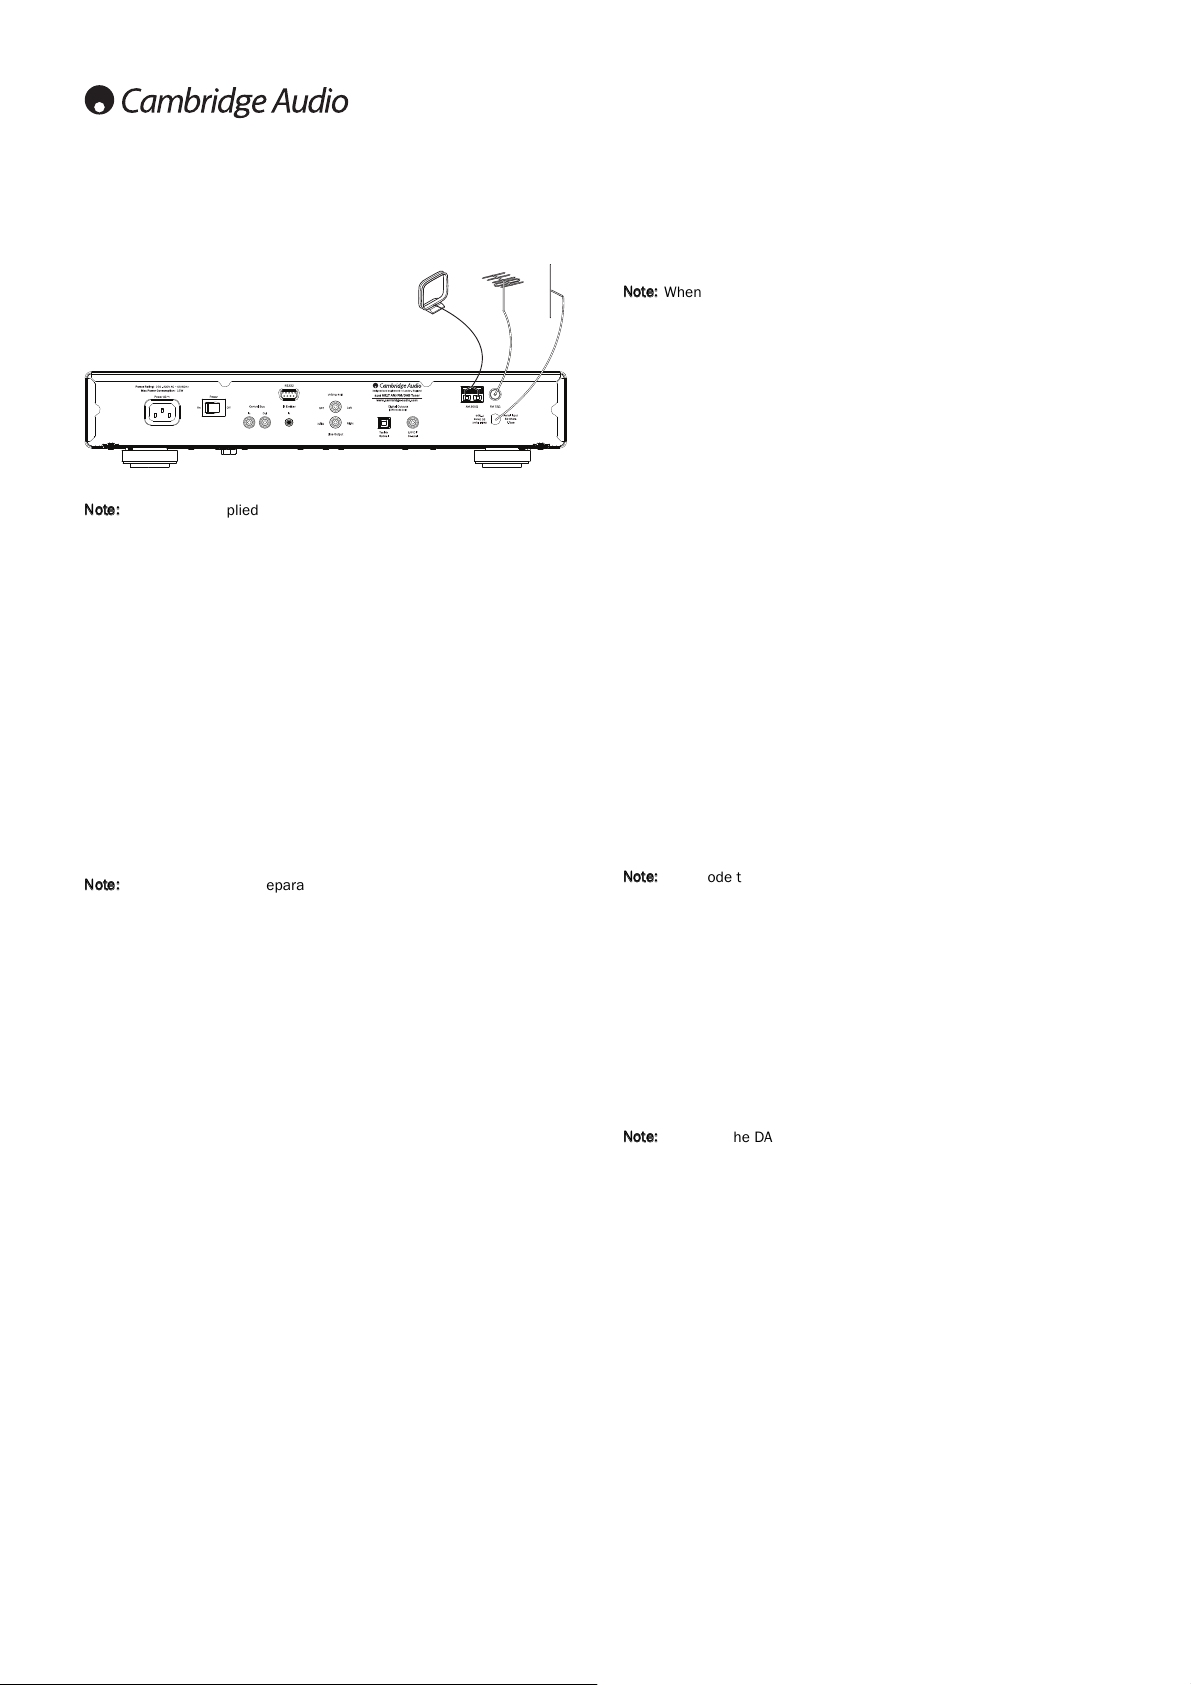
Operating instructionsAerials
Note:
The 651T is supplied with temporary FM or DAB aerials for initial use
only. For permanent use, outdoor aerials are highly recommended.
AM loop aerial
Connect each end of the single length antenna to the antenna terminals.
Place the antenna as far from the main system as possible to prevent
unwanted noise and to obtain optimum reception. If the AM loop aerial
provided does not receive sufficient reception, it may be necessary to use
an outdoor AM aerial.
FM aerial
Connect the supplied aerial to the FM 75 ohm socket. Extend and move
the aerial lead around until you get the best reception. For continued use,
we strongly recommend using a 75 ohm outdoor FM aerial.
DAB aerial
The 651T has a 50 Ω F-type screw connection aerial for DAB signal.
Connect the supplied DAB aerial to the socket. For continued use, we
strongly recommend an external aerial.
Note:
It is desirable to separate the DAB and FM aerials for best
performance.