19
Installation instructions
Any electrical and/or plumbing work required to install
this appliance should be carried out by a qualified
electrician and/or plumber or competent person.
Remove all packaging before positioning the machine.
If possible, position the machine next to a water tap and a
drain.
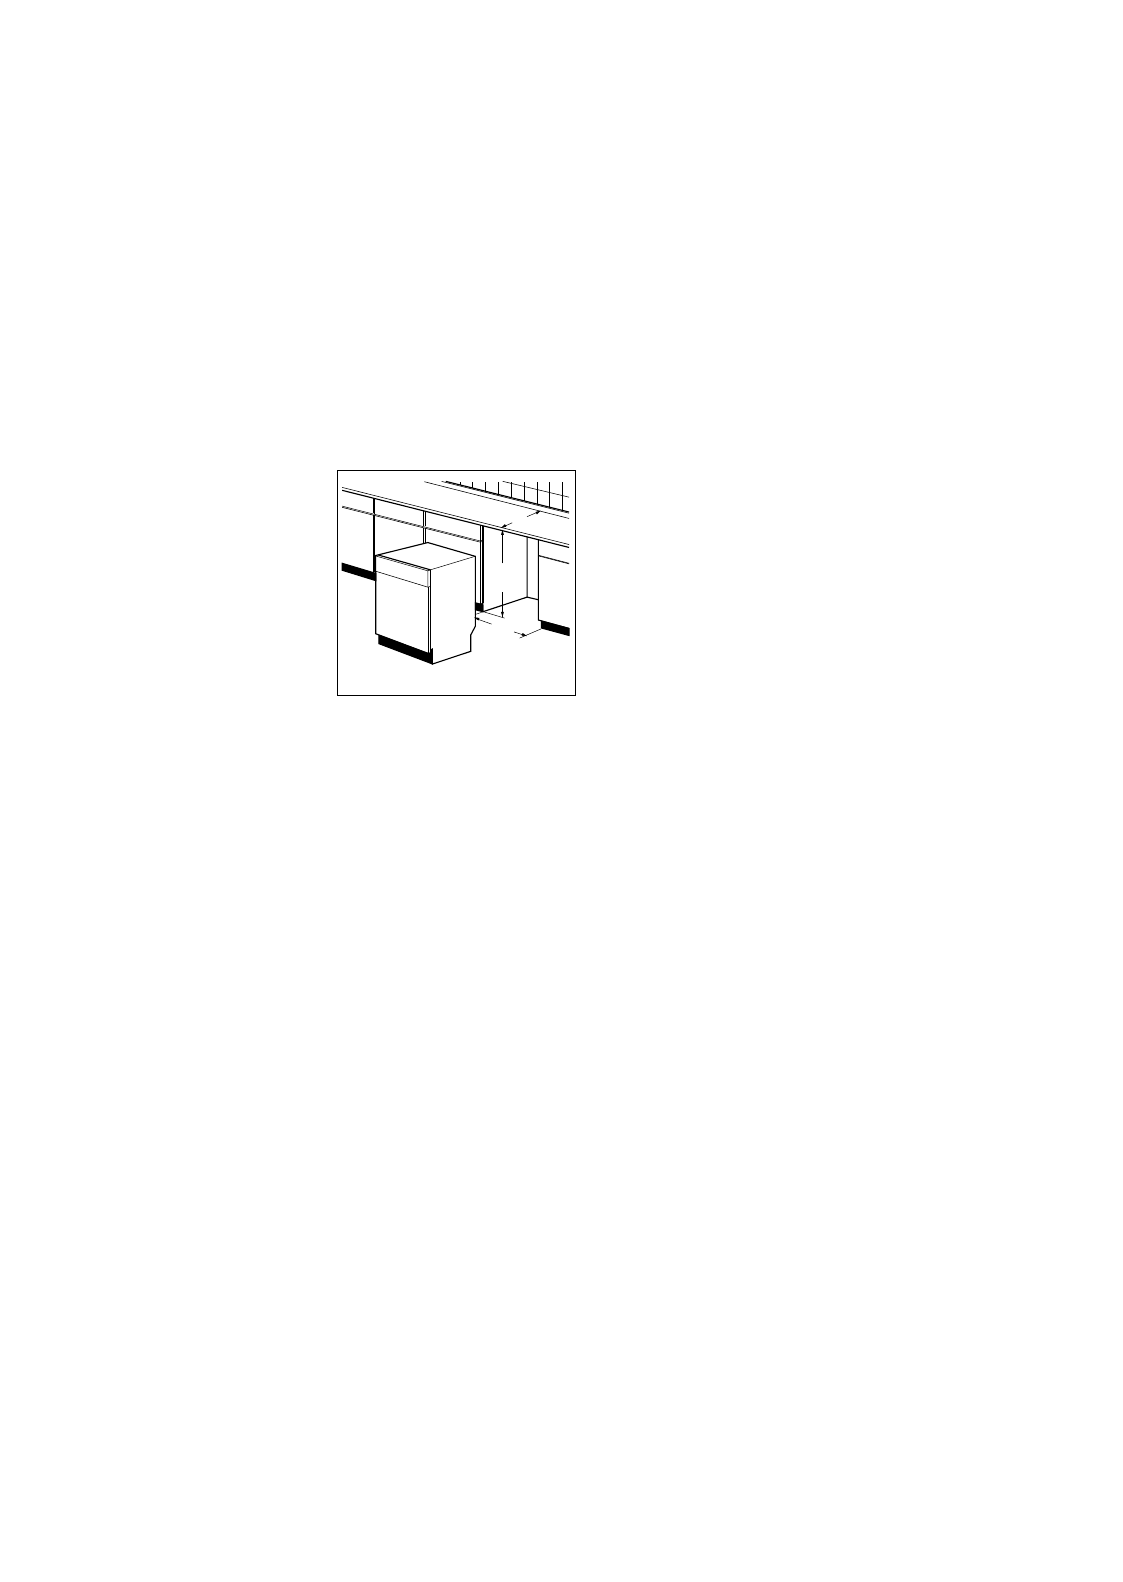
Fitting under a counter
(kitchen worktop or sink)
By removing the machine’s worktop, you can install it under a
close fitting sink unit or a pre-existing top, providing the
dimensions of the recess correspond to those shown in the
picture.
Proceed as follows:
Remove the machine’s worktop by unscrewing the two rear
retaining screws, pull from the front and slide out the rear
slots, lifting the worktop.
Insert the machine after adjusting height and levelling with the
adjustable feet. When inserting the machine, ensure that the
water inlet and drain hoses are not kinked or squashed.
If the dishwasher is later used as a free-standing appliance,
the original worktop must be re-mounted.
The plinth on free-standing appliances is not adjustable.
Levelling
Good levelling is essential for correct closure and sealing of
the door.
When the appliance is correctly levelled, the door will not catch
on either side of the cabinet.
If the door does not close correctly, loosen or tighten the
adjustable feet until the machine is perfectly level.
Water supply connections
This dishwasher must be plumbed into a cold water supply.
For making the connection itself, the coupling nut fitted to the
machine’s supply hose is designed to screw onto either a 3/4"
inch gas thread spout or to a purpose made quick-coupling tap
such as the Press-block.
The water pressure must be within the limits given in the
"Technical specifications". Your local Water Authority will
advise you on the average mains pressure in your area.
The water inlet hose must not be kinked, crushed, or entangled
when it is being connected up.
The dishwasher features fill and drain hoses which can be
turned either to the left or the right to suit the installation by
means of the locknut. (Attention! NOT all models of
dishwashers have fill and drain hoses provided with locknut. In
this case, this kind of facility is not possible).
The locknut must be correctly fitted to avoid water leaks.
If the machine is connected to new pipes or pipes which have
not been used for a long time, you should run the water for a
few minutes before connecting the inlet hose.
Do not use, for connection, old hoses which have been
used in another appliance.
The dishwasher is fitted with safety devices that prevent the
wash water returning into the drinking water system and
comply with the applicable plumbing regulations.