• The r
• Use only
• Make sur
to the switch c
• Connect the pow
only
of
any
adapters may
• Make sur
cords ar
VM818HD
Full Color
HD Video Monitor
1 Conne
P
St
Onc
baby unit a
pare
the b LED
light tu
The gre the
baby
3 P
Caution
• The default volume of your parent unit is
level 3 , and the maximum volume is level 5.
If you experience high-pitched screeching
noise from your baby monitor while
positioning:
Make sur
more than 1 me
Low
Note
• To a
devices, plac
away
microw
Use the menu
Press to enter
menu item, or
the parent
operations, such as
unit lullaby
sensitivity
While in the menu:
• Press , , o to scroll among the
menu options.
• Press to sele
set
• Press / to return t
• Press to go to the Help & info page.
Basic opera
Over
Over
Th
unit
Wh
sh
shock and
1 Follow all warnings and instructions marked on the
product.
2 Adult setup is required.
3. C D
2 met
4. Th
responsible
be u
5. Thi
6. Do not use this product near water. For example, do not
use it next to a bath tub, wash bowl, kitchen sink, laundry
tub or swimming pool, or in a wet basement or shower.
7. CAUTION: Use only the battery pr
of explosion if a wrong type of battery is used for the parent
unit. The batt
temperatur
storage or
oven, or
result in an e
high tempera
explosion or
subjected to e
explosion or
of used batt
8. Use only the adapters included with this product.
Incorrect adapter polarity or voltage can seriously
damage the product.
Power a
Pare
VTech T
Model: VT05EUK
Baby unit
VT
Model: VT05EUK05100 (UK)
Rechargeable ba
Li-ion battery
Zhongshan Tianmao Batt
Model Number: BP1763
9. The power adapters are intended to be correctly
oriented in a vertical or floor mount position. The prongs
are not designed to hold the plug in place if it is plugged
into a ceiling, under-the-table or cabinet outlet.
10. For pluggable equipment, the socket-outlet shall
be installed near the equipment and shall be easily
accessible.
11 Unplug this product from the wall outlet before cleaning.
Do not use liquid or aerosol cleaners. Use a damp cloth for
cleaning.
12 Do not cut off the power adapters to replace them with
other plugs, as this causes a hazardous situation.
13. Do not allow anything to rest on the power cords. Do not
install this product where the cords may be walked on or
crimped.
14 This product should be operated only from the type
of power source indicated on the marking label. If you
are not sure of the type of power supply in your home,
consult your dealer or local power company.
15 Do not overload wall outlets or use an extension cord.
16 Do not place this product on an unstable table, shelf, stand
or other unstable surfaces.
1 This product should not be placed in any area where
proper ventilation is not provided. Slots and openings
in the back or bottom of this product are provided for
ventilation. To protect them from overheating, these
openings must not be blocked by placing the product
on a soft surface such as a bed, sofa or rug. This product
should never be placed near or over a radiator or heat
register.
18 Never push objects of any kind into this product through
the slots because they may touch dangerous voltage
points or create a short circuit.
Never spill liquid of any kind on the product.
19. To reduce the risk of electric shock, do not
disassemble this product, but take it to an authorized
service facility. Opening or removing parts of the
product other than specified access doors may
expose you to dangerous voltages or other risks.
Incorrect reassembling can cause electric shock when
the product is subsequently used.
20. You should test the sound reception every time you turn
on the units or move one of the components.
21 Periodically examine all components for damage.
22 The
cer
cor
sur
res
an
ba
23 Children should be supervised to ensure that they do not
play with the product.
24. The product is not intended for use by persons (including
children) with reduced physical, sensory or mental
capabilities, or lack of experience and knowledge,
unless they have been given supervision or instruction
concerning use of the appliance by a person responsible
for their safety.
SAVE THESE INSTRUCTIONS
Cautions
1 Use and store the product at a temperature between 0o C
and 40o C.
2 Do not expose the product to extreme cold, heat or
direct sunlight. Do not put the product close to a heating
source.
3. Batteries should not be exposed to excessive heat such
as bright sunshine or fire.
4. Warning—
Chi
thi
(mor
rem
5. Never place the baby unit(s) inside the
baby’s cot or playpen. Never cover the baby unit(s) or
parent unit with anything such as a towel or a blanket.
6. Other electronic products may cause interference
with your baby monitor. Try installing your baby
monitor as far away from these electronic devices
as possible: wireless routers, radios, cellular
telephones, intercoms, room monitors, televisions,
personal computers, kitchen appliances and cordless
telephones.
Precautions f
Cardiac pacemakers (applies only to digital cordless devices):
Wireless Technology Research, LLC (WTR), an independent
research entity, led a multidisciplinary evaluation of the
interference between portable wireless devices and
implanted cardiac pacemakers. Supported by the U.S. Food
and Drug Administration, WTR recommends to physicians
that:
Pacemaker patients
• Should keep wireless devices at least six inches from the
pacemaker.
• Should NOT place wireless devices directly over the
pacemaker, such as in a breast pocket, when it is turned
ON.
WTR’s evaluation did not identify any risk to bystanders with
pacemakers from other persons using wireless devices.
Electromagne
This VTech product complies with all standards regarding
electromagnetic fields (EMF). If handled properly and
according to the instructions in this user’s manual, the product
is safe to be used based on scientific evidence available
today.
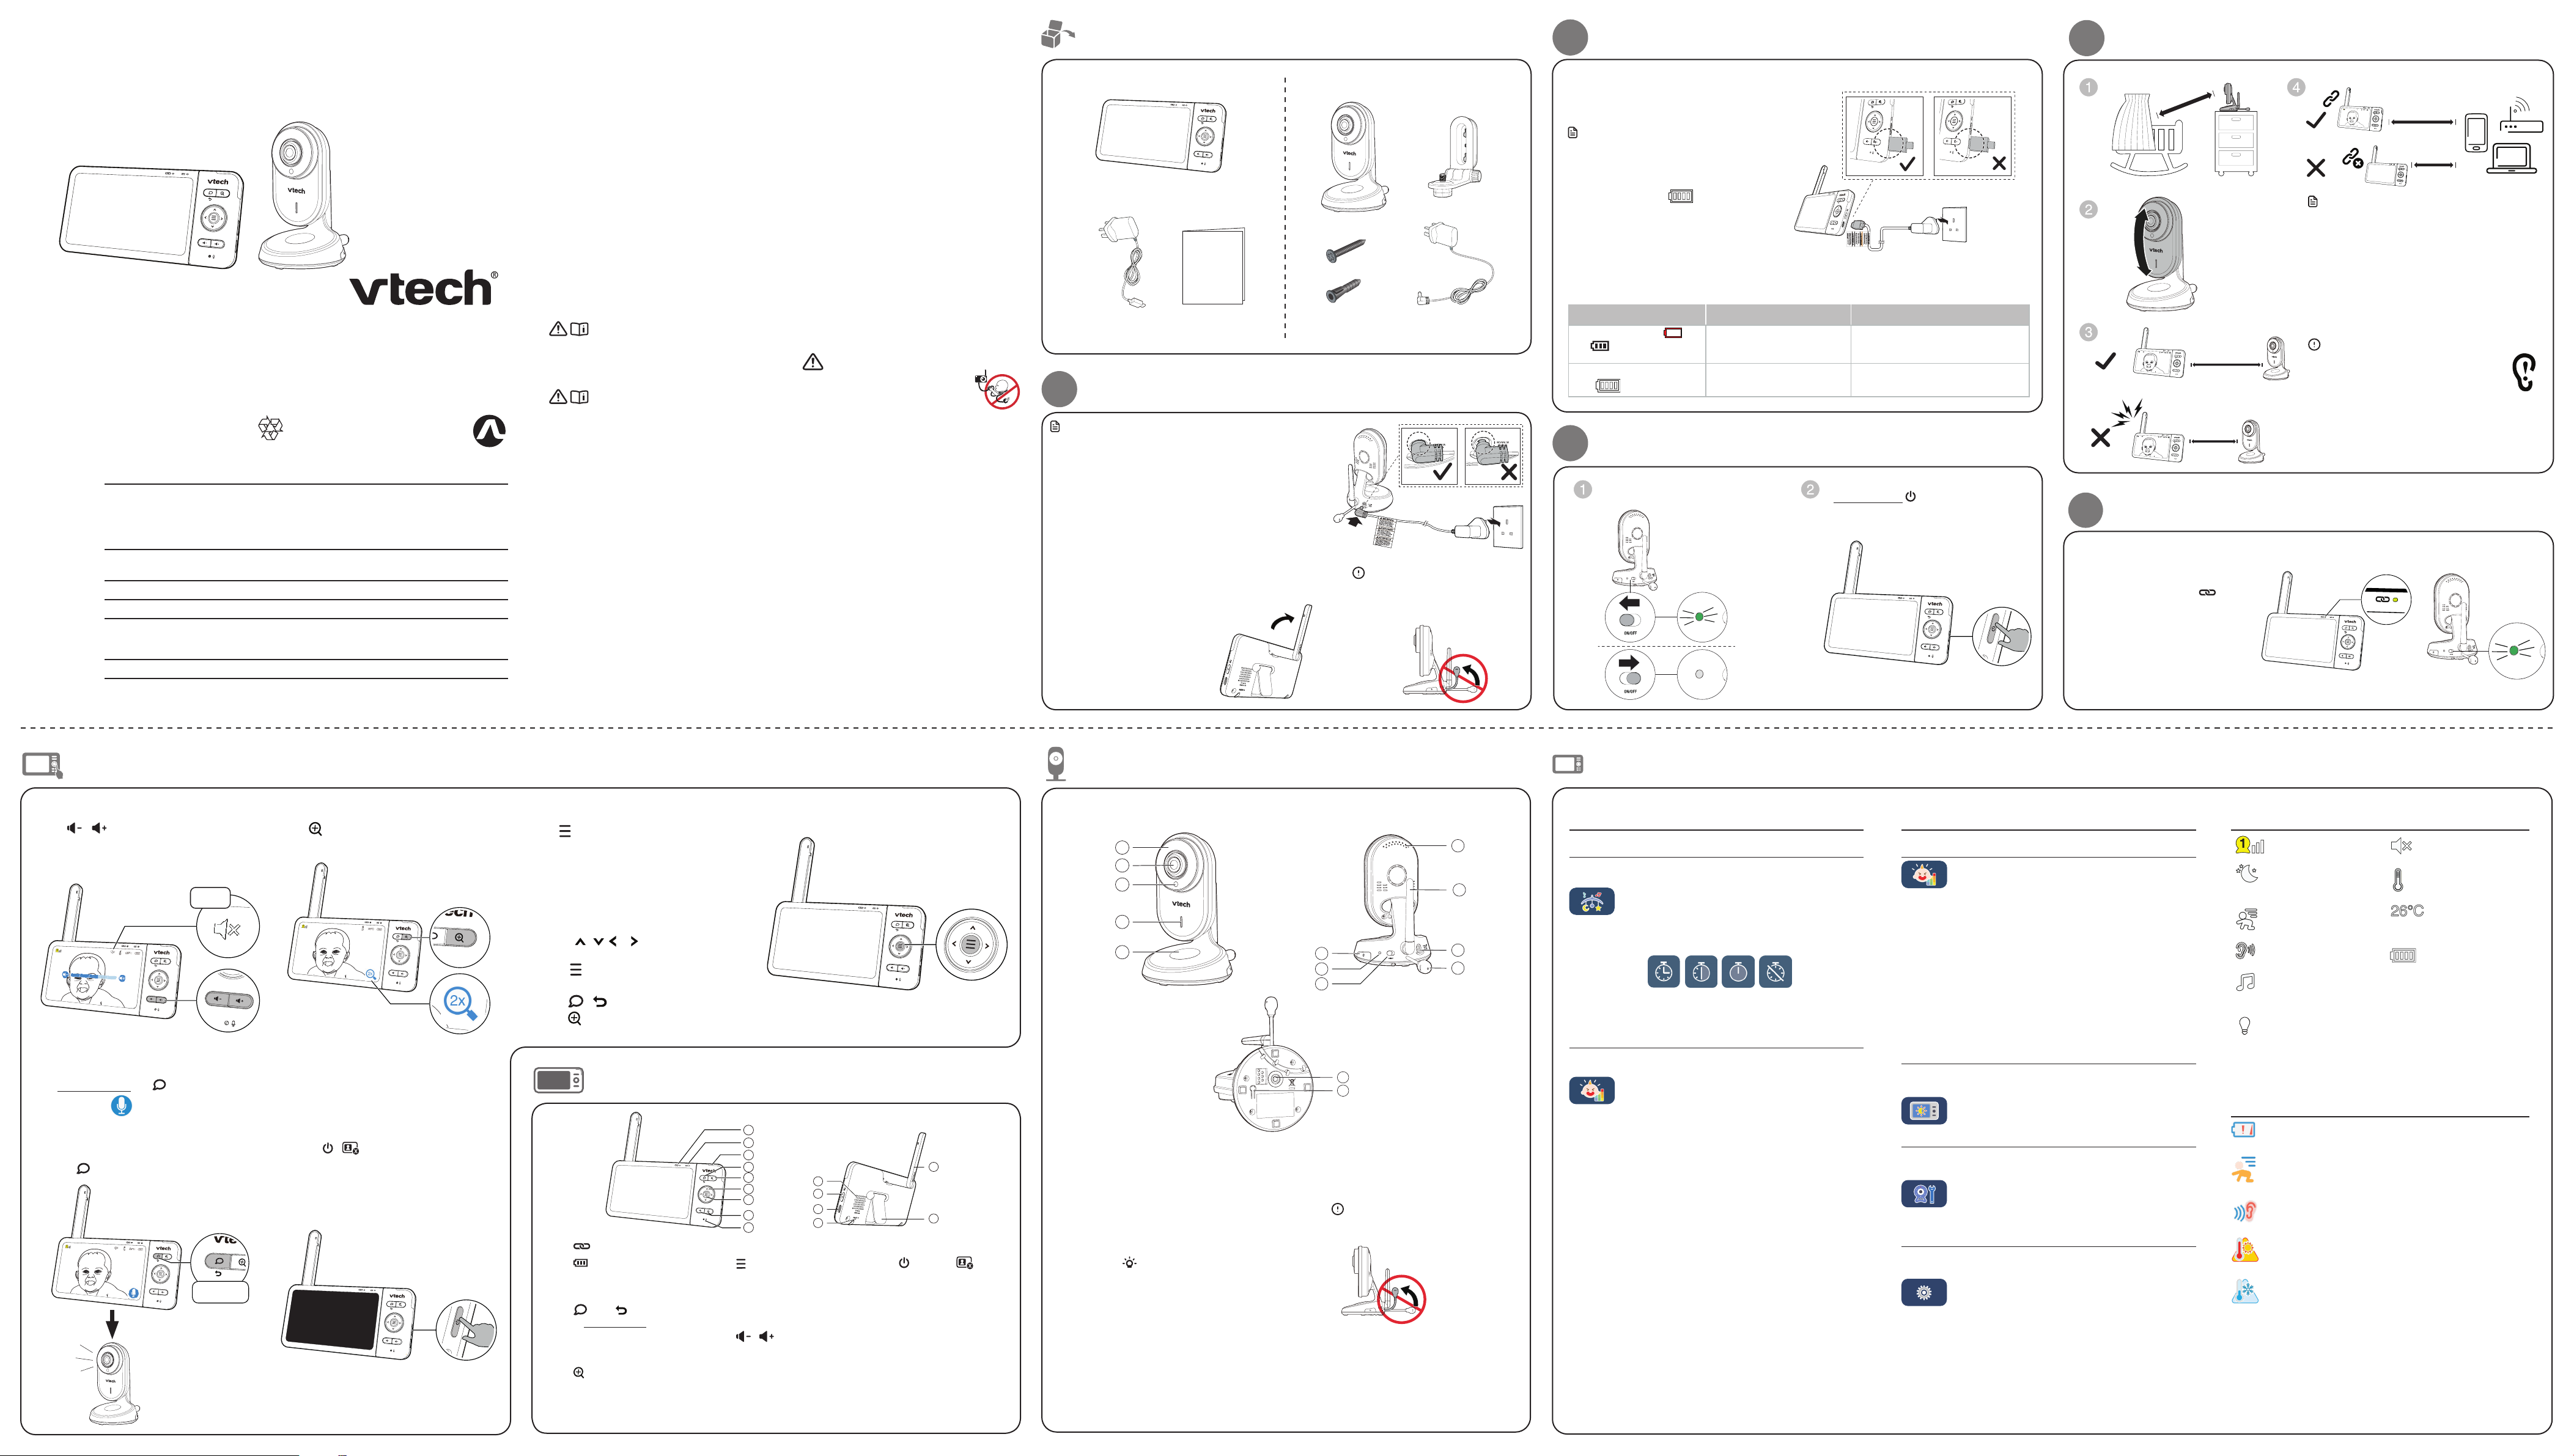
Import
1 Link LED light
2 Battery
33- level sound indica
light
4 T / Exit
• Press and to talk t
the baby
• While in a submenu,
press to exit
5 Zoom
• Press to zoom in/
• When in the main menu,
press to go to the
Help & Info page.
6Arrow keys
7 Menu/Select
• Pr
menu.
• W
ch
setti
8 /
• Increase o
parent unit’s volume.
9Microphone
10 Speaker
11 POWE LC
12 Pow
13 RESET
Forc
unit.
14 Antenna
15 Stand
1Infrared L
2Camera lens
3Light sen
4Microphone
5Night lig
6
Nig
7LED indicat
8Power O
9Speaker
10 Antenna
11 Power j
12 T
Position
for
Caution
• Do not bend the temperature
sensor upw
13 Threaded socke
wall mounting
14 Pair
P
Main menu
Melodies and soothing sounds
Melodies and Soothing Sounds
• Select
five melodies and f
Timer
• Y
after
stop.
Alerts - Sound, motion and temper
Sound
• SelectSensitivity lev
• TSound .
• TAuto W function.
(See Sound Detection and
section)
Motion
• TMotion Alert .
• SelectSensitivity lev
(See Motion Det section)
Main menu
T
• TT.
Set the paren
room
unit falls outside of
range.
• SelectMinimum temper
range.
• SelectMaximum t
range.
• SelectFormat .
Set to F )
or Co C ).
Par
• ABrightness .
• TDim Mode .
Baby uni
• TNight Ligh.
• TSta.
• AV.
Gene
• TLow.
Set the paren
battery
• TNo Link Alert T.
Set the par
between the par
is lost.
• A
• R
Main menu icons
Quick start
x 2
x 2
Quick start guide
Charge the parent unit battery before use
When you have connected and tu
on the parent unit, t
automatically.
Notes
• Befor
the fi
bat
uni
ico .
• It takes longer to charge the battery when
the parent unit is turned on. To shorten the
charging time, turn the parent unit off while
charging.
• The
par
The battery
Ba Ba Action
The sc .
The light fl
The b
power and may oused
for a short time.
Charge
without interruption
(about
30 minutes).
The battery icon becomes
solid .
The battery is fully charged. To keep the battery charged, connect
it to AC power when not in use.
Slide the ON/OFF switch leftwar
to power
After
press and hold until the welcoming
screen appears.
Raise the parent unit
for be
Conne
< 3ft ( 1m )
> 3ft ( 1m )
≥
< 3ft (1m)
3ft (1m)
﹏﹏﹏﹏﹏﹏
﹏﹏﹏﹏﹏﹏
﹏﹏﹏﹏﹏﹏﹏﹏
﹏﹏﹏﹏﹏﹏﹏﹏
﹏﹏﹏﹏﹏﹏﹏﹏
﹏﹏﹏﹏﹏﹏﹏﹏﹏﹏
﹏﹏﹏﹏﹏﹏﹏﹏﹏﹏
﹏﹏﹏﹏﹏﹏﹏﹏﹏﹏
﹏﹏﹏
﹏﹏﹏
﹏﹏﹏﹏
﹏﹏﹏﹏
﹏﹏﹏﹏
﹏﹏﹏﹏﹏
﹏﹏﹏﹏﹏
﹏﹏﹏﹏﹏
Adjust speaker
Press / to adjust
speaker
sound transmitted t
Zoom
Press to zoom in or
T
1 Pr the k
2. Wh icon d
spe
transmitted to
3. Wh
the ke
T
Y
screen
unit.
baby
• Press / on the paren
off the scr
• Press an
the screen on again.
Curren
Night vision
featur
automatically
Motion alert
turned on.
Sound detection
alert is turned on.
Melodies or
soothing sounds
are turned on.
Night light
turned on.
Sta
Alert icons
• Dis
needs charging.
• Dis
• Dis
• Ba
maximum.
• Ba
set minimum
Muted
Press and hold
2
1
3
4
5
6
7
8
12
14
15
11
10
1
2
3
4
5
9
10
6
712
11
8
14
13
Caution
• Position
sensor hori
usage. Do no
> 1 metre
> 1 metre
> 1 metre
> 1 metre
> 1 metre
Par
is muted.
T
is turned on.
Real-time
temperatur
indicator
Battery
indicator
Specifications are subject
© 2021 VT
All rights reserved. 04/21.
T
Frequency control Crystal controlled PLL synthesizer
Transmit frequency Ba
Paren
Max
Channels 24
LC 5” Colo
Nominal effective
range
Actual operating range may vary according to environmental
conditions at the time of use.
Power requirements Parent unit: 3.8V
Baby unit power ad
Output: 5V DC @ 1
Parent unit power ad
Output: 5V DC @ 1