Using the display
Checking the information of an audio CD
Press
twice to c
The total number of tr
appear on the display
Checking MP3/WMA/AAC file inf
Pr
repeat
MP3/WMA file on the disc or an MP3/WMA/AAC
file on the USB device.
The display changes as follows:
Song title ( )*
1
Artist name (
)*
1
Album name (
)*
1
Current file number and playing time*
3
*
1
If the file does not have corr
tag information,
ALBUM”
artist name,
*
2
song title appears.
*
3
few seconds or when the scr
Checking the r
Pr
repeat
the radio
The display changes as follows:
When listening to FM
Prese
1
Fr
When listening to D
Prese
1
DLS (Dynamic Label Segment)*
2
PTY label*
2
(see
“Specifications”) Ensemble label*
2
Channel
Bit rat
3
Signal level*
3
Component label
Press
to re
*
1
A preset number is displayed only when you ar
to the prese
*
2
no PTY label or no ensemble label is rec
*
3
rec
Selecting play mode
Y
or in random or
stopped.
Pr
repeat
Each time you press the butt
changes as follows:
Normal play (None)
Single repeat (
1)
All repeat (
)
Selected folder play (
)*
Selected folder r
, )*
Shuffle play (
)
Progr
Progr
,
* These functions are available only when playing MP3/
WMA files on an MP3/WMA disc or MP3/WMA/AAC files
on a USB device.
Playing tr
Play)
Y
on an audio CD
disc,
normal,
1 Pr
or USB
to turn on the CD or
USB function.
2 Pr
T Do this
A single track/
file
1 Press PLA
repeat 1”
2 Press
or
to select
a track/file that you w
repeat.
3 Press
.
All track
1 Press PLA
repeat ”
2 Press
.
A selected folder
on an MP3/WMA
disc or USB
device
1 Press PLA
repeat ” ”
appear
2 Select a f +
or
.
3 Press
.
Other Oper
T Do this
Progr
track
1 Progr
“Creating your own pr
(Progr
2 Pr
until
“PGM” ”
display
3 Press
.
T
Press
to stop playback,
MODE
repeat ” 1”) disappears
from the display
Playing tr
(Shuffle Play)
Y
audio CD
MP3/WMA/AAC files on a USB devic
order
1 Pr
or USB
to turn on the CD or
USB function.
2 Pr
repeat ”
appears on the display
3 Press
to start Shuffle Play
T
Press
to stop playback,
MODE
repeat ”
display
Tip
During Shuffle Play
by pressing
.
Cr
Play)
Y
track
1 Pr
or USB
to turn on the CD or
USB function.
2 Pr
repeat
appears on the display
3 Press or
to select a tr
When you want to specify a f
MP3/WMA/AAC files,
+ or
first to
select a folder or
to
select a file.
4 Pr
.
The track/file is pr
The progr
the total playing time
(Example:
Step number
Last progr
T
* “--:--”
disc/USB device or when the tot
longer than 100 minutes.
5 Repeat steps 3 and 4 to progr
track
6 Press
to start Pr
T
.
Note that the cr
following cases:
When you open the CD compartment.
When you connect another USB devic
When you turn off the power of the unit in the
CD function.
Note
If you try to program 26 tr
on the display
T
information
After crea
information about pr
Pres
repeat
changes as follows:
T Last pr
file number and the total playing time*
* “--:--”
when the total playing time is longer than 100 minutes.
T
Press
to stop playback,
MODE
repeat
the display
T
pr
Stop playback,
.
appears and you can crea
following the proc
progr
Pr
Y
Y
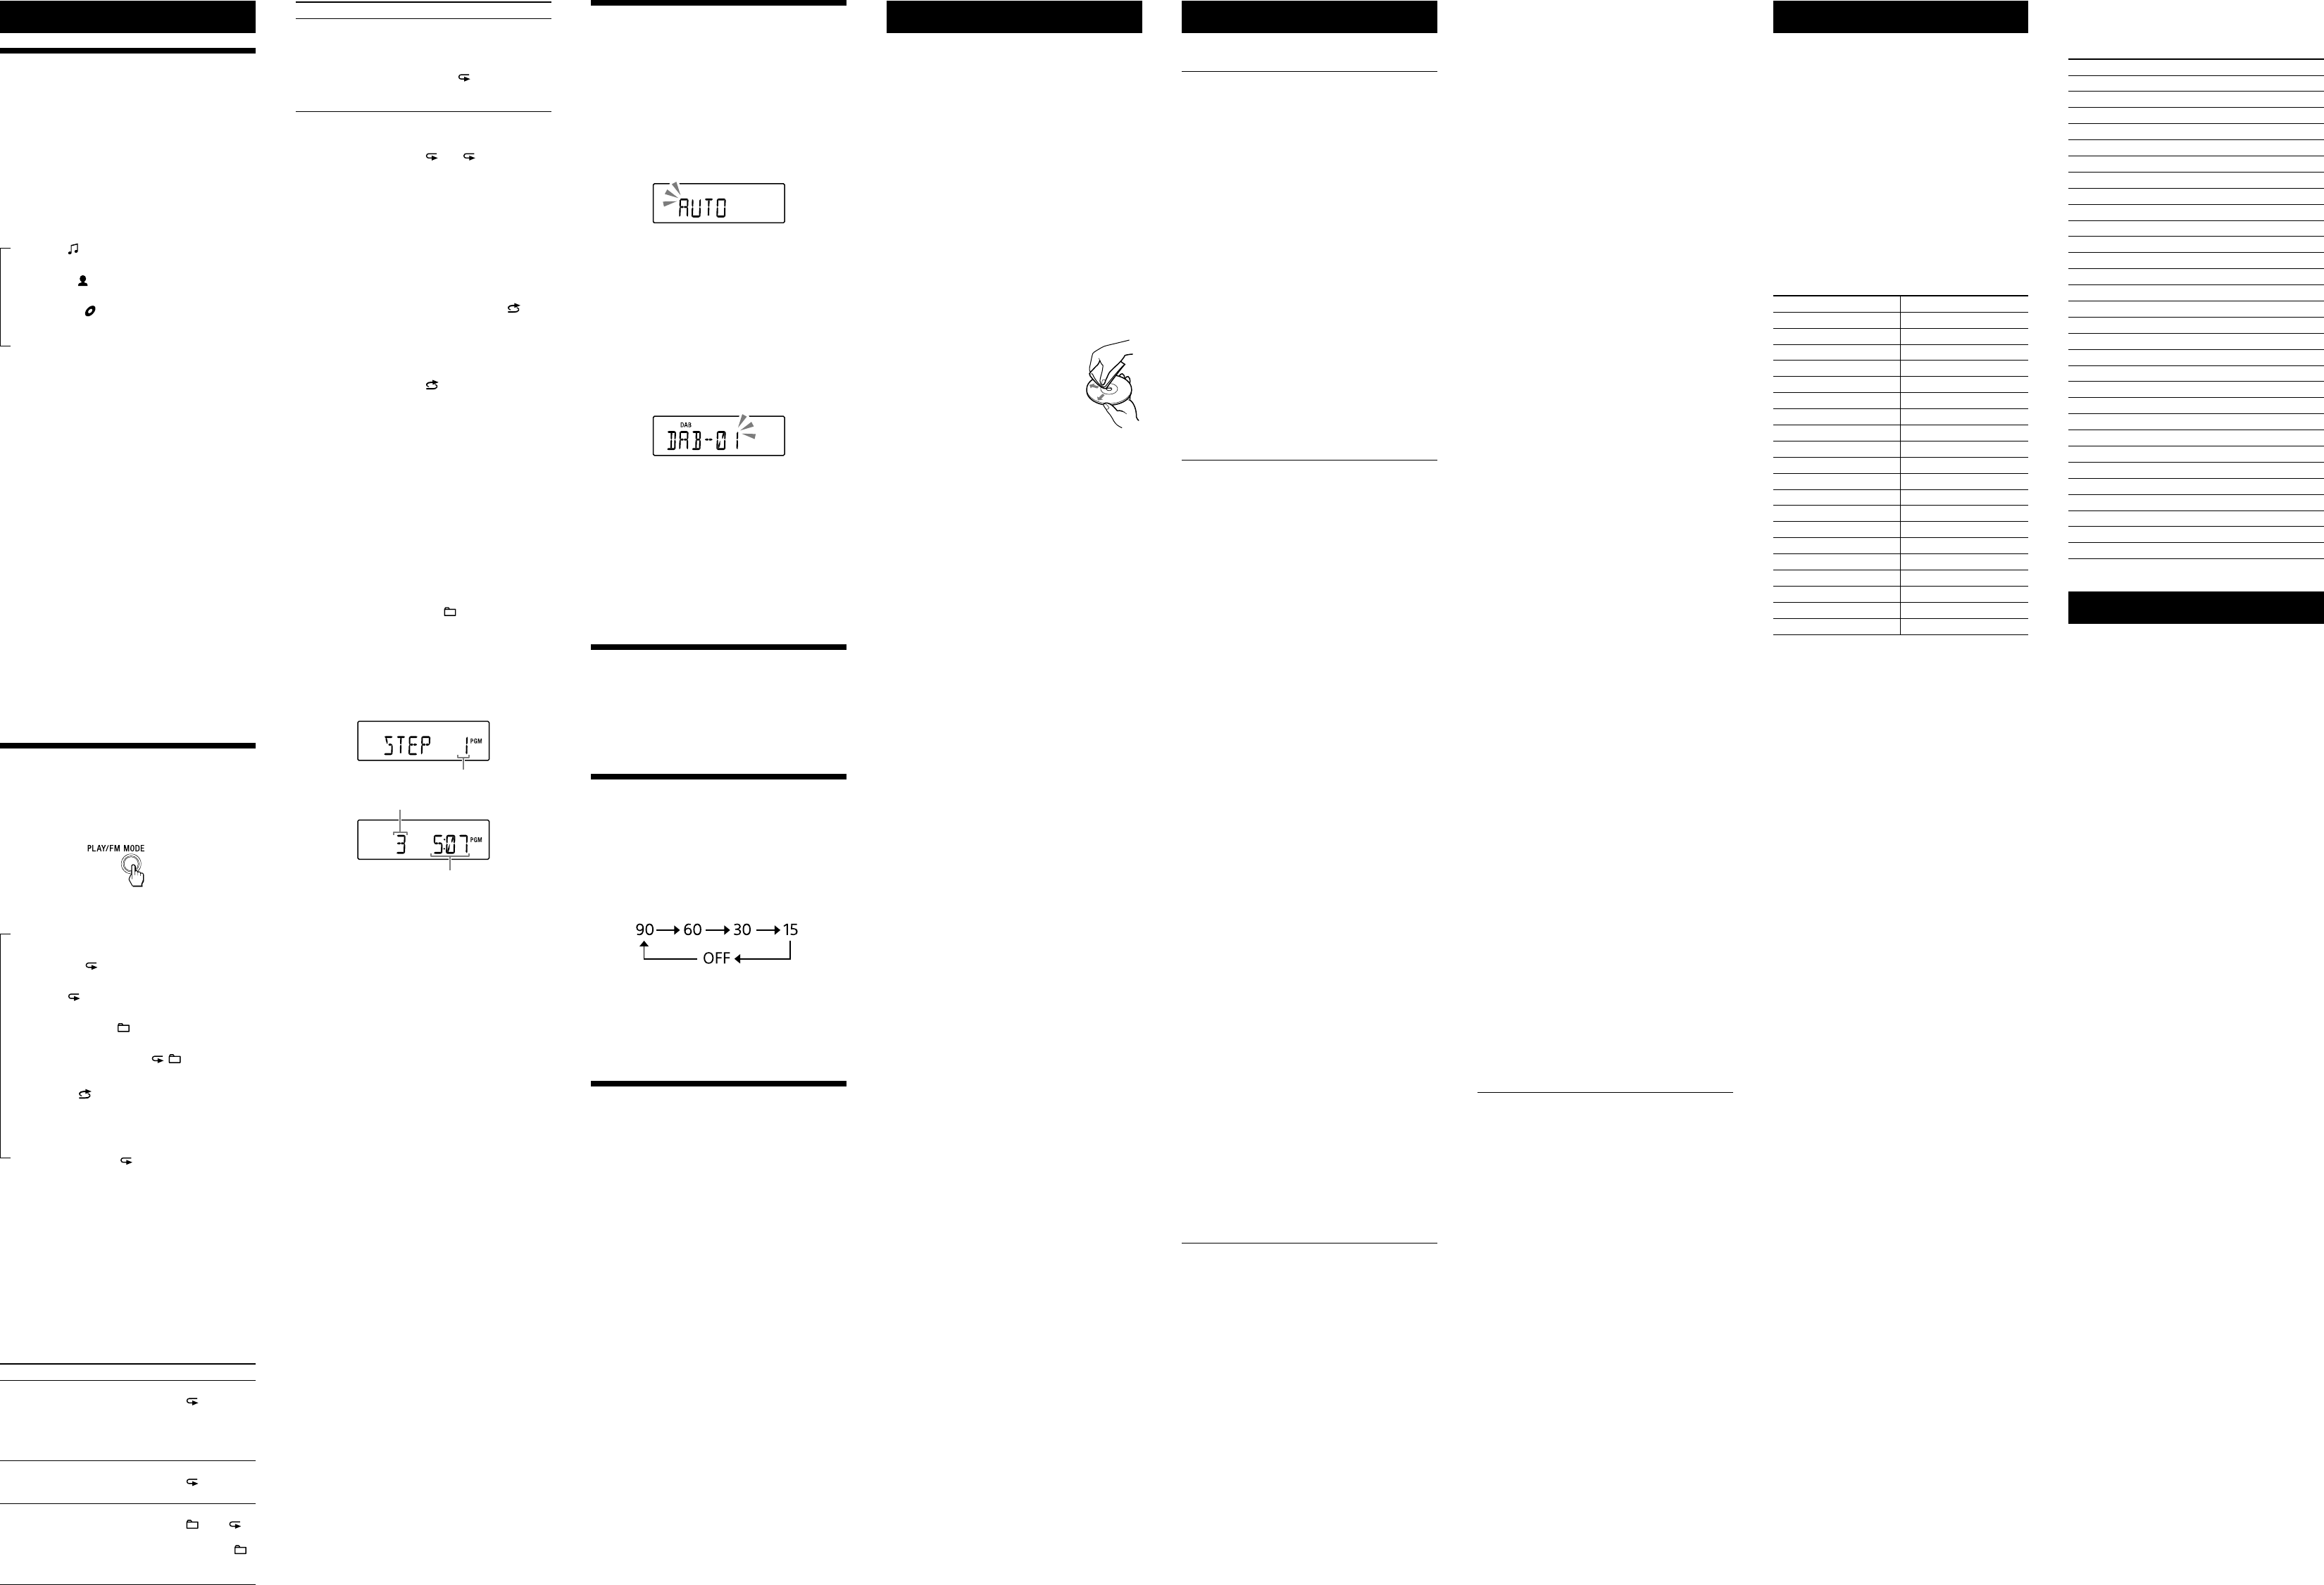
10 for DAB.
Pr
1 Pr
repeat
radio function and select the
2 Hold down DAB/FM
until
the display
3 Pr
to stor
The stations ar
frequencies t
Pr
Y
frequencies of desir
1 Pr
repeat
2 T
3 Hold down ENTER
flashes on the display
(Example:
4 Pr
until the preset
number for the station you w
the display
5 Press ENTER
to stor
If another station is alr
selected pr
by the new one.
Tip
The preset r
in the following situations.
The AC power cor
The batteries are r
Listening to pr
1 Pr
repeat
radio function and select the
band.
2 Pr
to select a stor
preset number f
Using the Sleep Timer
Y
set time has elapsed.
1 Pr
.
The default setting (“90”) appears and the
“SLEEP”
2 Pr
repeat
desired se
Each time you press the butt
minutes) changes on the display
selected setting is c
about 4 seconds.
Tip
Y
pressing SLEEP
again after setting the sleep timer
Connecting op
Y
component,
through the speak
Be sure to turn off the power of each c
before making an
For de
component to be c
1 Connect the A
to the line
output jack of the portable digital music
player or other component using an audio
connection c
2 T
3 Pr
and start playing sound on
the connect
The sound from the c
output from the speak
T
player
a stere
plugs on the other end.
“OVER CURRENT ” appe
turns off automatic
electrical curr (USB) port
.
case, (USB) port
and rec
on the unit again.
turning on the power of the unit,
nearest Sony dealer
Ther
T
Then turn on the unit.
Ther
Then turn on the unit again.
is distorted.
creation of audio files.
and use them to play on this unit.
The USB device c
(USB) port
.
is being inserted backwar
(USB) port
in the corr
“READING ” is displayed for an e
time,
starts.
following cases:
device.
T
you adhere to the f
device to 100 or les
or less.
Err
corrupt
again.
the alphabet.
displayed corr
The USB device is not r
then turn on the unit.
to the USB device oper
how to deal with this problem.
Play does not start.
Play does not start fr
MP3/WMA/AAC files c
back.
extensions.
unit are as follows:
other than MP3/WMA/AAC f
than F
* This unit supports F
media may not support both file systems.
For det
storage devic
Radio
The sound is weak or r
it for best re
loud noise may be heard fr
phone away from the unit.
The TV pictur
with an indoor antenna,
the TV
DAB/D
pr
the DAB auto tune manually”).
available.
to select a
different service
services/frequencies may have changed and you
may not be able to tune to your usual br
Perform the D
re-r
this proc
After trying the suggested remedies,
persists,
batteries.
disappear
re-insert the batteries.
consult your near
Pr
Discs that this unit CAN play
1
track
finalized*
2
corr
*1
CD-DA is the abbrevia
It is a rec
*2
Finalizing is the process to mak
playable on the consumer disc player pr
finalizing can be enabled or disabled as optional se
during disc creation in most r
Discs that this unit CANNO
CD format or forma
Level 1/L
CD-RW with scrat
CD-RW rec
device
incorr
Notes on discs
the disc is dirty
the center out.
dirt or fingerprints on the disc,
tracking err
benzine,
available cleaners or anti-static
spray int
sourc
parked in dir
consider
scrat
Note on DualDiscs
mates D
digital audio material on the o
since the audio mat
the Compact Disc (CD) standar
product is not guar
Music discs encoded with c
pr
conform t
Recently
copyright pr
by some rec
among those discs,
conform t
playable by this product.
On safe
harmful to eyes,
the casing.
only
unplug the unit,
personnel before oper
square,
Attempting to do so may damage the unit.
use such discs.
On power sour
do not use any other c
be used for an e
avoid damage that can be cause
leakage or corr
On placement
sourc
ex
subject to the dir
surface.
the cabinet.
unobstructed for the unit t
prolong the life of its c
keep personal cr
or spring-wound watches aw
prevent possible damage fr
On oper
warm location,
moisture may c
player section.
operat
wait about an hour for the moistur
On handling the unit
dust and debris contamination.
On cleaning the cabine
cloth slightly moistened with a mild de
solution.
scouring powder
benzine.
If you have any questions or problems c
your unit,
Specifications
CD player section
System
Compact disc digital audio system
Laser diode properties
Emission dura
Laser output:
(This output is the value measurement a
200 mm from the objective lens surfac
pick-up block with 7mm apertur
Number of channels
2
Fre
20Hz 20,
W
Below measurable limit
Radio section
Fre
DAB (Band-III): 239
FM: 108 MHz (50 kHz step)
DAB (Band-III) fr
Channel F Channel Fr
5A 17 10A 209
5B 176.6 10B 211.648
5C 178.352 10C 213.360
5D 180.064 10D 2
6A 181.936 11A 216.928
6B 183.648 11B 21
6C 185.360 11C 220.352
6D 187 11D 222.064
7A 188.928 12A 223.
7B 19 12B 225.648
7C 192.352 12C 227
7D 194.064 12D 229
8A 195.9 13A 230.
8B 197 13B 232.496
8C 199 13C 234.208
8D 201.0 13D 23
9A 202.928 13E 237
9B 204.640 13F 239.200
9C 206.352
9D 208.
Antenna
T
Input
AUDIO IN
Ster
(USB) port
T
compatible
Output
(headphones) stereo mini jack
For 16
32 impedance headphones
Supported audio formats
Supported bit rat
MP3 (MPEG 1 Audio Layer
32kbps 320kbps,
WMA:
48kbps 192kbps,
AAC*:
8kbps 320kbps,
* USB function only
Sampling frequencies
MP3 (MPEG 1 Audio Layer
32/
WMA:
32/
AAC*:
32/
* USB function only
Gener
Speaker
Full r
,
Power output
2.0W + 2.
,
Power r
230 V AC,
9 V DC (6 R14 (size C) batteries)
Power c
15W
0.9W (during st
Battery Life*
1,
*
2
Playback of CD
Appro
Playback of USB device
Appro
Appro
DAB r
Appro
FM rec
Appro
*
1
Measured by Sony standar
may vary depending on the circumstances of the unit
or operating c
*
2
Dimensions
Appro
projecting parts)
Mass
Appro
Supplied acc
AC power cor
Design and specifications ar
notice
T
Gener
The power does not turn on.
wall outlet secur
inserted into the A
matching the polarities.
OPR/BA
dims.
Ther
the music or sound sourc
speakers.
The sound is noisy
equipment emitting radio w
so,
A small humming noise is hear
humming noise depending on the status of the
power supply
“NO
CD/MP3/WMA player
The CD player does not play even when a
CD is in place
open for about an hour to dry moisture
condensation.
CD-RW
needs to be finaliz
OPR/BA
dims.
“NO CD”
disc.
disc with the label side up.
Replace the disc.
“NO TRACK”
the disc is loaded.
file to be played back has an unsupported file
extension.
“DISC ERR”
disc.
The sound dr
damaged.
blower
when using a poor quality CD-R/CD-RW or if there
is a problem with the r
application softwar
Starting playback takes mor
usual.
playback.
structure.
files.
USB device
The USB device does not work pr
following problems may oc
unit.
“NO
device.
playback or pause operation is perf
PTY (progr
This function indicates services in pr
News or Sports,
If the rec
type,
Pr Display
No progr NONE
News NEWS
Current Affairs AFF
Information INFO
Sport SPORT
Education EDUCA
Drama DRAMA
Culture ARTS
Science SCIENCE
V T
Pop Music POP
Rock Music ROCK
Easy Listening Music EASY
Light Classical CLASSICS
Serious Classical CLASSICS
Other Music O
W WEA
Finance FINANCE
Children’ CHILDREN
Social Affairs F
Religion RELIGION
Phone In PHONE IN
T TRA
Leisur LEISURE
Jazz Music JAZZ
Country Music COUNTR
National Music NA
Oldies Music OLDIES
Folk Music FOLK
Documentary DOCUMENT
License and T
patents lic
Thomson.
or trademark of Micr
United Sta
property rights of Microsoft C
distribution of such technology outside of this
product is pr
Microsoft or an authoriz
their respective owners.
®
marks are no