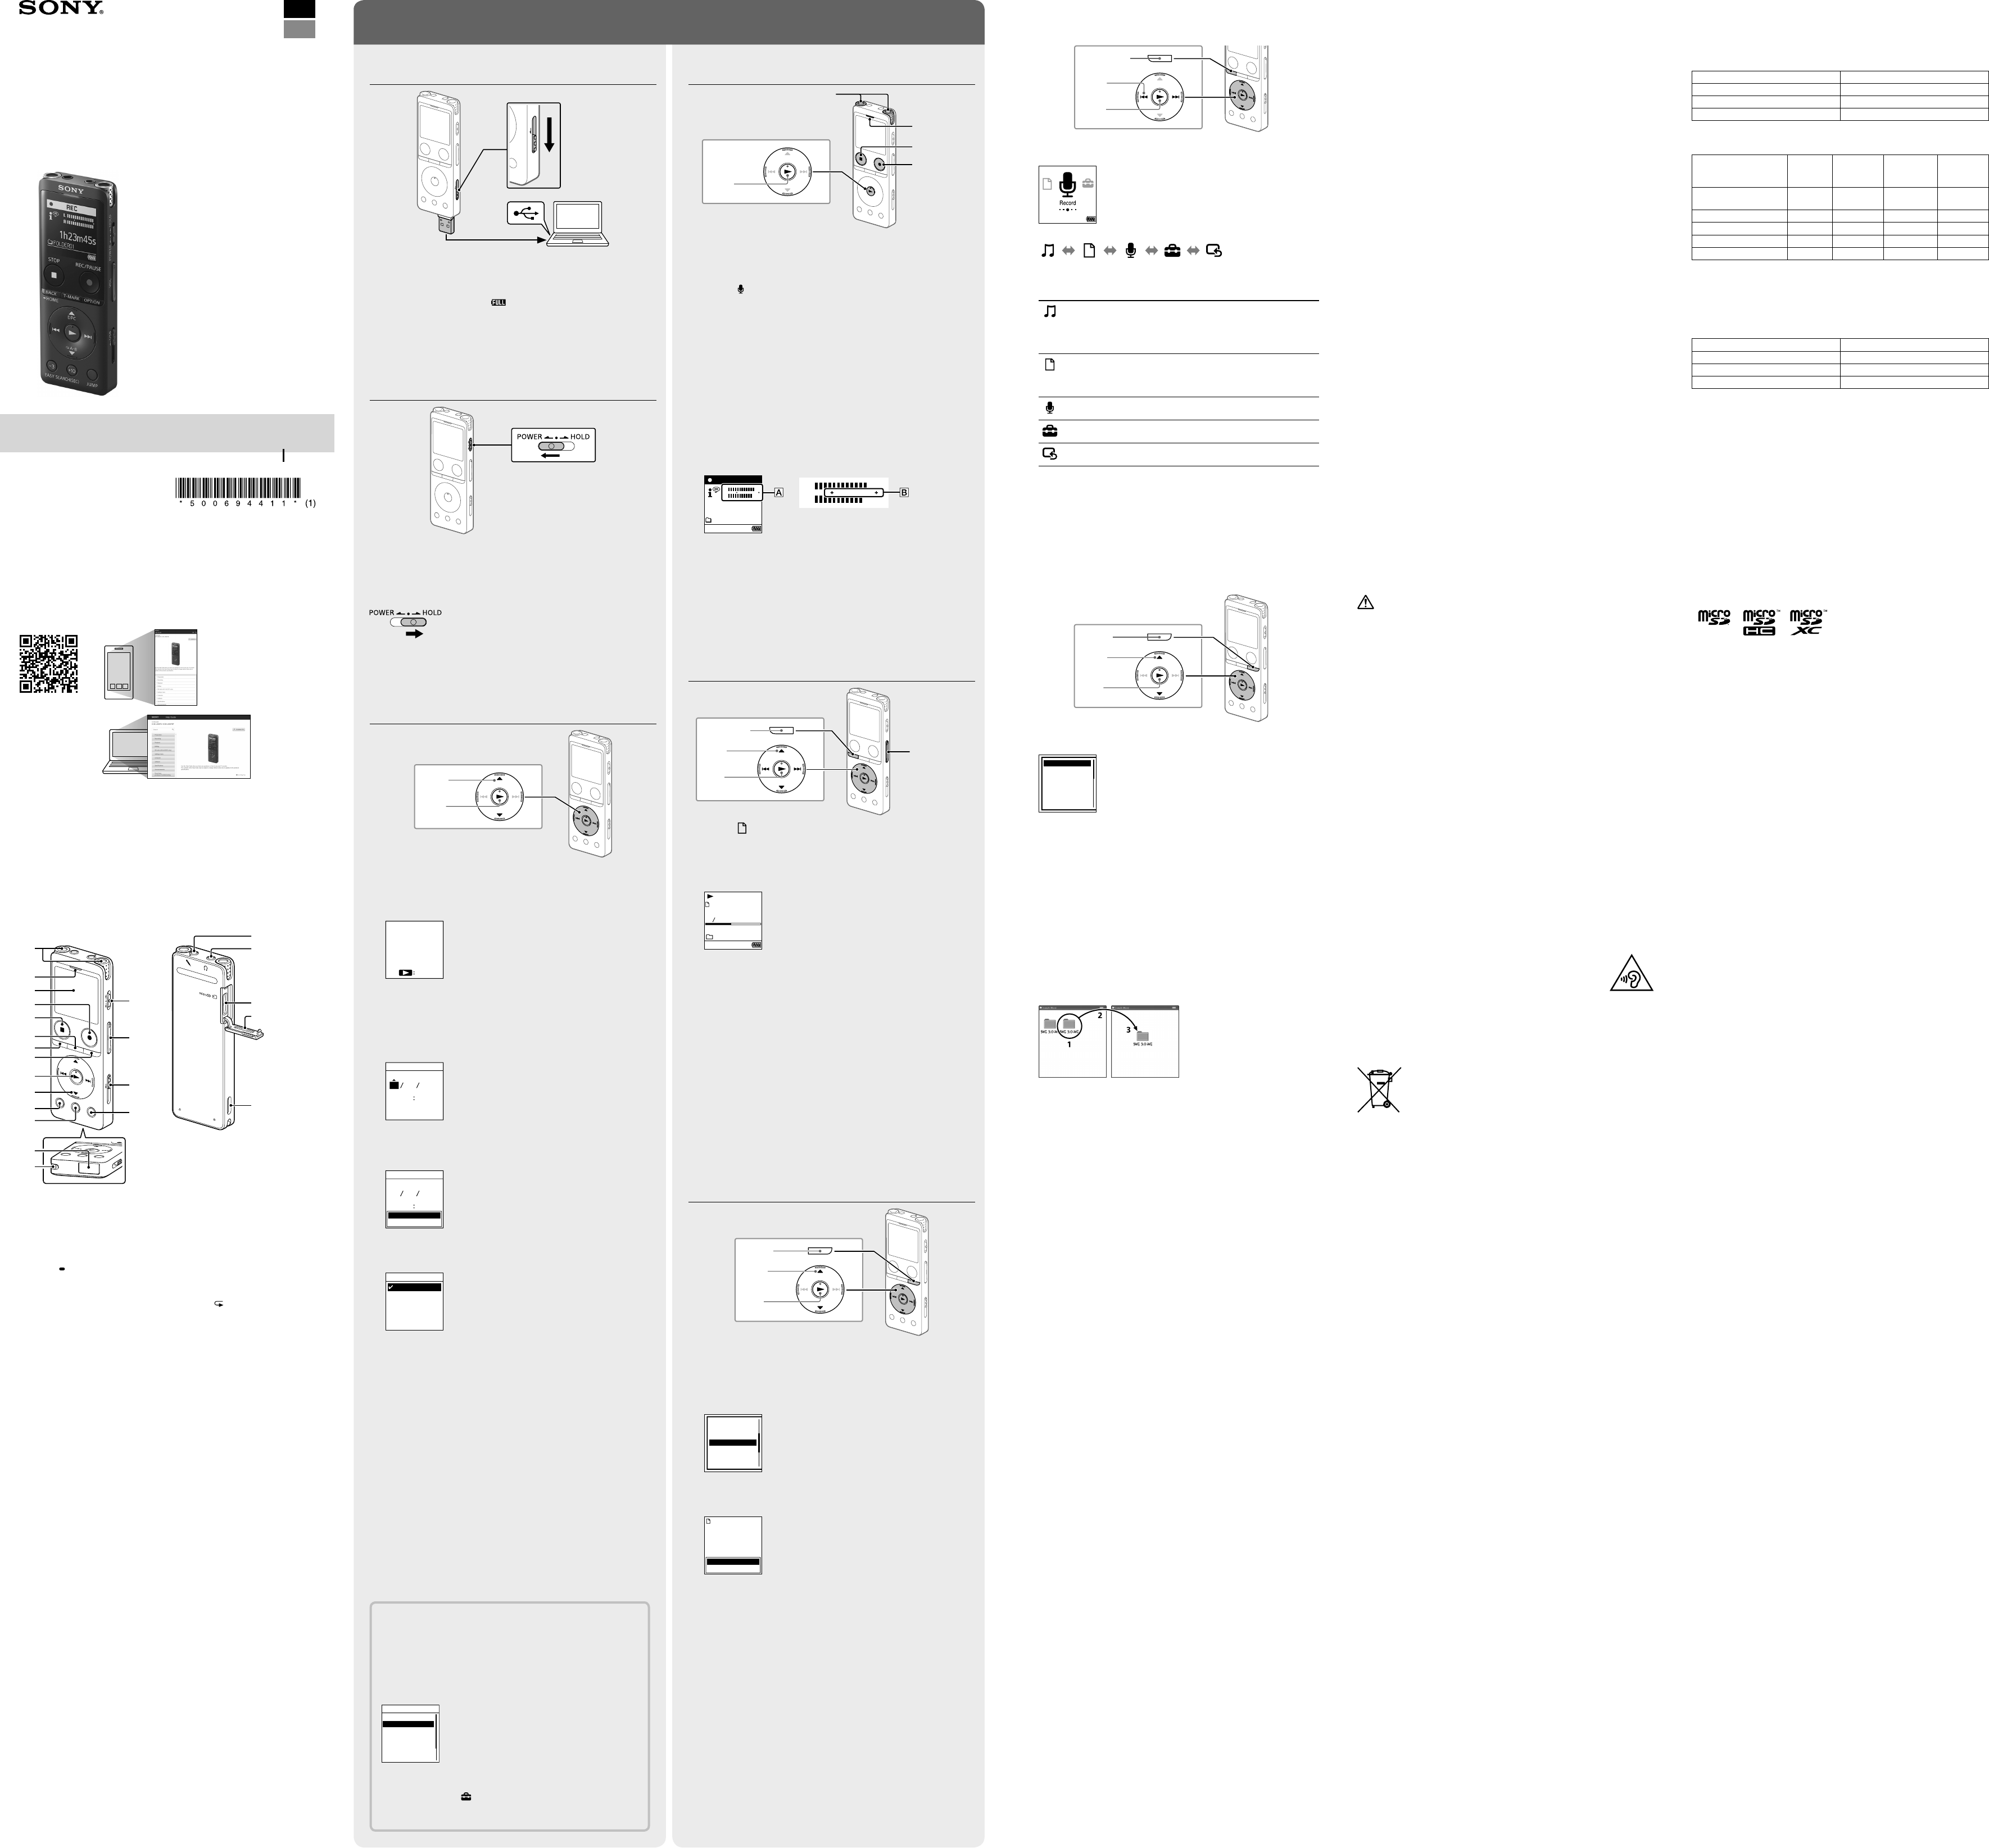
707016
1
Verklein
Vergroot
Pagina terug
1/2
Pagina verder
ICD-UX570 5-006-944-11(1)
IC Recorder
ICD-UX570
Operating Instructions
GB
FR
© 2019 Sony Corporation Printed in China
5-006-944-11(1)
Refer to the Help Guide
This is the Operating Instructions, which provides you with instructions on
the basic operations of the IC recorder.
The Help Guide is an online manual.
Refer to the Help Guide when you would like to know further details,
operations and possible solutions when a problem occurs.
https://rd1.sony.net/help/icd/u57/h_ce/
Check the supplied items
IC Recorder (1)
Carrying case (1)
Operating Instructions (this sheet)
Warranty card (1)
Application Software, Sound Organizer 2 (Installer file stored in the built-in
memory so that you can install it to your computer.)
Parts and controls
Built-in microphones
Operation indicator
Display window
 REC/PAUSE (record/pause) button
 STOP button
T-MARK (track mark) button
BACK/
HOME button
OPTION button
 (play/enter) button*
1
Control button (DPC (Digital Pitch Control), A-B (repeat A-B),
(review/fast backward), (cue/fast forward))
-3 EASY SEARCH(SEC) button
+10 EASY SEARCH(SEC) button
USB connector cover (You can find the USB connector retracted behind
the cover.)
Strap hole (No strap is supplied with your IC recorder.)
POWER•HOLD switch*
2
VOL –/+*
1
(volume –/+) button
USB slide lever
JUMP (time jump) button
 (microphone) jack*
1
 (headphones) jack
microSD card slot (The card slot is located under the cover.)
Slot cover
Built-in speaker
*
1
The (play/enter) button, VOL + (volume +) button, and (microphone) jack have a tactile
dot. Use the tactile dot as a reference when operating the IC recorder.
*
2
Sliding the POWER•HOLD switch to “POWER” and holding it for 8 seconds or longer restarts
your IC recorder. For detailed instructions, refer to the Help Guide.
Let’s try out your new IC recorder
Charge
Charge the IC recorder.
Slide the USB slide lever in the direction of the arrow, and insert the
USB connector into the USB port of a running computer.
When the battery is fully charged, the battery indicator changes from
the charging animation to
.”
Disconnect the IC recorder.
Make sure that the message Accessing” is no longer on the display
window. Then refer to the Help Guide to remove the IC recorder
safely.
Power on
Slide and hold the POWER•HOLD switch in the direction of “POWER” until
the window display appears.
To turn the power off, slide the POWER•HOLD switch to “POWER” and
hold it until “Power Off appears on the display window.
To prevent unintentional operations (HOLD)
Slide the POWER•HOLD switch in the direction of “HOLD.
¼
To release the IC recorder from the HOLD status, slide the POWER•HOLD switch
towards the center.
Initial settings
Select
(/)
Enter
When you power on your IC recorder for the first time, the “Configure
Initial Settings” screen appears on the display window. You can then
select the display language, set the clock, and turn on/off the beep
sound.
Press to start the initial settings.
Configure
Initial Settings
Enter
Select the display language.
You can select from the following languages:
Deutsch (German), English*, Español (Spanish), Français (French),
Italiano (Italian), Русский (Russian), Türkçe (Turkish)
* Default setting
Set the current year, month, day, hour, and minute.
Set Date/Time
0000
YMD
20 191
1
¼
To go back to the previous clock setting item, press BACK/HOME.
Select “Next.
Set Date/Time
0000
YMD
20 191010
Next
Back
Select “ON” or “OFF” to turn on or off the beep sound.
When the initial settings finish, the completion message and then the
HOME menu screen appear.
Beep
ON
OFF
Notes
If you take 30 seconds or longer before proceeding to the next step, the
display window will turn off. To turn on the display window for continuing the
initial settings, press BACK/HOME.
You can change any of the initial settings at any time later. For detailed
instructions, refer to the Help Guide.
Using the HOME menu
You can use the HOME menu for a variety of operations, including locating
and playing a recorded file and changing the settings of your IC recorder.
Select
(
/
)
Enter
BACK/HOME
Press and hold BACK/HOME.
The HOME menu screen appears.
The HOME menu items are aligned in the following sequence.
Recorded
Files
Record Settings Back
to XX*
Music
Select your desired function from the following:
Music
You can select and play one of the files you have
imported from a computer. To locate a music file,
select “All Songs,Albums,”Artists,” or “Folders.
When importing files, be sure to import them into
the MUSIC folder.
Recorded Files
You can select and play one of the files you have
recorded with your IC recorder. To locate a recorded
file, select “Latest Recording,“Search by REC Date,
“Search by REC Scene, or “Folders.
Record
You can display the record standby screen, and then
start recording.
Settings
You can display the Settings menu screen and
change various settings on the IC recorder.
Back to XX*
You can go back to the screen that was displayed
before the HOME menu screen.
* The function you are currently using is displayed in “XX.
¼
Press STOP to return to the screen displayed before you entered the HOME
menu.
Using the OPTION menu
You can use the OPTION menu to perform a variety of functions, including
changing the settings of your IC recorder.
The available items differ depending on the situation.
Enter
OPTION
Select
(/)
Select your desired function from the HOME menu, and then press
OPTION.
REC Information
Recording Folder
Create Folder
Scene Select
Recording Delay
REC Mode
Built-In Mic Sensit
Select the menu item for which you want to change the setting.
Select your desired setting option.
Copying files from your IC recorder to a
computer
You can copy the files and folders from your IC recorder to a computer to
store them.
Follow the instructions in “Charge to connect your IC recorder to
a computer.
Drag and drop the files or folders you want to copy from
“ICRECORDER” or “MEMORY CARD” to the local disk on the
computer.
To copy a file or folder (Drag and drop)
1 Click and hold,
2 drag,
3 and then drop.
IC RECORDER or
MEMORY CARD
Your computer
Disconnect your IC recorder from the computer.
Installing Sound Organizer 2
Install Sound Organizer on your computer.
Sound Organizer allows you to exchange files between your IC recorder and
your computer.
Songs imported from music CDs and other media, MP3 and other audio
files imported to a computer can also be played and transferred to the
IC recorder.
Notes
Sound Organizer is compatible with Windows computers only. Itis not
compatible with Mac.
This IC recorder is compatible with Sound Organizer 2 only.
If you format the built-in memory, all data stored there will be deleted. (The
Sound Organizer software installer will also be deleted.)
¼
When installing Sound Organizer, log in to an account with administrator
privileges.
The installation procedure varies depending on the Windows version. The
following procedure uses Windows 10 as an example.
Follow the instructions in “Charge to connect your IC recorder to
a computer.
Make sure the IC recorder is successfully detected by the
computer.
“Connecting” appears and stays on the IC recorder's display window
while the IC recorder is connected to the computer.
Right-click at the bottom left corner of the desktop, and then click
[File Explorer] on the menu.
Double-click [IC RECORDER] - [FOR WINDOWS].
Double-click [SoundOrganizer_V2002] (or [SoundOrganizer_V2002.
exe]).
Follow the computer's on-screen instructions.
When the [Welcome to Sound Organizer 2 Installer] window
appears, click [Next].
Make sure that you accept the terms of the license agreement,
select [I accept the terms in the license agreement], and then click
[Next].
When the [Setup Type] window appears, select [Standard] or
[Custom], and then click [Next].
Follow the instructions on the screen and set the installation settings
when you select [Custom].
When the [Ready to Install the Program] window appears, click
[Install].
The installation starts.
When the [Sound Organizer 2 has been installed successfully.]
window appears, check [Launch Sound Organizer 2 Now], and
then click [Finish].
Note
You may need to restart your computer after installing Sound Organizer 2.
Precautions
On power
DC 3.7V : the built-in rechargeable lithium-ion battery
DC 5.0V : when charged using USB
Rated current consumption : 500mA
On handling
Do not leave the unit in a location near heat sources, or in a place subject
to direct sunlight, excessive dust or mechanical shock.
Should any solid object or liquid fall into the unit, remove the battery
and have the unit checked by qualified personnel before operating it any
further.
When using your IC recorder, remember to follow the precautions below
in order to avoid warping the cabinet or causing the IC recorder to
malfunction.
Do not sit down with the IC recorder in your back pocket.
Do not put your IC recorder into a bag with the headphones/earphones
cord wrapped around it and subject the bag to strong impact.
Be careful not to allow water to splash on the unit. The unit is not
waterproof. In particular, be careful in the following situations.
When you have the unit in your pocket and go to the bathroom, etc.
When you bend down, the unit may drop into the water and may get
wet.
When you use the unit in an environment where the unit is exposed to
rain, snow, or humidity.
In circumstances where you get sweaty. If you touch the unit with wet
hands or if you put the unit in the pocket of sweaty clothes, the unit may
get wet.
Listening with this unit at high volume may affect your hearing.
For traffic safety, do not use this unit while driving or cycling.
Do not use this unit at a place where the inability to hear surrounding
sounds may present a danger.
You may feel pain in your ears if you use the headphones when the
ambient air is very dry.
This is not because of a malfunction of the headphones, but because of
static electricity accumulated in your body. You can reduce static electricity
by wearing non-synthetic clothes that prevent the emergence of static
electricity.
Do not place this product close to medical devices.
This product (including accessories) has magnet(s) which may interfere
with pacemakers, programmable shunt valves for hydrocephalus
treatment, or other medical devices. Do not place this product close to
persons who use such medical devices. Consult your doctor before using
this product if you use any such medical device.
On noise
Noise may be heard when the unit is placed near an AC power source, a
fluorescent lamp or a mobile phone during recording or playback.
Noise may be recorded when an object, such as your finger, etc., rubs or
scratches the unit during recording.
On maintenance
To clean the exterior, use a soft cloth slightly moistened in water. Then use a
soft dry cloth to wipe the exterior. Do not use alcohol, benzine or thinner.
If you have any questions or problems concerning your unit, please consult
your nearest Sony dealer.
WARNING
Do not expose the batteries (battery pack or batteries installed) to
excessive heat such as sunshine, fire or the like for a long time.
Do not subject the batteries to extreme low temperature conditions that
may result in overheating and thermal runaway.
Do not dismantle, open or shred secondary cells or batteries.
In the event of a cell leaking, do not allow the liquid to come in contact
with the skin or eyes. If contact has been made, wash the affected area
with copious amounts of water and seek medical advice.
Do not use any charger other than that specifically provided for use with
the equipment.
Secondary cells and batteries need to be charged before use. Always
use the correct charger and refer to the manufacturer’s instructions or
equipment manual for proper charging instructions.
After extended periods of storage, it may be necessary to charge
and discharge the cells or batteries several times to obtain maximum
performance.
Dispose of properly.
CAUTION
Risk of explosion if battery is replaced by an incorrect type. Dispose of used
batteries according to the instructions.
Notice for the customers: the following information is only applicable to
equipment sold in the countries applying EU directives
This product has been manufactured by or on behalf of Sony Corporation.
EU Importer: Sony Europe B.V.
Inquiries to the EU Importer or related to product compliance in Europe
should be sent to the manufacturer’s authorized representative, Sony
Belgium, bijkantoor van Sony Europe B.V., Da Vincilaan 7-D1, 1930 Zaventem,
Belgium.
High sound pressure
Hearing damage risk
Do not listen at high volume levels for long periods
The validity of the CE marking is restricted to only those countries where it is
legally enforced, mainly in the countries EEA (European Economic Area) and
Switzerland.
This equipment has been tested and found to comply with the limits set out
in the EMC regulation using a connection cable shorter than 3 meters.
Disposal of waste batteries and electrical and electronic
equipment (applicable in the European Union and other
countries with separate collection systems)
This symbol on the product, the battery or on the packaging indicates that
the product and the battery shall not be treated as household waste. On
certain batteries this symbol might be used in combination with a chemical
symbol. The chemical symbol for lead (Pb) is added if the battery contains
more than 0.004% lead. By ensuring that these products and batteries
are disposed of correctly, you will help to prevent potentially negative
consequences for the environment and human health which could be
caused by inappropriate waste handling. The recycling of the materials
will help to conserve natural resources. In case of products that for safety,
performance or data integrity reasons require a permanent connection
with an incorporated battery, this battery should be replaced by qualified
service staff only. To ensure that the battery and the electrical and electronic
equipment will be treated properly, hand over these products at end-of-
life to the appropriate collection point for the recycling of electrical and
electronic equipment. For all other batteries, please view the section on
how to remove the battery from the product safely. Hand the battery over
to the appropriate collection point for the recycling of waste batteries. For
more detailed information about recycling of this product or battery, please
contact your local Civic Office, your household waste disposal service or the
shop where you purchased the product or battery.
Notice for users
All rights reserved. This manual or the software described herein, in whole
or in part, may not be reproduced, translated or reduced to any machine
readable form without prior written approval from Sony Corporation.
What you record is for personal enjoyment and use only. Copyright laws
prohibit other forms of use without the permission of the copyright
holders.
Record
Built-in microphones
STOP
REC/PAUSE
Operation
indicator
Enter
¼
Before you start recording, make sure that the HOLD status is released.
You can select a recording scene for each situation by selecting “Scene
Select” in the OPTION menu.
Select “ Record” from the HOME menu.
The recording standby screen appears.
Select a storage and a folder to save the recorded file.
¼
To save the recorded file on the microSD card, you need to change the file
storage destination folder. Select “Recording Folder” - “SD Card” from the
OPTION menu, and then start recording.
Turn the IC recorder so that its built-in microphones point in the
direction of the target sound source.
Press REC/PAUSE.
“REC” appears on the display window to indicate that recording has
started, and the operation indicator lights in red.
Note
If you press and hold REC/PAUSE, the IC recorder will pause. It will not
start recording.
REC
L
R
1
h
23
m
45
s
FOLDER01
L
R
The recording level guide () is displayed while recording. The
section between + and + () is the optimal input level for recording.
Please adjust the orientation of the built-in microphones, the
distance from the sound source, the microphones' sensitivity setting,
or the “Scene Select” setting so that the recording level fits within the
optimal range, as illustrated.
Press STOP to stop recording.
“Saving...” and then recording standby screen appear on the display
window.
Listen
BACK/HOME
Select
(
//
/
)
Enter
VOL –/+ button
Select “ Recorded Files” from the HOME menu.
Select “Latest Recording, “Search by REC Date, “Search by REC
Scene, or “Folders.
Select your desired file.
Playback starts and the operation indicator lights in green.
PLAY
191005
_
1230.mp3
100
122
1
h
23
m
45
s
2
h34
m
56
s
Press VOL + or VOL - to adjust the volume.
Press STOP to stop playback.
¼
Right after you stopped recording, you can press to play the file you have
just recorded.
To add a track mark
You can add a track mark at a point at which you want to divide a file later
or locate during playback. You can add a maximum of 98 track marks to
each file.
You can also add track marks during recording.
Locating the desired playback point quickly (Time Jump, Easy Search)
Using the time jump function allows you to move to any of the 10 points
throughout the total duration of a file. You can use this function with
or in the time jump mode.
Using the easy search function allows you to forward or reverse a fixed
number of seconds (10 seconds for forwarding, 3 seconds for reversing)
during playback.
Delete
Enter
OPTION
Select
(/)
Note
Once a file is deleted, you cannot restore it.
Select the file you want to delete from the list of recorded files
or play back the file you want to delete.
Select “Delete File” from the OPTION menu.
Equalizer
Play Mode
Playback Range
Delete File
Protect
Track Mark List
Delete Track Marks
“Delete?” appears and the selected file starts playing for your
confirmation.
Select “Yes.
Yes
No
191010
_
1010.mp3
Delete?
“Please Wait” appears and stays until the selected file is deleted.
Specifications
Capacity (User available capacity*
1
*
2
)
4 GB (approx. 3.20 GB = 3,435,973,837 Byte)
Maximum recording time*
3
*
4
(Built-in memory)
The maximum recording time of all the folders is as follows.
LPCM 44.1 kHz/16 bit (STEREO) 5 hours 20 minutes
MP3 192 kbps (STEREO) 39 hours 45 minutes
MP3 128 kbps (STEREO) 59 hours
MP3 48 kbps (MONO) 159 hours
Battery Life (a built-in rechargeable lithium-ion battery)*
5
The battery life spans provided here are all approximate periods of time.
Recording mode Recording
Recording
(while
monitoring)
Playback with
the built-in
speaker
Playback
with the
headphones
LPCM 44.1kHz/16bit
(STEREO)
20 hours 12 hours 5 hours 34 hours
MP3 192kbps (STEREO) 22 hours 13 hours 5 hours 47 hours
MP3 128kbps (STEREO) 22 hours 13 hours 5 hours 47 hours
MP3 48kbps (MONO) 22 hours 13 hours 5 hours 47 hours
Music file (MP3 128 kbps) - - 5 hours 47 hours
Dimensions (w/h/d) (not incl. projecting parts and controls)
Approx. 36.6mm × 102.8mm × 12.2mm
Mass
Approx. 48g
Temperature/Humidity
Operating temperature 5°C - 35°C
Operating humidity 25% - 75%
Storage temperature -10°C - +45°C
Storage humidity 25% - 75%
Compatible memory cards
microSDHC cards from 4 GB to 32 GB
microSDXC cards of 64 GB or more
*
1
A small amount of the built-in memory is used for file management and therefore not
available for user storage.
*
2
When the built-in memory is formatted with the IC recorder.
*
3
The maximum recordable time in this topic is provided for your reference only.
*
4
Default settings for the recording scenes.
*
5
Measured values acquired under our measurement conditions. These values may decrease
depending on the usage conditions.
Trademarks and licenses
Microsoft, Windows and Windows Media are registered trademarks or
trademarks of Microsoft Corporation in the United States and/or other
countries.
macOS is a trademark of Apple Inc., registered in the U.S. and other
countries.
microSD, microSDHC and microSDXC logos are trademarks of SD-3C, LLC.
All other trademarks and registered trademarks are trademarks or
registered trademarks of their respective holders. Furthermore, “™” and “®”
are not mentioned in each in this manual.
MPEG Layer-3 audio coding technology and patents licensed from
Fraunhofer IIS and Thomson.
This product is protected by certain intellectual property rights of Microsoft
Corporation. Use or distribution of such technology outside of this product
is prohibited without a license from Microsoft or an authorized Microsoft
subsidiary.
Notes on the License
This IC recorder comes with software that are used based on licensing
agreements with the owners of that software.
Based on requests by the owners of copyright of these software
applications, we have an obligation to inform you of the following. Please
read the following sections.
Licenses (in English) are recorded in the built-in memory of your IC recorder.
Establish a Mass Storage connection between the IC recorder and a
computer to read licenses in the “LICENSE” folder.
On GNU GPL/LGPL applied software
The software that is eligible for the following GNU General Public License
(hereinafter referred to as “GPL”) or GNU Lesser General Public License
(hereinafter referred to as “LGPL”) are included in the IC recorder.
This informs you that you have a right to have access to, modify, and
redistribute source code for these software programs under the conditions
of the supplied GPL/LGPL.
Source code is provided on the web. Use the following URL to download it.
http://www.sony.net/Products/Linux/
We would prefer you do not contact us about the contents of source code.
Licenses (in English) are recorded in the built-in memory of your IC recorder.
Establish a Mass Storage connection between the IC recorder and a
computer to read licenses in the “LICENSE” folder.
The display window turns off
automatically
The “Screen Off Timer” setting on your IC recorder is set to
“30Sec” by default to save battery power. If you leave the IC
recorder untouched for 30 seconds, the display window will turn
off, but you can still perform any button operations. To turn the
display window back on, press BACK/HOME.
LED
Screen O Timer
Beep
Language
Date & Time
Sleep Timer
Auto Power O
Common Settings
¼ You can keep the display window from turning off or change the
default setting to another timer interval. Press and hold BACK/
HOME and select “
Settings” - “Common Settings” - “Screen Off
Timer,” and then select “No Auto Screen Off,” “15Sec,“30Sec,
“1Min,” “3Min, or “5Min.
1

Hulp nodig? Stel uw vraag in het forum

Spelregels
1

Forum

Sony-ICD-UX570

Zoeken resetten

Misbruik melden

Gebruikershandleiding.com neemt misbruik van zijn services uitermate serieus. U kunt hieronder aangeven waarom deze vraag ongepast is. Wij controleren de vraag en zonodig wordt deze verwijderd.

Product:

Bijvoorbeeld antisemitische inhoud, racistische inhoud, of materiaal dat gewelddadige fysieke handelingen tot gevolg kan hebben.

Bijvoorbeeld een creditcardnummer, een persoonlijk identificatienummer, of een geheim adres. E-mailadressen en volledige namen worden niet als privégegevens beschouwd.

Spelregels forum

Om tot zinvolle vragen te komen hanteren wij de volgende spelregels:

Belangrijk! Als er een antwoord wordt gegeven op uw vraag, dan is het voor de gever van het antwoord nuttig om te weten als u er wel (of niet) mee geholpen bent! Wij vragen u dus ook te reageren op een antwoord.

Belangrijk! Antwoorden worden ook per e-mail naar abonnees gestuurd. Laat uw emailadres achter op deze site, zodat u op de hoogte blijft. U krijgt dan ook andere vragen en antwoorden te zien.

Abonneren

Abonneer u voor het ontvangen van emails voor uw Sony ICD-UX570 bij:


U ontvangt een email met instructies om u voor één of beide opties in te schrijven.


Ontvang uw handleiding per email

Vul uw emailadres in en ontvang de handleiding van Sony ICD-UX570 in de taal/talen: Engels als bijlage per email.

De handleiding is 0,66 mb groot.


U ontvangt de handleiding per email binnen enkele minuten. Als u geen email heeft ontvangen, dan heeft u waarschijnlijk een verkeerd emailadres ingevuld of is uw mailbox te vol. Daarnaast kan het zijn dat uw internetprovider een maximum heeft aan de grootte per email. Omdat hier een handleiding wordt meegestuurd, kan het voorkomen dat de email groter is dan toegestaan bij uw provider.

Uw handleiding is per email verstuurd. Controleer uw email

Als u niet binnen een kwartier uw email met handleiding ontvangen heeft, kan het zijn dat u een verkeerd emailadres heeft ingevuld of dat uw emailprovider een maximum grootte per email heeft ingesteld die kleiner is dan de grootte van de handleiding.

Er is een email naar u verstuurd om uw inschrijving definitief te maken.

Controleer uw email en volg de aanwijzingen op om uw inschrijving definitief te maken

U heeft geen emailadres opgegeven

Als u de handleiding per email wilt ontvangen, vul dan een geldig emailadres in.

Uw vraag is op deze pagina toegevoegd

Wilt u een email ontvangen bij een antwoord en/of nieuwe vragen? Vul dan hier uw emailadres in.


Info