Fill the boiler :
1. Place your steam generator on a stable, horizontal
heat-resistant surface.
2. Ensure that your appliance is disconnected and cold.
3. Unscrew the boiler screw cap.
4. Using a water jug, fill with one litre of water.
5. Fill the boiler, taking care that
the water does not spill over (1).
If this occurs, remove the excess
water.
6. Replace the boiler screw cap,
screwing on tightly.
ENGLISH
1. UNDERSTANDING YOUR STEAM
GENERATOR
Iron
temperature
control light
Steam output control dial
2. PREPARING YOUR STEAM GENERATOR
3. USING YOUR STEAM GENERATOR
(1)
Be careful :
The first time the appliance is used, there may be some
fumes and smell but this is not harmful.
They will not affect use and will disappear rapidly.
Recommendations:
To prime the steam circuit, either before using the iron for
the first time, or if you have not used the steam function for
a few minutes, press the steam control button several times
in a row, holding the iron away from your clothes.
This will enable any cold water to be removed from the
steam circuit.
• Iron temperature control setting :
- Start with fabrics to be ironed at a low temperature (
●
)
and finish with those which need higher temperatures
(
●●●
or Max).
- Mixed fibre fabrics : set the ironing temperature
to the setting for the most delicate fabric.
- Woollen garments : press repeatedly on the steam control
button to obtain short bursts of steam, without placing
the iron on the garment itself. This will avoid making the
fabric shiny.
• Steam output control dial setting :
- Thick fabric : increase the steam setting.
- At a low temperature : set the steam output control dial
to the low position.
• Dry ironing :
- Do not press the steam control button beneath the iron
handle or the “Precision Steam Jet” button on the iron
handle.
• If you are using starch, it should be sprayed onto
the reverse side of the fabric to be ironed.
• Ironing board :
For best results a mesh type ironing board should be used
to allow any excess steam to escape.
6. VERTICAL STEAM IRONING
1. Set the iron temperature control to the maximum
position.
Set the steam output control dial on the control panel
to the maximum position.
2. Hang the garment on a coat hanger and hold the
fabric slightly taut with one hand.
As steam is very hot, never attempt to remove creases
from a garment while it is being worn, always hang
garments on a coat hanger.
3. Holding the iron in a vertical position,
press repeatedly on the steam
control button (beneath the iron
handle) moving the iron from top
to bottom (9).
5. “PRECISION STEAM JET” FUNCTION
Your generator has a “Precision Steam Jet” function,
allowing you to:
- Iron the most hard-to-reach areas (such as button holes,
shirt cuffs and collars, darts in trousers, the inside of jacket
and coat sleeves);
- Dampen and soften the fibres before ironing, when the
fabric is very creased.
Use:
- With the iron on the ironing board, press the “Precision
Steam Jet” button on the iron handle 2 or 3 times to
obtain short, powerful bursts of steam at the front of the
iron (7);
- Then iron the fabric using steam from the soleplate to
smooth the fibres, by pressing the steam control button
beneath the iron handle (8).
(9)
Recommendations :
For fabrics other than linen or cotton, hold the iron
a few centimetres from the garment to avoid burning
the fabric
INSTRUCTIONS FOR USE
4. STEAM IRONING
During ironing, the temperature control light located
on the iron and the steam indicator will go on and off
according to the temperature control.
047242 - 48/04
Your steam generator has been designed to operate using
untreated tap water. However, if your water is very hard,
mix it 50 % untreated tap water 50 % distilled water.
The water to use in your steam generator :
Types of water to be avoided
Do not use water from clothes dryers, scented water,
water from refrigerators or air conditioners, rain water ;
Also do not use filtered, boiled or bottled mineral water.
These contain organic waste or mineral elements that
become concentrated when heated and cause spitting,
brown staining or premature wear to the appliance.
Use of these types of water will negate the guarantee
provided with the product.
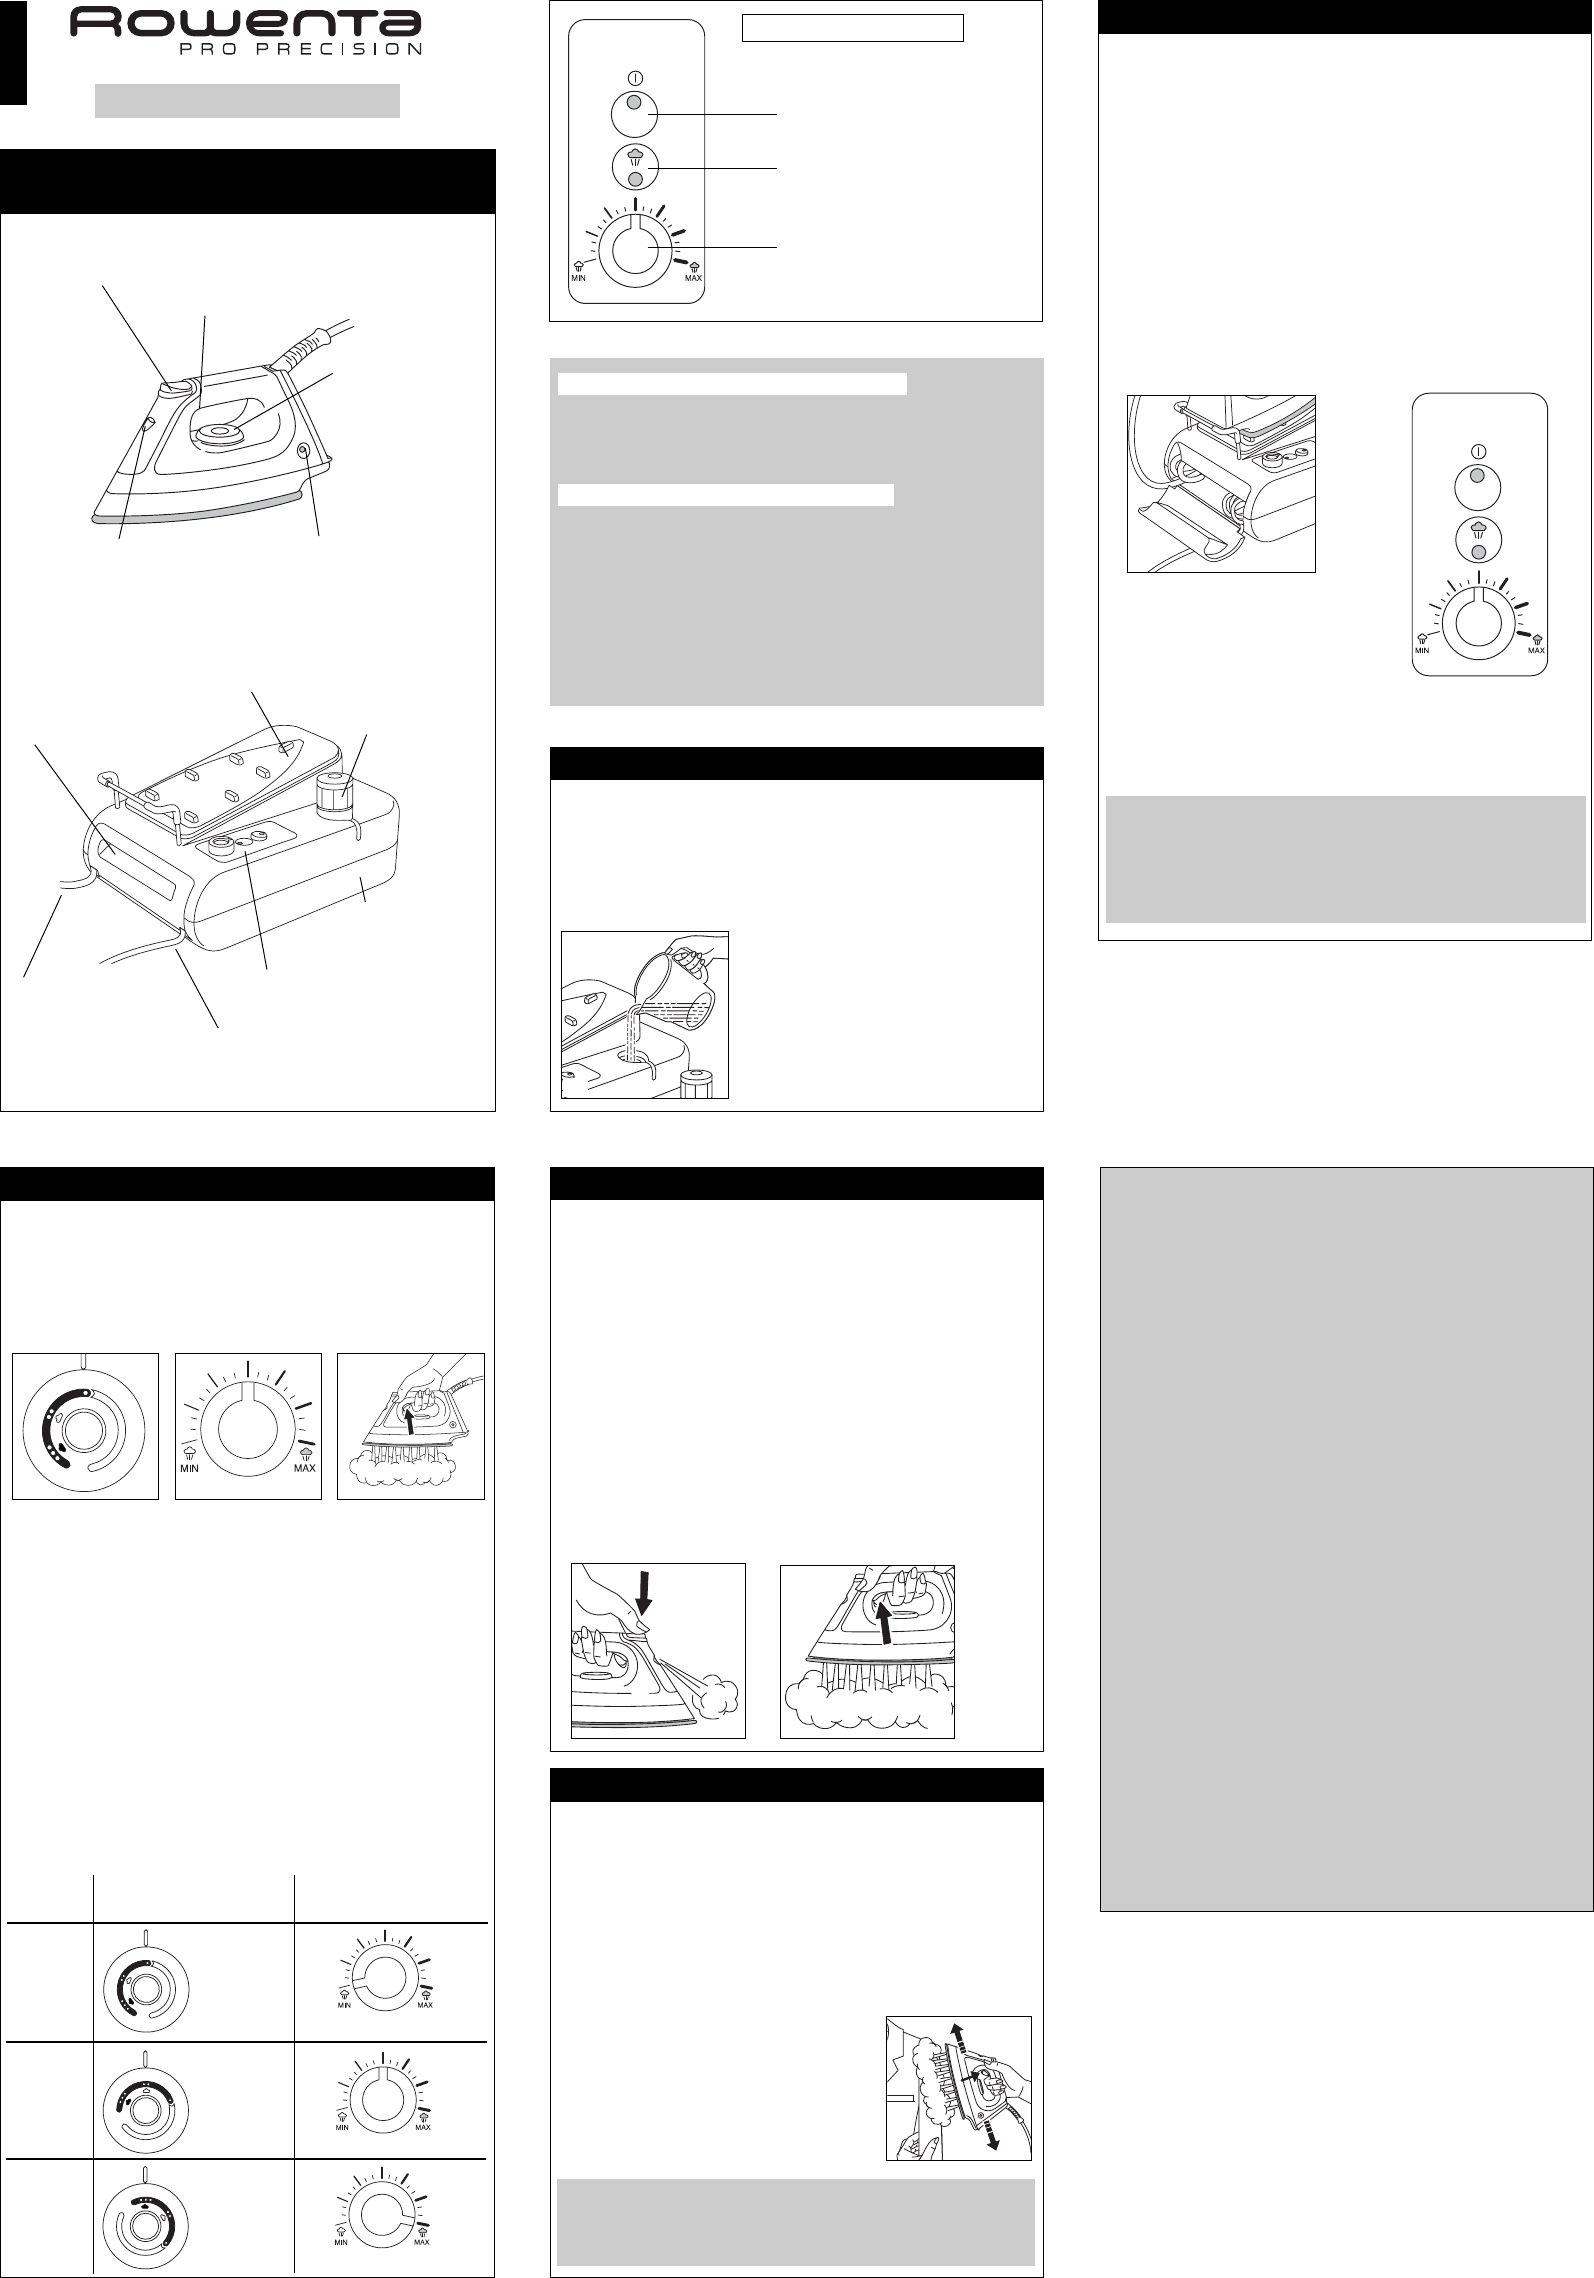
Steam control button
“Precision Steam Jet”nozzle
“Precision Steam Jet”
button
Temperature
control dial for
iron soleplate
Steam indicator
Illuminated On/Off switch
CONTROL PANEL
1. Open the flap to the cord storage compartment by
undoing the catch.
2. Completely remove the cords from the storage
compartment and slot them into the notches on either
side of the flap (2).
3. Close the door.
4. Connect your steam generator to a socket with an earth
connection.
5. Press on the illuminated on/off switch.
The steam indicator lights up while the boiler is
heating up.
When the indicator goes out (after about 7 minutes),
steam is ready.
You can use your appliance and start ironing.
(2)
(3)
(4)
Boiler screw
cap
Boiler unit /
water tank
Base unit power cord
Control panel
Iron rest plate
Connection cord
to the boiler unit /
water tank
Flap to cord storage
compartment
2. The iron temperature control light turns on.
Be careful: the generator and the iron are ready to use
when both the iron’s thermostat light and the “steam
ready” indicator go out.
If necessary, also adjust the steam output (steam output
control dial on the control panel) (5), eg : less steam for
low temperatures.
3. To obtain steam, press on the steam control button
beneath the iron handle and keep it pressed (6).
The steam will stop when you release the button.
Note: It is normal for the connection cord to become
warm during use.
Set the temperature and steam output according
to the type of fabric :
1. Place the iron’s temperature control to the setting
suitable for the type of fabric to be ironed (4).
● Synthetics (Low temperature)
●● Silk/Wool (Medium temperature)
●●● Cotton/Linen (High temperature)
With delicate fabrics (
●
setting), press the steam control
button (under the handle of the iron) intermittently
to avoid water droplets appearing with the steam.
(5)
(6)
Type of
fabric
Setting the temperature
control
Setting the steam output
control dial