4 VQT3H08 VQT3H08 5
Contents (Continued) Before use
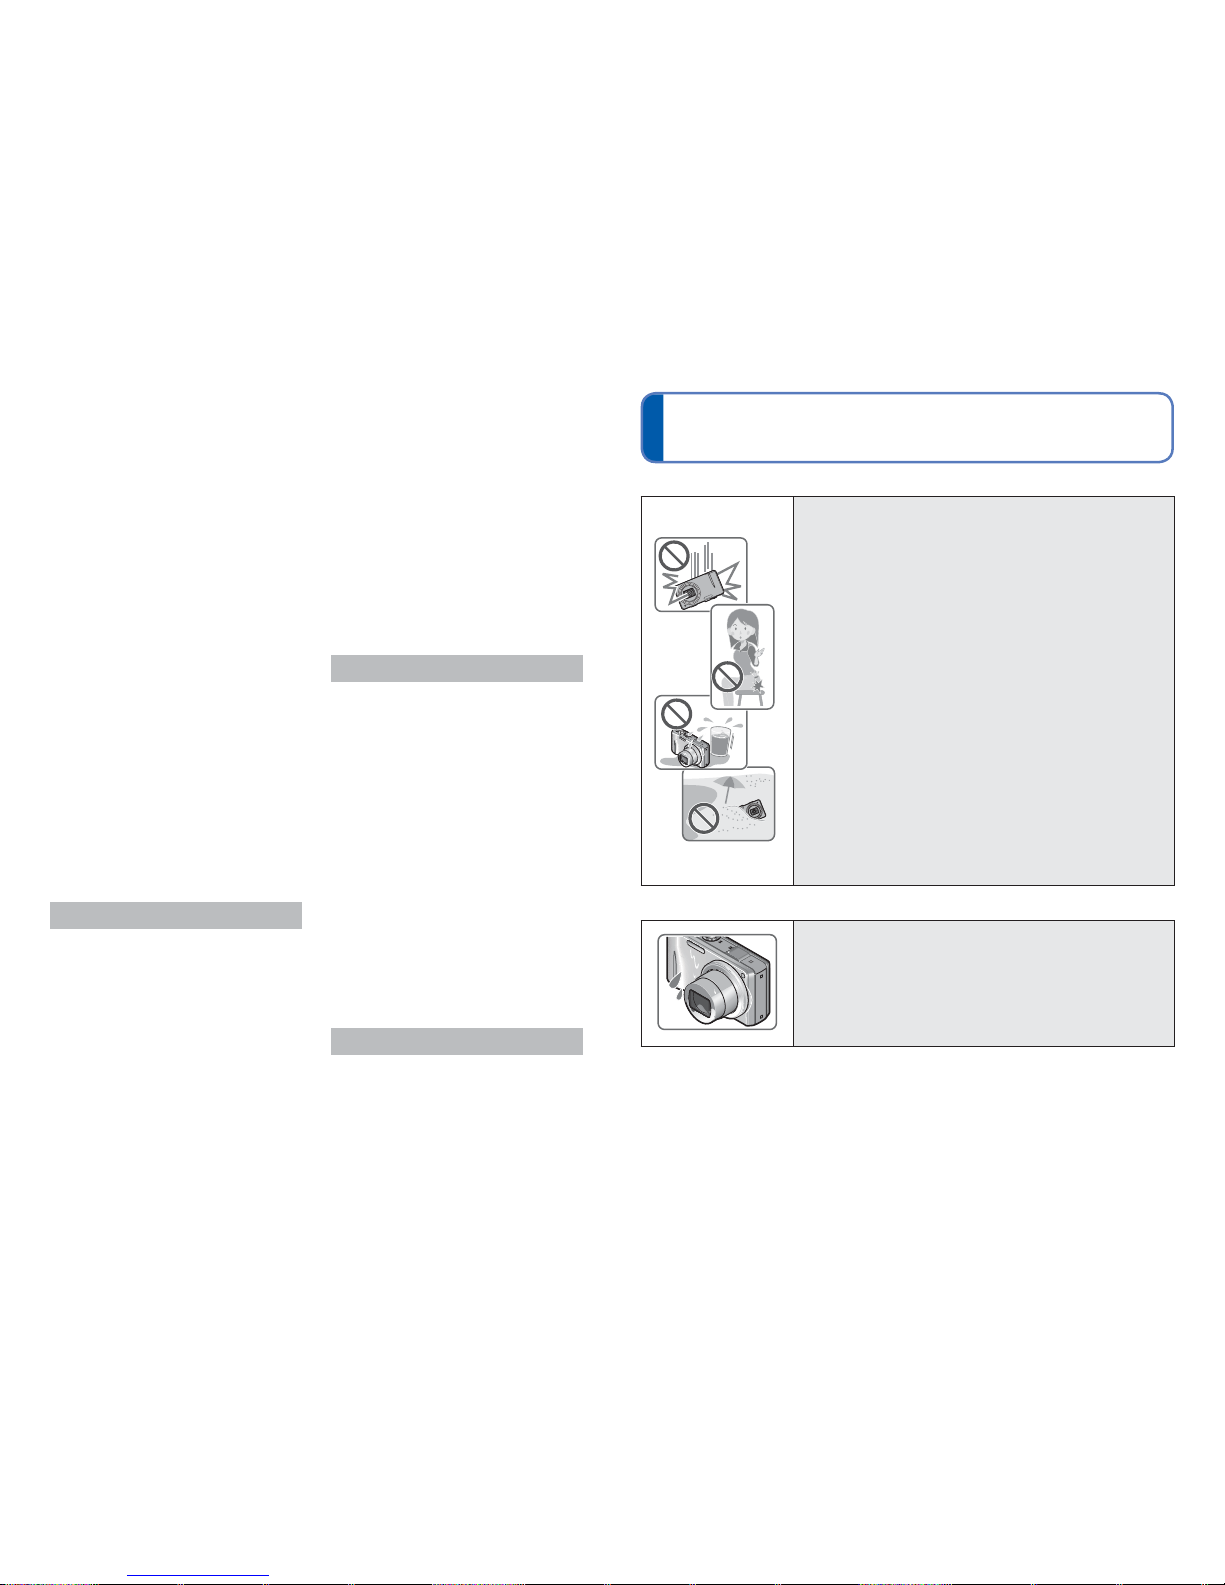
■Camera handling
Keep the camera away from excessive vibration, force,
or pressure.
●Avoid using the camera under the following conditions,
which may damage the lens, LCD monitor, or camera
body. This may also cause the camera to malfunction or
prevent recording.
• Dropping or hitting the camera against a hard surface
• Sitting down with the camera in your pants pocket or
forcing it into a full bag
• Adding accessories to the camera strap
• Pushing with excessive force on the lens or LCD monitor
The camera is not dust resistant, splash resistant, or
waterproof.
Avoid using the camera in places with excessive dust
or sand, or where water can come into contact with the
camera.
●Avoid using the camera under the following conditions,
which present a risk that sand, water, or foreign material
may enter the camera through the lens or openings around
buttons. Be especially careful, because these conditions
may damage the camera and such damage may not be
repairable.
• In extremely dusty or sandy places
• In the rain or by the shore, where the camera may be
exposed to water
■ Condensation (lens clouding)
●Condensation may occur when the camera is exposed to
sudden changes of temperature or humidity. Avoid these
conditions, which may make the lens dirty, cause mold, or
damage the camera.
●If condensation does occur, turn off the camera and wait
about two hours before using it. Once the camera adjusts
to the surrounding temperature, clouded lenses will clear
naturally.
Using the [Rec] menu .......................... 85
[Aspect Ratio] ..............................................85
[Picture Size] ...............................................85
[Quality] .......................................................86
[Sensitivity] ..................................................86
[White Balance] ...........................................87
[AF Mode] ....................................................89
[Quick AF] ....................................................90
[Face Recog.] ..............................................91
[Metering Mode] ..........................................91
[i.Exposure] .................................................91
[Min. Shtr Speed] ........................................92
[i.Resolution] ...............................................92
[Digital Zoom] ..............................................92
[Burst] .......................................................... 93
[Color Mode] ................................................93
[AF Assist Lamp] .........................................93
[Red-Eye Removal] .....................................94
[Stabilizer] ...................................................94
[Date Stamp] ...............................................95
[Clock Set] ...................................................95
Using the [Motion Picture] menu ....... 96
[Rec Mode] ..................................................96
[Rec Quality] ................................................97
[Active Mode] ..............................................98
[Continuous AF] ...........................................98
[Wind Cut] ...................................................98
Recording still pictures while a
motion picture is being recorded ....... 99
Application (View)
Editing motion pictures .................... 100
Capturing still pictures from motion
pictures ......................................................100
Splitting up motion pictures .......................100
Playing back still pictures recorded
using the burst function ................... 101
Different playback methods
[Playback Mode] ................................ 102
[Slide Show] ..............................................102
[Filtering Play] ...........................................104
[Calendar] ..................................................104
Using the [Playback] menu............... 105
[Upload Set] ..............................................105
[Title Edit] ..................................................106
[Place-Name Edit] .....................................107
[Text Stamp] ..............................................108
[Video Divide] ............................................109
[Resize] ..................................................... 110
[Cropping] .................................................. 111
[Favorite] ................................................... 112
[Print Set] .................................................. 113
[Protect] ..................................................... 114
[Face Rec Edit] .......................................... 114
[Copy] ........................................................ 115
Connecting with other devices
Viewing on TV screen ....................... 116
Viewing on a TV with HDMI Socket .......... 117
VIERA Link (HDMI) (HDAVI Control™) ..... 118
Viewing 3D still pictures ............................ 119
Keep the recorded still pictures and
motion pictures .................................. 121
Copy by inserting the SD card into the
recorder ..................................................... 121
Dubbing playback pictures via AV cables
... 121
Use “PHOTOfunSTUDIO” to copy to
your computer ..........................................122
Keeping the 3D still pictures ......................122
Using with your PC ............................ 123
Copying still pictures and motion
pictures .....................................................124
Uploading pictures to image-sharing
websites ....................................................126
Printing ............................................... 127
Printing multiple pictures ...........................128
Print with date and text ..............................128
Making print settings on the camera .........129
Others
List of LCD monitor displays ............ 130
Message displays .............................. 132
Q&A Troubleshooting ...................... 134
Usage cautions and notes ................ 141
User License Agreement for Location
Name Data ................................................145