Pull the strap tight so that it does not come loose.
a.Charge the battery
Battery comes partially charged.
b.Insert the battery in the camera
a.Press the o button
To turn off the camera, press the o button once again.
Quick Start Guide
S
tart
Here
For more information, please refer to the Basic & Advanced Manuals
or visit: www.olympusamerica.com/support
Gather these items (box contents)
Digital CameraStrapLI-42B Lithium Ion
Battery
LI-40C Battery
Charger
USB CableAV CableOLYMPUS Master
Software CD-ROM
Items not shown: Advanced Manual (CD-ROM), Basic Manual, and warranty
card. Contents may vary depending on purchase location.
Attach the strap
The strap can also be fed through strap
eyelet on the lower side.
Prepare the battery
1
Light On (Red): Charging
Light Off: Charging complete
(Charging time: Approx. 5 hours)
AC Wall
Outlet
Power Cable
Battery Charger
Lithium Ion Battery
3
W
2
Charging Indicator
1
3Insert the battery with the side
down.
To remove the battery, slide the
battery lock knob in the direction of
the arrow.
Battery lock knob
2
•When the date and time
have not yet been set, this
screen will appear.
4For details on inserting an optional xD-
Picture Card™, please refer to the
advanced manual.
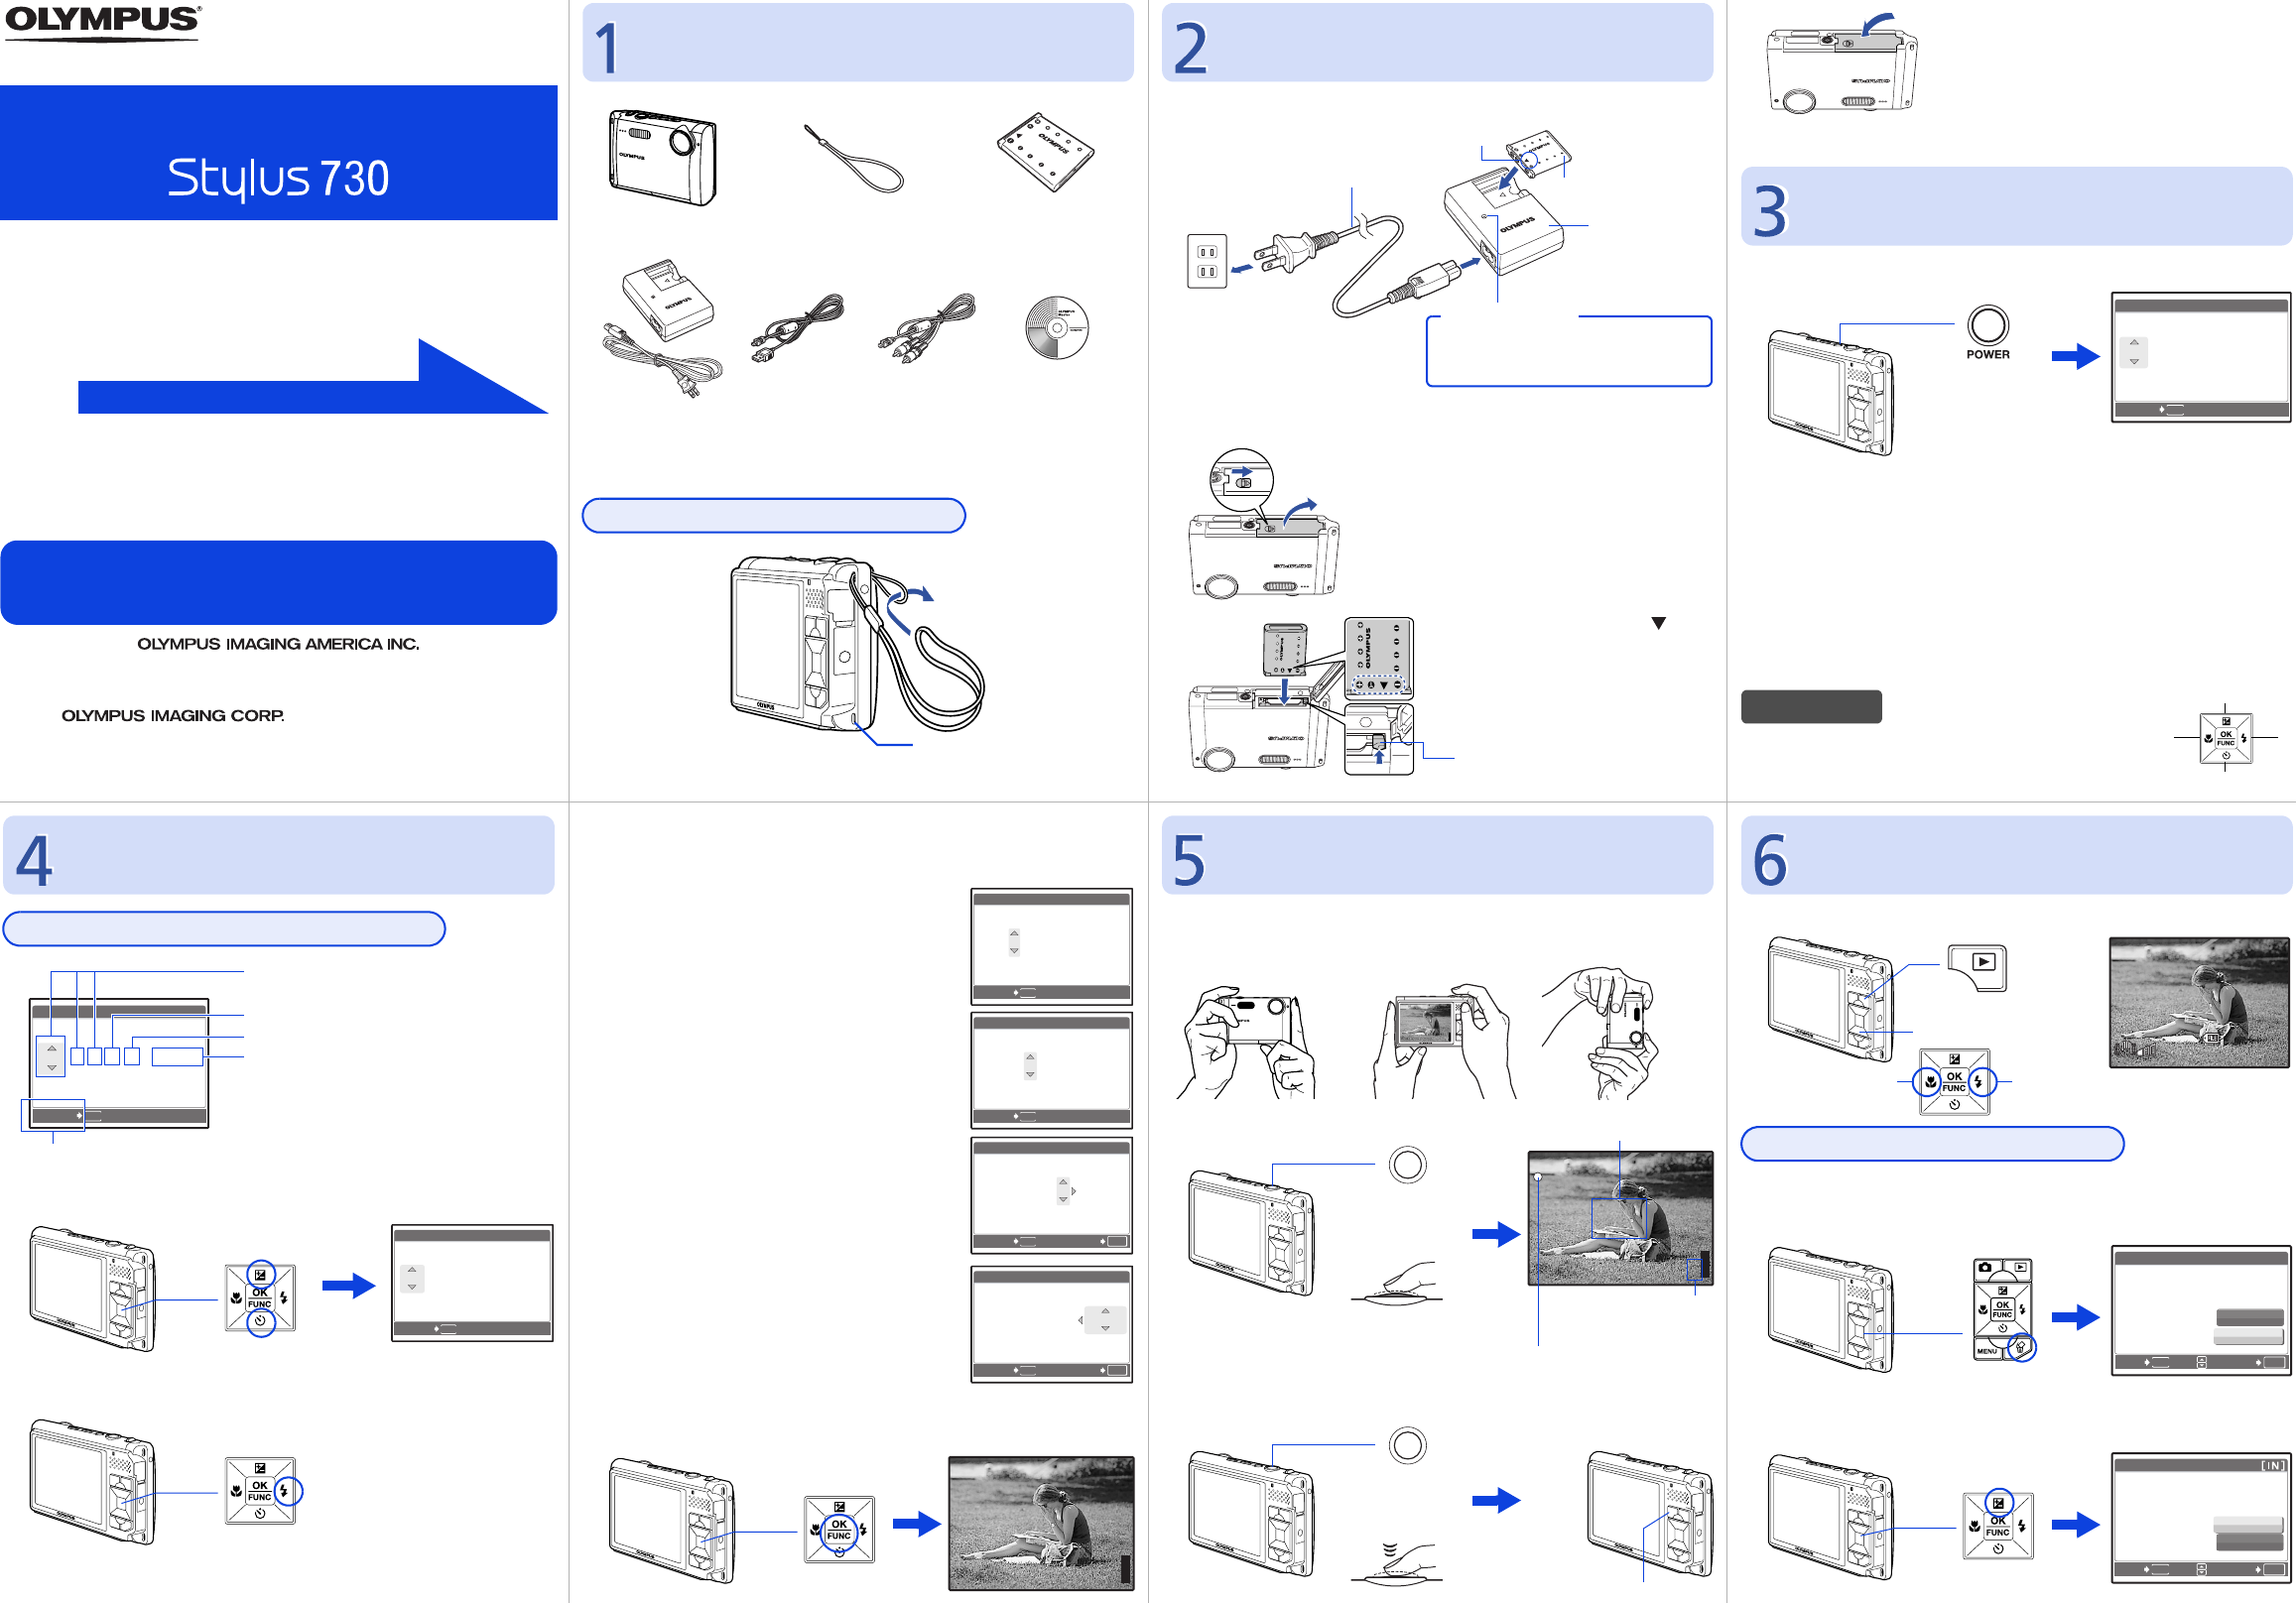
Turn the camera on
o Button
MENU
CANCEL
X
Y/M/D
Y/M/D
Y
Y
M D
D
TIME
TIME
----.--.-- --:--
----.--.-- --:--
1
2
34
Hint
The directions of the arrow pad (1243) is indicated
with 1243 in the supplied instruction manual.
a.Press the
1F
button and the
2Y
button to select [Y].
•The first two digits of the year are fixed.
b.Press the 3# button.
c.Press the 1F button and the
2Y button to select [M].
d.Press the 3# button.
e.Press the 1F button and the
2Y button to select [D].
f.Press the 3# button.
g.Press the 1F button and the
2Y button to select “hour”,
“minute”.
•The time is displayed in the 24-hour format.
h.Press the 3# button.
i.Press the 1F button and the
2Y button to select [Y/M/D].
j.After all items have been set, press the button.
•
For precise time setting, press the
button as the time signal strikes 00 seconds.
a.Hold the camera
c. Shoot
a.Press the q button.
a.As described in a. above, display the picture you
want to erase.
b.Press the
S
button.
c.Press the 1F button to select [YES] and press the
button to erase the image.
Set date and time
About the date and time setting screen
MENU
CANCEL
X
Y/M/D
Y/M/D
Y
Y
M D
D
TIME
TIME
----.--.-- --:--
----.--.-- --:--
Y-M-D (Year-Month-Day)
Exits a setting.
Minute
Date formats (Y-M-D, M-D-Y, D-M-Y)
Hour
2Y Button
1F Button
CANCEL
MENU
2006
2006
.--.-- --:--
.--.-- --:--
X
Y
Y
M
D
D
TIME
TIME
Y/M/D
Y/M/D
3# Button
2006
2006
.
11
11
.-- --:--
.-- --:--
CANCEL
MENU
X
Y
Y
M
D
D
TIME
TIME
Y/M/D
Y/M/D
2006
2006
.
11
11
.
26
26
--:--
--:--
CANCEL
MENU
X
Y
Y
M
D
D
TIME
TIME
Y/M/D
Y/M/D
CANCEL
MENU
OK
SET
2006
2006
.
11
11
.
26
26
12
12
:
30
30
X
Y
Y
M
D
D
TIME
TIME
Y/M/D
Y/M/D
CANCEL
MENU
OK
SET
2006
2006
.
11
11
.
26
26
12
12
:
30
30
X
Y/M/D
Y/M/D
Y
Y
M
D
D
TIME
TIME
Button
P
HQ
HQ
3072
3072
×
2304
2304
[
IN
IN
]
44
[]
Horizontal gripVertical grip
b.Focus
The K button blinks.
Take a picture
(Pressed
halfway)
Shutter
Button
P
HQ
HQ
3072
3072
×
2304
2304
[
IN
IN
]
44
[]
The green lamp indicates the
focus and exposure are locked.
The number of remaining
still pictures is displayed.
Place this mark over your subject.
(Pressed
completely)
Shutter
Button
Review your pictures
12:30
12:30
'06.11.26
'06.11.26
100-0001
100-0001
1
HQ
HQ
[
IN
IN
]
q Button
Arrow Pad
Next Picture
Prev. Picture
Erase pictures
S Button
OK
SET
MENU
BACK
YES
NO
ERASE[IN]
1F Button
OK
SET
MENU
BACK
YES
NO
ERASE
d4316_e_qsg_7.fm Page 1 Monday, July 31, 2006 11:14 PM
Hulp nodig? Stel uw vraag in het forum
Misbruik melden
Gebruikershandleiding.com neemt misbruik van zijn services uitermate serieus. U kunt hieronder aangeven waarom deze vraag ongepast is. Wij controleren de vraag en zonodig wordt deze verwijderd.
Product:
Spelregels forum
Om tot zinvolle vragen te komen hanteren wij de volgende spelregels:
lees eerst de handleiding door;
controleer of uw vraag al eerder door iemand anders is gesteld;
probeer uw vraag zo duidelijk mogelijk te stellen;
heeft u een probleem en al geprobeerd om dit op te lossen, vermeld dit erbij aub;
heeft u een oplossing gekregen van een bezoeker dan horen wij dat graag in dit forum;
wilt u een reactie geven op een vraag of antwoord, gebruik dan niet dit formulier maar klik op de knop 'reageer op deze vraag';
uw vraag wordt direct op de website gezet; vermijd daarom persoonlijke gegevens in te vullen;
Belangrijk! Als er een antwoord wordt gegeven op uw vraag, dan is het voor de gever van het antwoord nuttig om te weten als u er wel (of niet) mee geholpen bent! Wij vragen u dus ook te reageren op een antwoord.
Belangrijk! Antwoorden worden ook per e-mail naar abonnees gestuurd. Laat uw emailadres achter op deze site, zodat u op de hoogte blijft. U krijgt dan ook andere vragen en antwoorden te zien.
Abonneren
Abonneer u voor het ontvangen van emails voor uw Olympus Mju 730 Quick Start Guide bij:
nieuwe vragen en antwoorden
nieuwe handleidingen
U ontvangt een email met instructies om u voor één of beide opties in te schrijven.
Ontvang uw handleiding per email
Vul uw emailadres in en ontvang de handleiding van Olympus Mju 730 Quick Start Guide in de taal/talen: Engels als bijlage per email.
De handleiding is 0,6 mb groot.
U ontvangt de handleiding per email binnen enkele minuten. Als u geen email heeft ontvangen, dan heeft u waarschijnlijk een verkeerd emailadres ingevuld of is uw mailbox te vol. Daarnaast kan het zijn dat uw internetprovider een maximum heeft aan de grootte per email. Omdat hier een handleiding wordt meegestuurd, kan het voorkomen dat de email groter is dan toegestaan bij uw provider.
Uw handleiding is per email verstuurd. Controleer uw email
Als u niet binnen een kwartier uw email met handleiding ontvangen heeft, kan het zijn dat u een verkeerd emailadres heeft ingevuld of dat uw emailprovider een maximum grootte per email heeft ingesteld die kleiner is dan de grootte van de handleiding.
Er is een email naar u verstuurd om uw inschrijving definitief te maken.
Controleer uw email en volg de aanwijzingen op om uw inschrijving definitief te maken
U heeft geen emailadres opgegeven
Als u de handleiding per email wilt ontvangen, vul dan een geldig emailadres in.
Uw vraag is op deze pagina toegevoegd
Wilt u een email ontvangen bij een antwoord en/of nieuwe vragen? Vul dan hier uw emailadres in.