Congratulations on your purchase of this speaker system with iPod dock. To get
the most from your speaker system, please take a few minutes to read these
instructions.
Press the POWER/MODE button on the main unit or remote control to turn
the unit ON once the power adaptor is connected. The system will switch to
the last selected source. The power on indicator around the power button will
be lit. The power indicator LED shows a different colour when the unit in
different modes (iPod/ Radio/ AUX in mode). Press the power button again
on the remote control or press and hold the power button about 2 seconds on
the unit to power the unit OFF.
Press the POWER/MODE switch button on the main unit or remote control to
select between FM Radio, AUX or iPod mode. The power indicator LED around
the power button lights up in a different colour for the different modes. “RADIO”
shows red and blue, AUX lights in red, and iPod lights in blue once you
select the desired mode.
Press this button in the remote control to play or pause the music in iPod mode.
1.) Press the power button on the main unit or remote control to turn on the unit.
Press the Mode button repeatedly until the power indicator changes to
blue/red color to select the RADIO mode.
2.) To manually tune to the desired station, repeatedly press the SKIP/TUNE
or button on the remote control.
3.) To automatically search for stations with strong signals, press and hold the
SKIP/TUNE or button on the unit or the remote control until the frequency
read out on display begins to scan then release the button. The tuner will stop
on the first strong station signal it finds.
4.) Adjust the sound level by pressing the VOLUME +/- button on the unit or the
remote control repeatedly.
Press the Volume up or down button repeatedly to adjust sound level.
In radio, press the or button on the remote control to search the tune
manually or automatically.
In iPod mode, press the or button to skip the music to the previous or
next track. Press and hold the or button to search the music track quickly.
NOTE: This unit is not magnetically shielded and may cause color distortion
on the screen of some TVs or video monitors. To avoid this, you may need to
move the unit further away from the TV or monitor if unnatural color shifts or
image distortion occurs.
WARNING - To reduce the risk of fire, electric shock or serious
personal injury. Do not open the unit. This product is intended for indoor,
non-industrial, non-commercial use; do not use the product outdoors.
Do not mount this product on a wall or ceiling.
1. Always follow basic safety precautions when using electrical products.
Children should be supervised to ensure that they do not play with appliances.
2. Do not allow children to operate the unit without adult supervision.
3. Read this instruction manual carefully before you attempt to use the unit.
4. Consult your dealer or service personnel if you have further questions about
the operation or safety of the unit.
5. Do not expose the product to temperatures above 40°C. Keep it in moderate
climates.
6. The apparatus shall not be exposed to dripping or splashing and no objects
filled with liquids, such as vases, shall be placed near the product. Dry
location use only.
7. No naked flame sources, such as candles, should be placed on the product.
8. Keep the power cord and product away from heated surfaces.
9. Keep at least 5 cm of space around the unit for sufficient ventilation.
10. The ventilation holes should not be blocked up by things such as newspapers,
dusters, curtains, etc. Place the product where there is good air circulation.
11. Do not place or drop the product into water or other liquids. If the product falls
into water, immediately unplug it from the electrical outlet; do not pull on the
power cord.
12. Do not expose batteries to excessive heat, such as fire, direct sunlight, etc.
13. Dispose of used batteries in an environmental friendly way.
14. Do not place the unit near TV, speakers, and other objects that generate
strong magnetic fields.
15. Do not clean the unit with strong chemical agents.
16. This product has no user-serviceable parts. Do not attempt to dismantle or
repair this unit yourself. This unit should be repaired by qualified service
technician only.
17. Do not operate the unit if it is not working normally or has been damaged in
any way. Turn the unit off. Unplug it from the power source. And consult
service personnel.
18. Do not remove any fixed cover. This will increase the chance of electrical shock.
19. Press the player’s buttons gently. Pressing them or the screen too hard can
damage the player.
20. Do not push any objects into holes, slots, or openings on the unit. This could
result in fatal electric shock.
21. Do not subject the product to harsh impacts. Do not drop the appliance. This
may result in damage to the product and loss of data.
22. Care is required for the use of this apparatus in tropical and/ or moderate
climates.
23. Do not use the player in an extremely dry environment, as this can lead to
static discharge, which can damage the player.
24. Only use attachments/ accessories specified by the manufacturer.
25. Unplug this apparatus during lightning storms or when it is unused for long
periods of time.
Always follow basic safety precautions when using electrical products,
especially when children are present.
PRODUCT FEATURES
This music system has an iPod Dock with following features:
Play and Charge your dockable iPod Touch or iPhone
3.5mm Auxiliary input for MP3 player connection
Apps function (FM radio, weather station and alarm clock)
Remote control operation
AC adaptor operation
LOCATION OF CONTROLSPREPARATION FOR USE
PREPARATION FOR USE
Turning the unit ON or OFFNotes:
Manual tune to select weaker stations that might be bypassed during
automatic tuning.
Hints for the Best Reception
To obtain the best FM reception, unwrap and fully extend the FM Antenna on
the rear of the unit and adjust its direction.
CHARGING YOUR iPod Touch or iPhone
Note:
(1) If you connected the Line Out Jack of your external device then you only need
to adjust the volume control of this system. If you connected the Headphone
Jack of your external device then you may need to adjust both the volume
control of your external device and the volume control of this system to find
the most desirable volume setting.
(2) Press the power button to turn off the system when you finish listening.
Don't forget to switch off the power of your external device as well.
1.) This system is equipped with a dock to allow you to connect your iPod Touch
or iPhone to enjoy your favorite music via the speaker system. The system
is able to fit most types of currently available iPod. iPod models with 30-pin
dock connector are as below: Nano 1 / 2 /3 /4 generation, iPod 5
generation (video) and iPod nano 6 . iPod touch 1 and 2 Generation
3 and 4 and iPod classic . Grip the iPod and pull it upwards and out
carefully. This unit can also charge your iPod or iPhone when it is connected
well via the dock.
Note: Please be careful when seating the iPod into the docking to avoid
damaging the 30-pin connector on the iPod or in the docking system.
2.) Press the power button to turn on the unit.
3.) Press the MODE button repeatedly until the power indicator changes to
to select iPod mode. The iPod will start playing automatically and
start charging immediately.
4.) Press the iPod PLAY/PAUSE button on the remote control to pause or
resume iPod playback.
5.) Adjust the sound level of the speaker system by pressing VOLUME +/-
buttons on the remote control or the unit.
6). Press the the SKIP/TUNE or button to skip to the next or previous song;
7). Press and hold the SKIP/TUNE or button for fast-forwarding or fast-back
forwarding during the playback.
8). Press the MENU button on the remote control once to go the menu screen
of the iPod, Press the MENU up or down button to highlight the item you want
to operate, and press the iPod Enter button to confirm your selection. (You
can also operate the button on your iPod directly except the volume level
when it is connected to the dock)
Note: The volume level cannot be adjusted using the volume control on your
Pod after being docked.
When your iPod or iPhone docked to the unit, it will be recharged automatically
in standby, iPod, Radio and AUX in mode until it is fully charged. Other
non-docking types of iPod will not be charged.
This unit provides an auxiliary audio signal input jack for connecting external audio
devices like MP3 players, CD players and older, non-dockable iPod (except iPod
shuffle 3 gen) and listen to your external source through the speakers of
this system.
1. Use an audio cable (included) with one 3.5 mm stereo plug on each end of
the cable.
2. Plug one end into the Aux-in jack on the main unit and the other end of the
cable into the Line-out Jack or Headphone Jack of your external audio device.
3. Turn on the external audio device.
4. To select auxiliary audio input, press the MODE button until the power
indicator changes to red to select “AUX” mode.
5. The volume level can now be controlled through the main unit. Operate all
other functions on the auxiliary device as usual.
This appliance supports the “Mitone speaker” Apps function,
1. If there’s no “Mitone” Apps in your iPod Touch or iPhone, a dialog box will
appear on your iPod or iPhone screen asking you to install the software
from the App store.
2. Click the “Yes” to confirm your selection. The iPod Touch or iPhone will
attempt to connect to the iTunes App Store via Wi-Fi automatically.
Press the App store icon to login in to the searching interface,
input “Mitone speaker” to search for the App software; it’s free for installation.
3. If there’s no Wi-Fi connection please install iTunes to your computer and
download the Mitone App directly from iTunes.
Connect your iPhone or iTouch to your computer. Open the iTunes software,
click iTunes store, input "Mitone speaker" to search for the Mitone App,
and then download it to iTunes.
Click" Sync Apps", choose the "Mitone speaker" App and click "Apply" to
synchronize the App to your iPod Touch or iPhone.
Once the Mitone App sync is complete disconnect your iPod Touch or iPhone
from the computer. The Mitone App has installed successfully.
Note: The Music System and the Mitone App (apart from Video mode) are
compatible with iPhone or iTouch operating system software version iOS4.0.
To ensure full compatibility we recommend the use of operating system
software version iOS 4.1 on your iPhone or iTouch.
Connect the iPod Touch or iPhone to the docking port of the Music System.
Press the Power/Mode button on the front panel of the Music System or the
Power button of the remote control to turn on the Music System. The
Power/Mode button LED indicator will glow Blue when the Music System is
in iPod mode, find and select the Mitone App icon to enter the Main Interface.
VOLUME UP and DOWN buttons
Radio Tuning
SKIP/TUNE or button
MODE selection
CONNECTING iPod Touch OR iPhone TO YOUR SPEAKER SYSTEM
AUX IN CONNECTION
SPECIFICATIONS
Main power 100-240V AC 50/60Hz output: DC 12V 1500mA.
Main unit DC input: DC 12V / 1500mA
Battery for Remote Control 1 x 3V CR2025 Lithium Battery
Output power 2 x 6W RMS
Dimensions 378 x 134 x 153 mm
If at any time in the future you should need to dispose of this product please note that:
Waste electrical products should not be disposed of with household waste. Please
recycle where facilities exist. Check with your Local Authority or retailer for recycling
advice. (Waste Electrical and Electronic Equipment Directive)
Capi website : www.capi.com
Radio Frequency Range FM 88 - 108 MHz
Power Requirement
Frequency Range
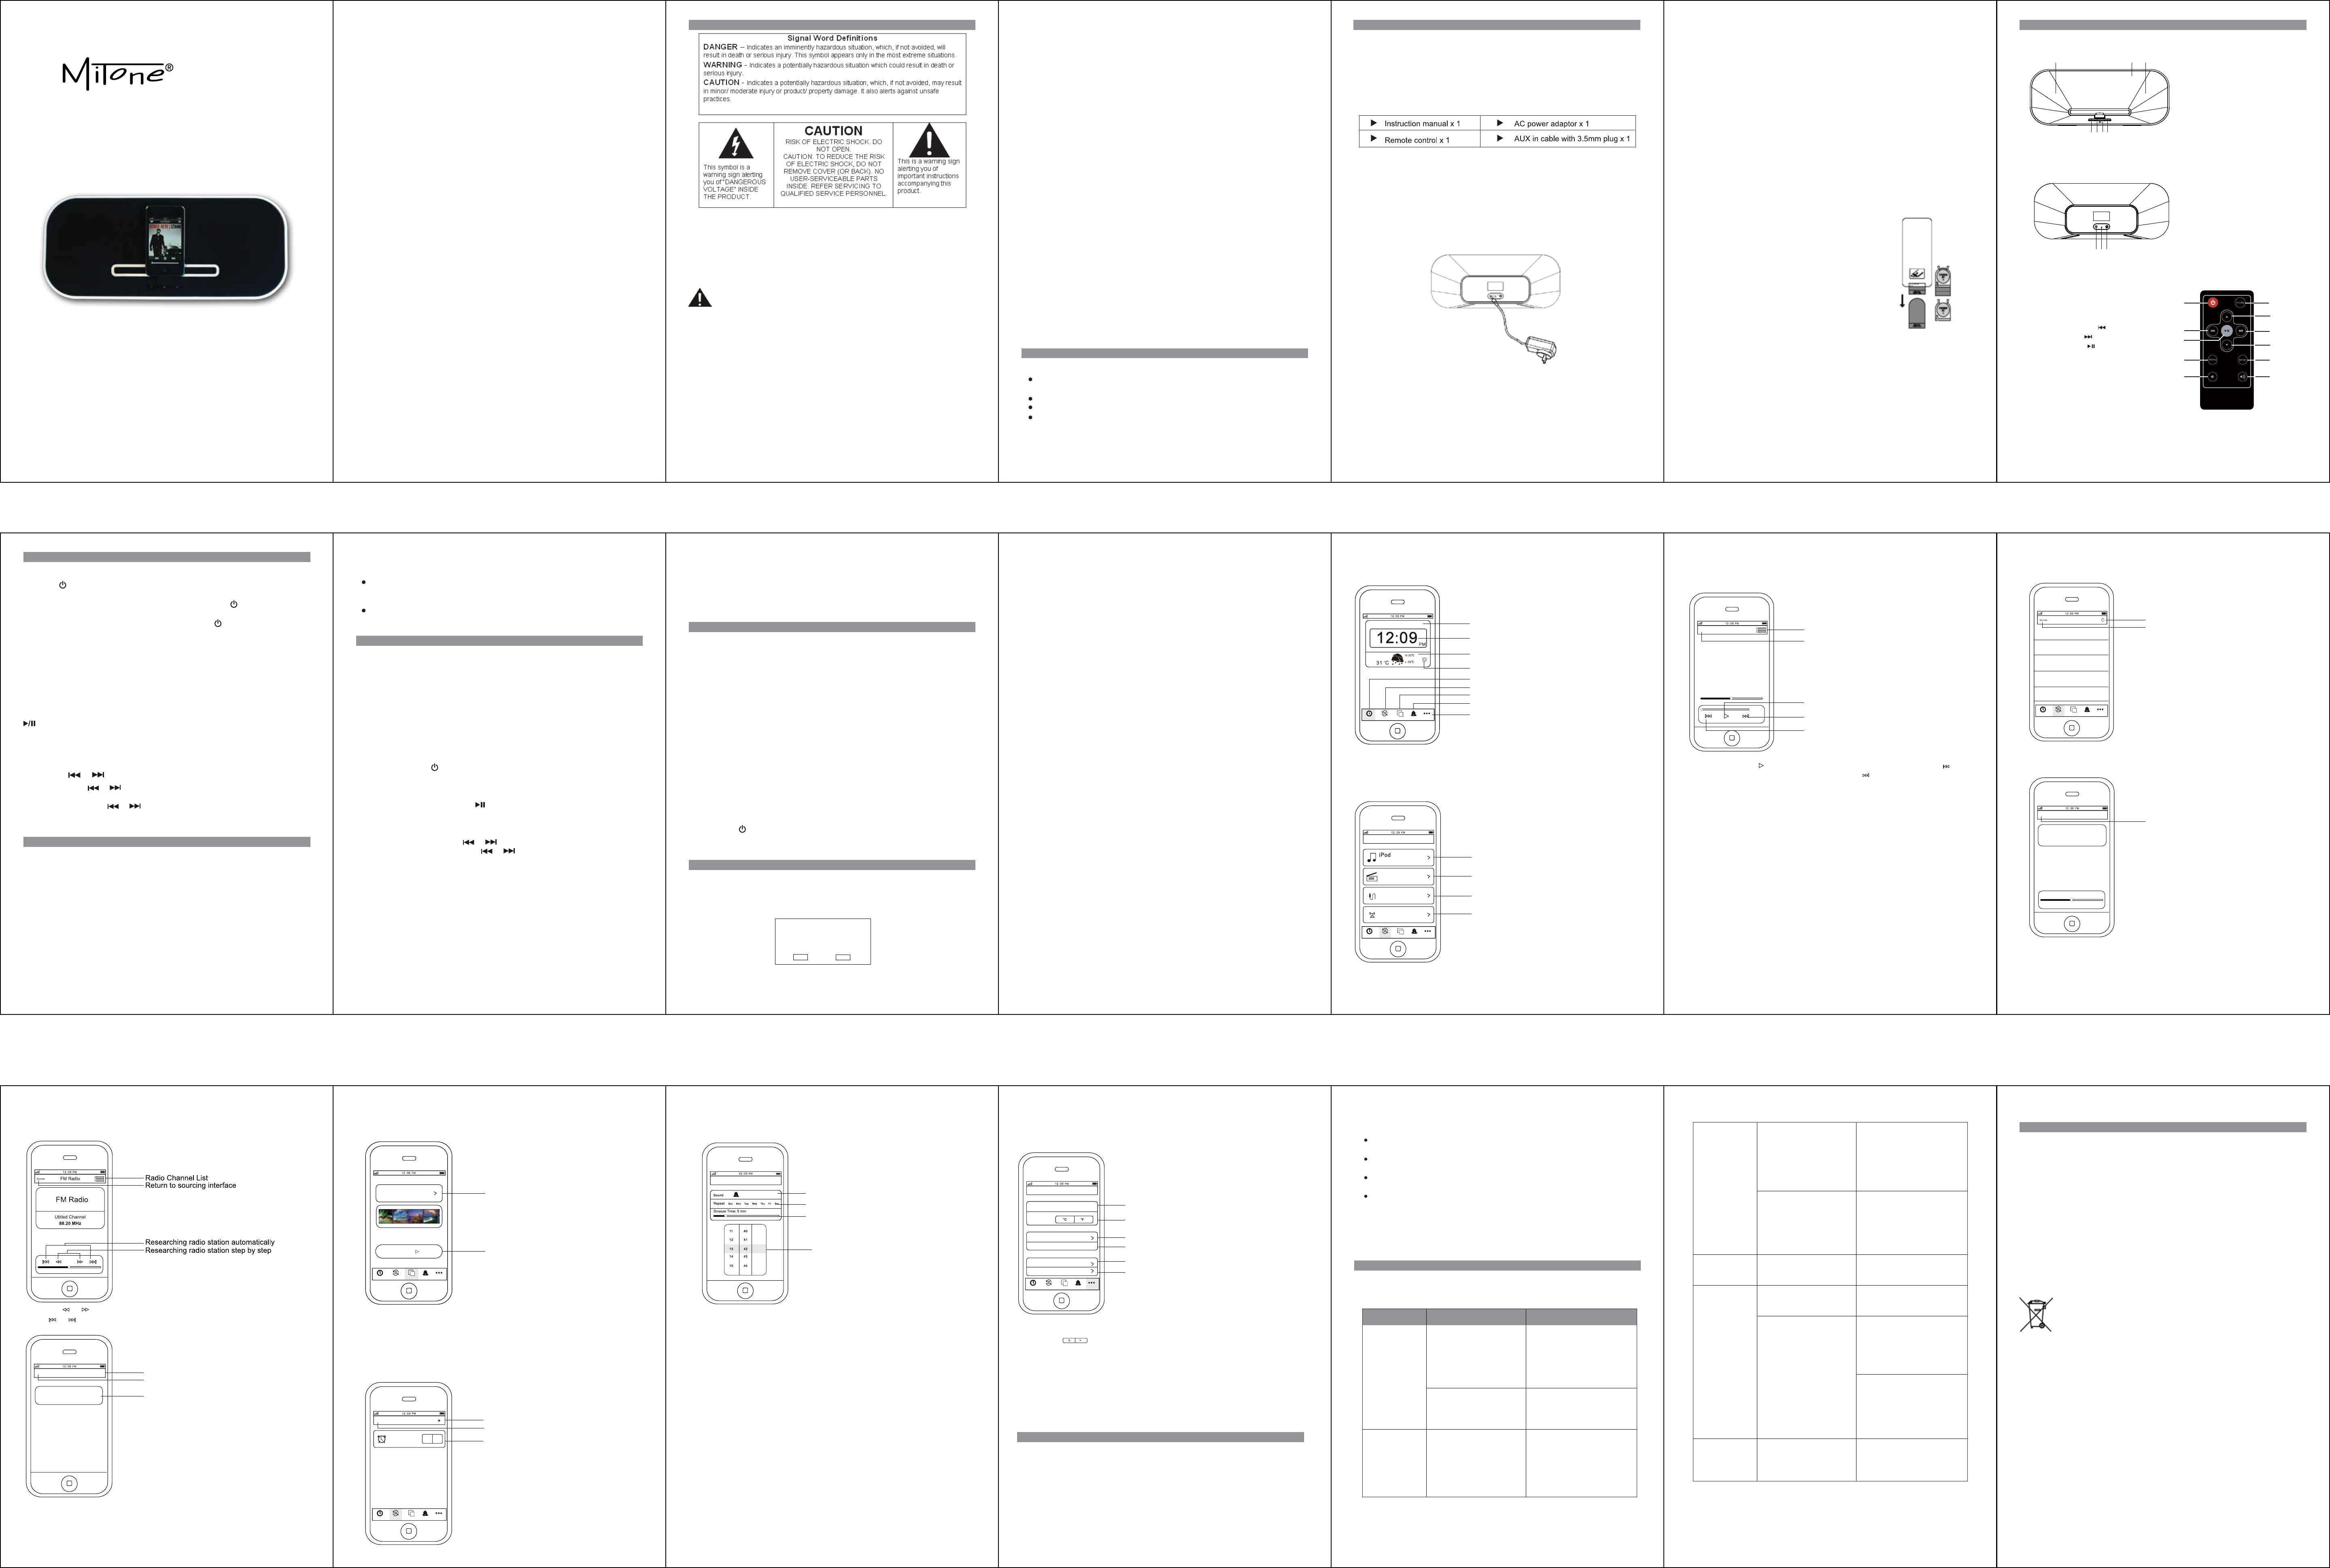
FRONT VIEW OF THE MAIN UNIT
REAR VIEW OF THE MAIN UNIT
REMOTE CONTROL
REPLACING THE BATTERY FOR THE REMOTE CONTROL
CAUTION: There is danger of explosion if battery is incorrectly
replaced. Replace the battery only with the same or equivalent type.
CONNECTING THE AC POWER ADAPTOR
Unpack the unit carefully. Carefully remove all the accessories from the display
carton. We recommend that you save the box and packing materials, in case you
wish to store the unit. Don’t remove any labels or sticker on the rear of the unit and
adaptor.
Before setting up the unit, verify that the following accessories are present:
1. You can enjoy music from most portable music players by using this
speaker system. Connect the 3.5mm Aux-In cable to the AUX-IN jack and
the other end to the headphone or line-out jack of your preferred device.
2. Press the MODE button the remote control or the unit to select AUX mode,
the “AUX” mode indicator lights red around power button. The sound from
other auxiliary device can be heard once the AUX in cable is connected.
(Audio cable with 3.5mm plug is included)
Select the play function on the auxiliary device and the sound output can then
be heard from the unit. Disconnect the audio cable if you are not going to use
the aux in mode.
1. Volume - / Tune – button
2. Power / Mode button
3. LED indicator
4. Volume +/Tune + button
5. Remote sensor
6. Left/ right speaker
7. DC 12V in jack
8. FM wiring antenna
9. AUX in jack
1. Power ON / OFF Button
2. Function Select Button
3. iPod menu up button
4. iPod SKIP Previous /TUNE- button
5. iPod SKIP Next /TUNE+ button
6. iPod Play/Pause Button
7. iPod menu down Button
8. iPod menu Button
9. iPod menu enter Button
10. Volume Down Button
11. Volume Up Button
The remote control operates on one CR2025 battery (included). To extend the
life of the original battery, the factory has inserted a small clear plastic spacer
tab between the lithium battery and the battery terminal, to activate the remote
control, remove the insulation tab attached in the battery compartment.
When the operation of the remote control becomes
intermittent or unsatisfactory,
replace the original battery with a new 3-volt
lithium battery.
1.) Slide out the battery holder from the remote
control case.
2.) Replace the 3V CR2025 battery. Be sure the battery
is installed correctly.
The remote will not work if the battery is installed with the
wrong polarity.
CAUTION: Danger of explosion if the battery is replaced
incorrectly.
Replace only with the same type battery.
3.) Insert the battery holder into the battery slot.
NOTE:Use only the size and type of battery specified. If the device is
not to be used for a long period of time, remove the battery to prevent damage
or injury from possible battery leakage. Do not try to recharge the battery, it is
not intended to be recharged and doing so may cause the battery to rupture or
leak. Battery shall not be exposed to excessive heat such as direct sunlight,
fire or the like. Only use a well-known brand of cell battery to ensure the longest
life and best performance.
This unit is supplied with an AC adaptor with the output DC 12V 1500mA; take
the following steps to connect the adaptor.
1. Unwind the power cord of the AC adaptor to its full length.
2. Firmly insert the DC plug of the AC adaptor to the DC socket on the rear of
the unit.
3. Plug the AC adaptor to the AC outlet (100-240V ~ 50/60 Hz). Connecting
this system to any other power source may cause damage to the system.
For sufficient ventilation, keep other objects at least 10cm away from the unit.
789
124
566
3
12
3
5
7
9
11
4
6
8
10
PLAY/ PAUSE button
st
st
nd
rd
nd
rd
rd
th
th
th
th
Application Not Installed
This accessory requires an application
you do not have installed. Would
you like to install it from the App store?
YES
NO
4. Main interface
5. Sources Interface
Touch the mode icons to enter the iPod, Video, Aux-in or FM Radio mode Interface
Touch the Sources icon to enter the Sources Interface
Touch the weather update button to update the weather display
(Wi-Fi connection dependant)
Date display(synchronous with
iPhone/iTouch)
Time display (synchronous with
iPhone/iTouch)
Weather display
Weather update button
Main interface button
Sourcing button
Slideshow button
Alarm setting button
Information button
HomeSourcesAlarmSlideshowSettings
November 2, 2010 Tue
ShenZhen
iPod playing mode
Line In
Video
Video mode
Set Line-In as speaker source
Play Movies on app folder
Play iPod Music
FM Radio
Turn on Radio on speaker
Aux-in mode
FM radio mode
Sources
HomeSourcesAlarmSlideshowSettings
5.1. iPod mode
5.2. Video Mode
Touch the iPod mode icon to enter the iPod playing interface.
Before entering video mode, you should sync the required video file to the
App via iTunes. Connect your iPod Touch or iPhone to your computer,
open iTunes, click on your iPod Touch or iPhone device, click the Mitone
App and then click “Add” to add the video files and click “sync” to
synchronize them to your iPod Touch or iPhone.
To select music file
Play/Pause music
Next music
Previous music
Return to sourcing interface
Music Player
Sources
Christmas in My Heart
Sarah Connor
00:00:00
The Mode button LED indication will change to blue. Select the music file.
and then click the “ ” button to play the selected music track. Click the “ ”
button to play the previous music track, and click “ ” to play the next music track.
Touch the Video mode icon to enter the Video playing interface.
Select and click the video file name to play the selected video.
Click line in mode to enter the line in interface.
Connect an external audio device to the speaker by the supplied audio cable.
Adjust the volume level on your audio device and on your speaker to get the
best sound effect. The volume level can now be controlled through the main
unit. Operate all other functions on the auxiliary device as usual.
5.3. Aux-In mode
HomeSourcesAlarmSlideshowSettings
Videos
ESUG.mp4
JDVZ.mp4
NGQT.mp4
NQIF.mp4
UWSI.mp4
Return to sourcing interface
Update the movie list
Return to sourcing interface
Line In
Sources
Line IN
5.4. FM Radio mode
Click FM Radio to enter FM radio interface.
Click “Bookmark” to save the radio channel to the Channel List. Input the radio
channel name and click “Save”. Click the Edit icon to edit or delete channels from
the Channel List. Click on the channel title to edit. Click on the red “Θ” icon to
enable the delete option and click “Delete” to delete. Click “Done” to confirm
the changes
Click the “ ”,“ ” Search buttons to search radio channels manually,
click “ ”, “ ” to search for radio channels automatically. Click the “radio
channel list” icon to enter the channel list interface.
Channel List
Bookmark 88.20MHz
FM RadioDone
Return to FM Radio interface
Edit/Done Mode
To bookmark the radio station
6. Slideshow Photos
7. Alarm mode
In the Main Interface click the “Alarm” icon to enter the alarm interface.
In the Main Interface click the Slideshow icon to enter the Slideshow interface.
Click “Select Photos” to enter the Images interface. Click the “+” button to
browse the iPod Photo Album. Click the desired photo to enter the Saved
Photos folder and click the photo again to save the photo to the Images
interface. Click on the required photos to add them to the Slideshow.
Click the Slideshow icon to return to the Slideshow interface. Click “Start”
to begin the slideshow of your selected photos.
HomeSourcesAlarmSlideshowSettings
Select Photos
Start
Select Photos
Start to Slideshow Photos
1:59 AM
Alarm
Edit
HomeSourcesAlarmSlideshowSettings
ON
Edit/Done Mode
Add Alarm
Alarm on/off
Click the add alarm “+” button to enter the “Add Alarm” interface.
Click the blue “>” button in the “Sound” field to choose alarm source (iPod
music, one of six nature sounds, FM Radio or Buzzer). Click the weekdays
you require the Alarm to operate (the icon will be lit once chosen). Drag the
snooze control slider to set the snooze time between off and 30 minutes.
Scroll the time wheel and click the required AM/PM, Hours and Minutes to
set the alarm time. Click the “save” button to return to the alarm interface.
Click the “on/off” button to set the alarm ON. Click the Edit button to edit
or delete alarms from the Alarm Interface. Click on the alarm title to edit.
Click on the red “Θ” icon to enable the delete option and click “Delete” to
confirm. Click “Done” to confirm the changes.
Important Notes: The Music System must be in Apps mode with the iPod
Touch or iPhone connected in order for the alarm to operate. The volume
of the selected alarm source is determined by the volume control setting
of the Music System. Please ensure you have set the volume to a level
which will allow you to hear the alarm.
Alarm mode setting(iPod music, 6 natural
music, FM, Buzzer)
Add Alarm
Buzzer
AlarmSave
Alarm working date setting, the icon of
the date will be light once chosen.
Snooze time setting. Default setting is
5minutes, you can choose the time freely.
Alarm time setting
AM
PM
CARE AND MAINTENANCE
8. Setting interface
Click “Settings” to enter Setting interface.
Click the “location” button and input the name of the largest city in your
area. Click “ ” to set the temperature to Centigrade or Fahrenheit.
Click “Sleep” to set the sleep or nap time. Click “turn the speaker
offer now” to turn the speaker OFF immediately. Click “Help” to enter
the help file where you can see instructions regarding the App.
Click “About” to see information regarding the App.
1. Avoid operating your unit under direct sunlight or in hot, humid or dusty places.
2. Keep your unit away from heating appliances and sources of electrical noise
such as fluorescent lamps or motors.
3. For better Clock Display clarity, avoid operating the unit under direct sunlight or
in strong room illumination.
4. Unplug the unit from the electrical power outlet immediately in case of malfunction.
Note: The accuracy of the Weather Station information is dependent on the
selection of the closest major city in your area in the weather location setting.
Weather station information and updates is also dependant on a stable
Wi-Fi connection.
City name setting ( Setting the city
which you want to search the weather)
Settings
Location
Temperature
Help
About
Not set yet
Setting the temperature to Centigrade
or Fahrenheit
help file
about file
Sleep
About
Power
Weather
off
Turn Speaker Off Now
Setting the time to sleep
Turn off the speaker right now
HomeSourcesAlarmSlideshowSettings
TROUBLESHOOTING GUIDE
Symptom Possible Problem Solution
CLEANING THE UNIT
If you experience any difficulties in operating this unit, please check the
following chart to see if you can fix it before consulting a servicing professional.
The unit does
not respond
(no power).
iPod does not
respond to the
speaker system.
Plug the AC adaptor into a
wall outlet and plug the
connector into the supply
jack on the unit.
-AC Adaptor is not
plugged into a wall outlet
-The connector is not
plugged into the power
supply jack on the back
of the unit.
Wall outlet is not
functioning.
iPod is not installed
properly.
Remove your iPod from the
dock and check for
obstruction on the
connectors and on your
iPod. Then reseat it on
the dock.
Plug another device into the
same outlet to confirm the
outlet is working.
CAUTION: Never allow any water or other liquids to get inside the unit
while cleaning.
To prevent fire or shock hazard, disconnect your unit from the AC power
source before cleaning.
The finish on the unit may be cleaned with a dust cloth and cared for as
other furniture, Use caution when cleaning and wiping the plastic parts.
If the cabinet becomes dusty wipe it with a soft dry dust cloth. Do not use
any wax or polish sprays on the cabinet.
If the front panel becomes dirty or smudged with fingerprints it may be
cleaned with a soft cloth slightly dampened with a mild soap and water
solution. Never use abrasive cloths or polishes as these will damage the
finish of your unit.
FM receiving
weak
Sound is
distorted.
Unit gets warm
after extended
play at high
volume.
FM antenna wire is not
fully extended.
Extend or rotate the wire
antenna for best reception.
Please make sure that your
iPod is working properly
before docking into the unit.
Please refer to your iPod
manual for info on resetting
the iPod.
Please make sure your
iPod is working properly
before docking into the unit.
Please refer to your iPod
manual for details on
resetting.
Your iPod is locked up.
iPod is locked up/ frozen.
iPod battery has problem.
Volume level is set too
high.
Sound source is distorted.
This is normal.
Decrease the volume.
If the iPod original sound
source is of poor quality,
distortion and noise are
easily noticed with
high-power speakers.
If you are using an external
sound source like older
generation of iPod, try
reducing the output volume
on the device itself. Also
try turning bass boost OFF.
Turn the unit off for a period
of time or lower volume.
123456
87910111213
15141617181920
Hulp nodig? Stel uw vraag in het forum
Misbruik melden
Gebruikershandleiding.com neemt misbruik van zijn services uitermate serieus. U kunt hieronder aangeven waarom deze vraag ongepast is. Wij controleren de vraag en zonodig wordt deze verwijderd.
Product:
Spelregels forum
Om tot zinvolle vragen te komen hanteren wij de volgende spelregels:
lees eerst de handleiding door;
controleer of uw vraag al eerder door iemand anders is gesteld;
probeer uw vraag zo duidelijk mogelijk te stellen;
heeft u een probleem en al geprobeerd om dit op te lossen, vermeld dit erbij aub;
heeft u een oplossing gekregen van een bezoeker dan horen wij dat graag in dit forum;
wilt u een reactie geven op een vraag of antwoord, gebruik dan niet dit formulier maar klik op de knop 'reageer op deze vraag';
uw vraag wordt direct op de website gezet; vermijd daarom persoonlijke gegevens in te vullen;
Belangrijk! Als er een antwoord wordt gegeven op uw vraag, dan is het voor de gever van het antwoord nuttig om te weten als u er wel (of niet) mee geholpen bent! Wij vragen u dus ook te reageren op een antwoord.
Belangrijk! Antwoorden worden ook per e-mail naar abonnees gestuurd. Laat uw emailadres achter op deze site, zodat u op de hoogte blijft. U krijgt dan ook andere vragen en antwoorden te zien.
Abonneren
Abonneer u voor het ontvangen van emails voor uw MiTone MITSP8 bij:
nieuwe vragen en antwoorden
nieuwe handleidingen
U ontvangt een email met instructies om u voor één of beide opties in te schrijven.
Ontvang uw handleiding per email
Vul uw emailadres in en ontvang de handleiding van MiTone MITSP8 in de taal/talen: Engels als bijlage per email.
De handleiding is 0,47 mb groot.
U ontvangt de handleiding per email binnen enkele minuten. Als u geen email heeft ontvangen, dan heeft u waarschijnlijk een verkeerd emailadres ingevuld of is uw mailbox te vol. Daarnaast kan het zijn dat uw internetprovider een maximum heeft aan de grootte per email. Omdat hier een handleiding wordt meegestuurd, kan het voorkomen dat de email groter is dan toegestaan bij uw provider.
Uw handleiding is per email verstuurd. Controleer uw email
Als u niet binnen een kwartier uw email met handleiding ontvangen heeft, kan het zijn dat u een verkeerd emailadres heeft ingevuld of dat uw emailprovider een maximum grootte per email heeft ingesteld die kleiner is dan de grootte van de handleiding.
Er is een email naar u verstuurd om uw inschrijving definitief te maken.
Controleer uw email en volg de aanwijzingen op om uw inschrijving definitief te maken
U heeft geen emailadres opgegeven
Als u de handleiding per email wilt ontvangen, vul dan een geldig emailadres in.
Uw vraag is op deze pagina toegevoegd
Wilt u een email ontvangen bij een antwoord en/of nieuwe vragen? Vul dan hier uw emailadres in.