1716
the first period
will be shown
in the flashing
Current Period
column of the
program dis-
play. (The in-
cline settings
are not shown
in the program
display.) To program the desired speed and incline
settings for the first period, simply adjust the speed
and incline of the treadmill to the desired levels with
the Speed and Incline buttons. Every few times one
of the Speed buttons is pressed, an additional indi-
cator will light or darken in the Current Segment
column. Note: Indicators will light or darken in the
columns to the right of the Current Segment col-
umn as well; disregard these columns.
When the first period of the program is completed,
the current speed setting and the current incline
setting will be stored in memory. All columns in
the program display will then move one column to
the left, and the speed setting for the second pe-
riod will be shown in the flashing Current Period
column. Program speed and incline settings for
the second period as described above.
Repeat this procedure until you have programmed
speed and incline settings for as many periods as
desired—custom programs can have from one to
forty periods. When you are finished, press the
Stop button, remove the key from the console, and
then reinsert the key. The speed and incline set-
tings you programmed and the number of periods
will be stored in memory.
To stop the program temporarily, press the Stop
button. All displays will pause and the Time/
Segment Time display will begin to flash. To
restart the program, press the Start button.
Follow your progress with the five displays.
Refer to step 6 on page 11.
Remove the key from the console.
Refer to step 6 on page 13.
HOW TO USE A CUSTOM PROGRAM
Insert the key fully into the console.
See HOW TO TURN ON THE POWER on page 10.
Select one of the custom programs.
When the key is in-
serted, the manual
mode will be selected
and the manual indi-
cator will light. To se-
lect one of the custom
programs, press the Program Select button re-
peatedly until one of the two custom program in-
dicators lights.
When a custom pro-
gram is selected, a
“C1” or “C2” will ap-
pear in the program
display.
Put on the heart rate monitor if desired.
For the Pulse display to show your heart rate, the
heart rate monitor must be worn. To put on the
heart rate monitor, see HOW TO USE THE
HEART RATE MONITOR on page 6.
Press the Start button.
A moment after the button is pressed, the walking
belt will begin to move. Hold the handrails and
begin walking.
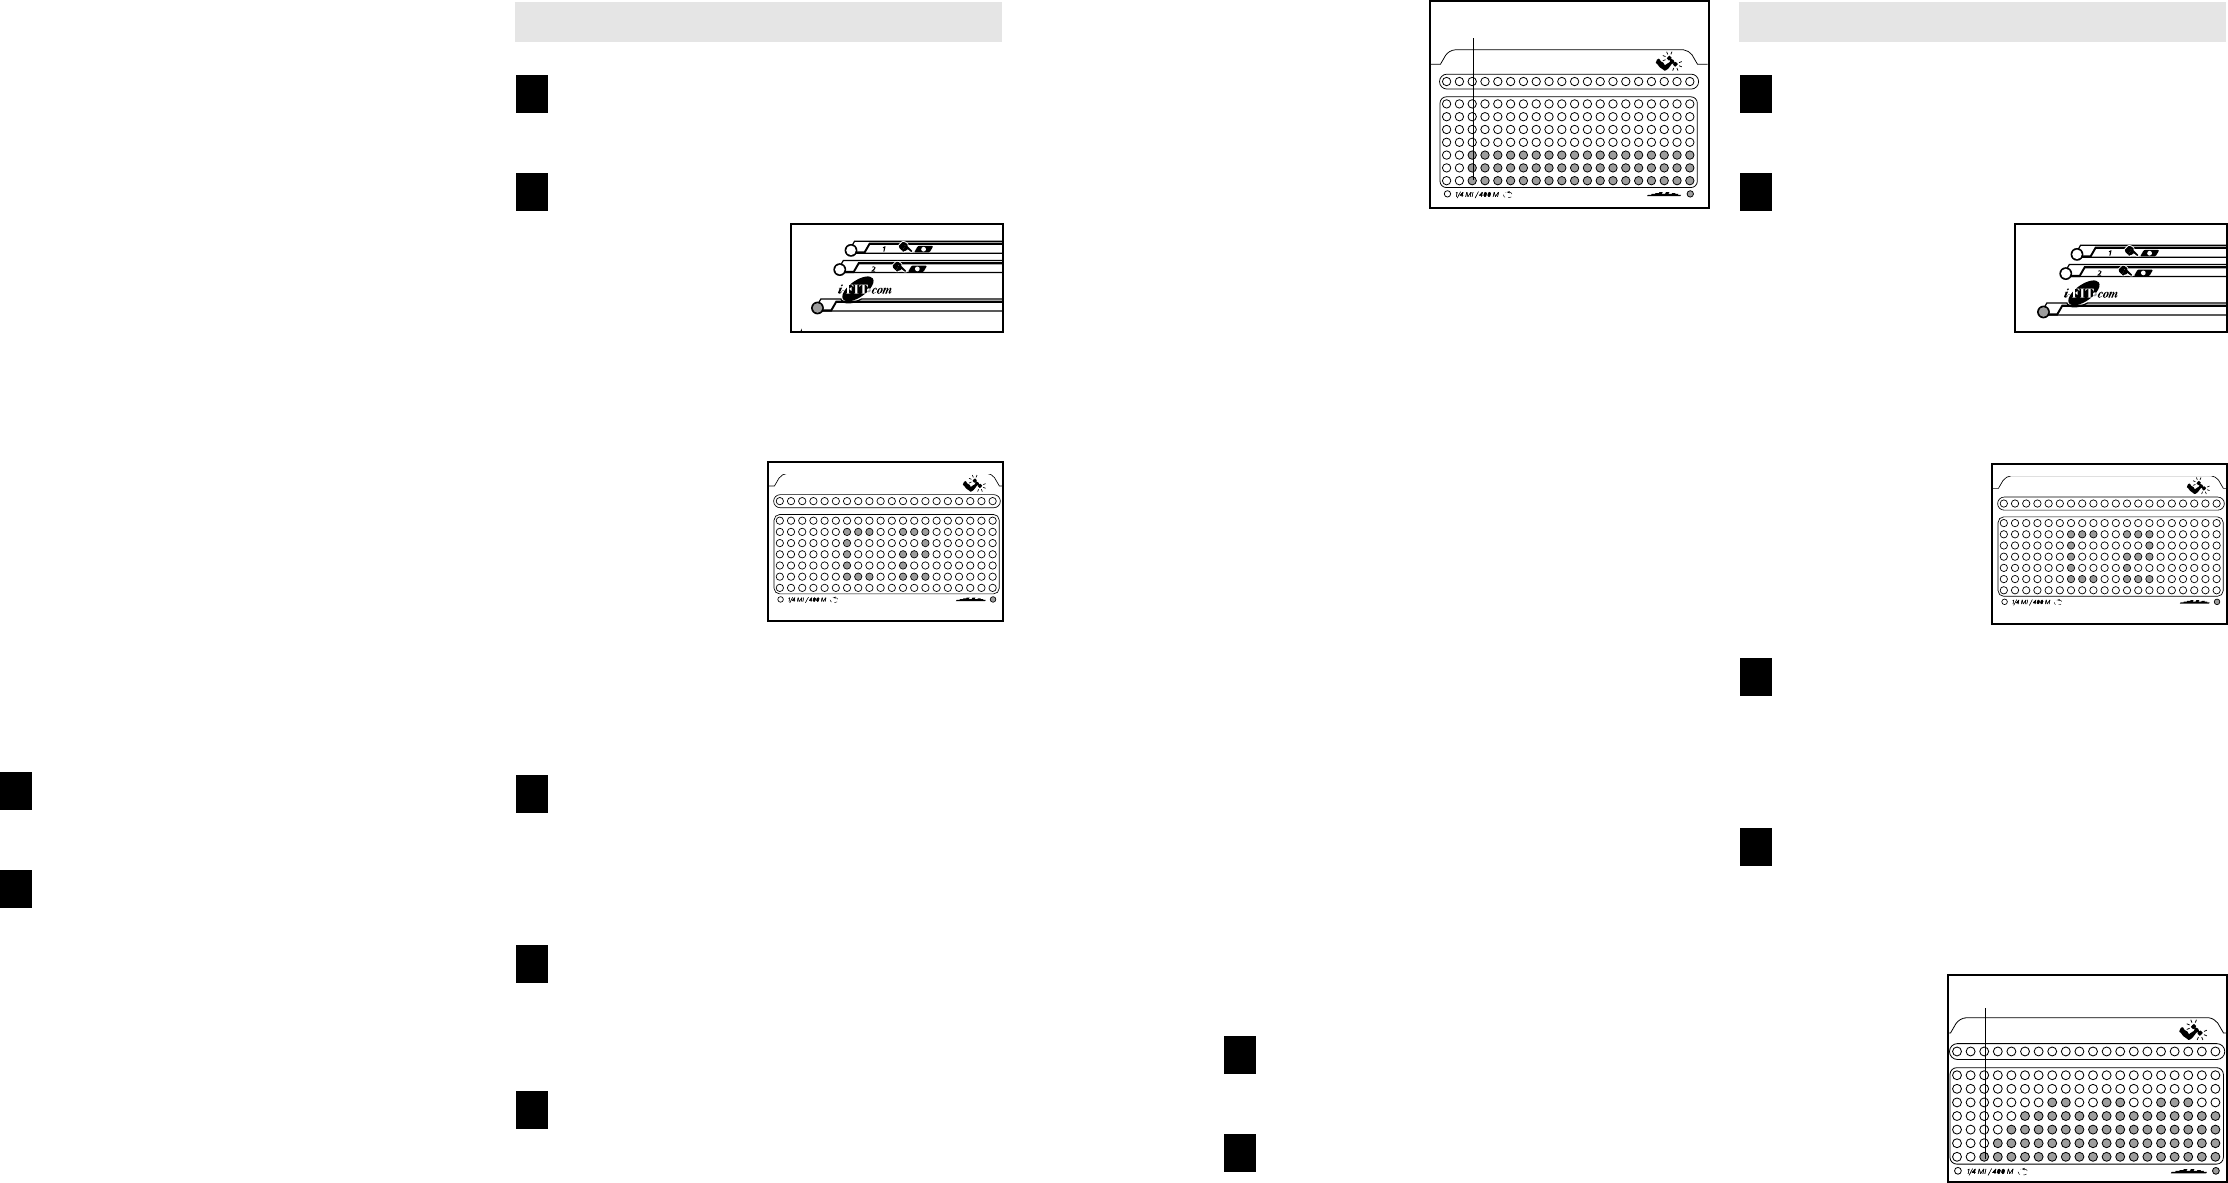
Each custom
program is di-
vided into one-
minute periods.
One speed set-
ting and one in-
cline setting are
programmed
for each period.
The speed set-
ting for the first period will be shown in the flash-
ing Current Period column of the program display.
(The incline settings are not shown in the program
display.) The speed settings for the next seven-
teen periods will be shown in the seventeen
columns to the right.
4
3
2
1
7
6
If your heart rate is not detected during the pro-
gram, the Pulse display will be blank. (See HEART
RATE MONITOR TROUBLE-SHOOTING on page
6.) The speed and/or incline of the treadmill may
also decrease until your heart rate is detected.
The program will continue until the Time/Segment
Time display counts up to twenty-three minutes.
The walking belt will then slow to a stop.
Whilst the program is in progress, minor adjust-
ments can be made to the speed or incline of the
treadmill with the Speed or Incline buttons.
However, if you increase the speed, the incline
will automatically decrease; if you decrease the
speed, the incline will increase. If you increase the
incline, the speed will decrease; if you decrease
the incline, the speed will increase. The console
will always attempt to keep your heart rate near
the target heart rate setting. Note: When the in-
cline reaches the lowest setting, the speed cannot
be increased any further. When the incline
reaches the highest setting, the speed cannot be
decreased any further.
To stop the program temporarily, press the Stop
button. All displays will pause and the Time/
Segment Time display will begin to flash. To
restart the program, press the Start button. To end
the program, press the Stop button, remove the
key, and then reinsert the key.
Follow your progress with the five displays.
Refer to step 6 on page 11.
Remove the key from the console.
Refer to step 6 on page 13.
HOW TO CREATE A CUSTOM PROGRAM
Insert the key fully into the console.
See HOW TO TURN ON THE POWER on page 10.
Select one of the custom programs.
When the key is in-
serted, the manual
mode will be selected
and the manual indica-
tor will light. To select
one of the custom
programs, press the Program Select button
repeatedly until one of the two custom program
indicators lights.
When a custom pro-
gram is selected, a
“C1” or “C2” will
appear in the pro-
gram display.
Custom programs
are workout pro-
grams that you cre-
ate. The programs are stored in the console’s
memory and can be changed as many times as
desired. Custom programs control both the speed
and the incline of the treadmill.
Put on the heart rate monitor if desired.
For the Pulse display to show your heart rate, the
heart rate monitor must be worn. To put on the
heart rate monitor, see HOW TO USE THE
HEART RATE MONITOR on page 6.
Press the Start button.
A moment after the button is pressed, the walking
belt will begin to move. Hold the handrails and
begin walking.
Press the Record button and program the de-
sired speed and incline settings.
When the Record button is pressed, the custom
program indicator will begin to flash. Speed and in-
cline settings can be programmed only when the
indicator is flashing.
Refer to the program display. Each custom pro-
gram is divided into one-minute periods. One
speed setting and one incline setting can be pro-
grammed for each period. The speed setting for
5
4
3
2
1
8
7
Current Period Column
Current Period Column