550066
5
Verklein
Vergroot
Pagina terug
1/30
Pagina verder
5
ACAM-001
FULL HD ACTION CAMERA WITH WATERPROOF CASE
GEMBIRD EUROPE B.V. http://www.gembird.eu
1.3 Installation and remove of the memory card
1. Insert the memory card into the memory card slot according to the directional instructions until the memory card
is fixed in the card slot.
2. To remove the memory card, gently press down the memory card. This will allow the card to pop-up, so it can be
removed easily.
Note:
1. Before using the device for the first time, please insert a microSD card into the device.
2. Format the card before use and ensure that there is enough recording capacity.
3. Please note that the insertion direction of memory card, if reverse insert, it might damage the machine and the
memory card.
4. If the memory card and the machine is not compatible, please insert it again, or try again in a memory card.
2. Operation guide
2.1 Video Menu settings
1. In any mode of photo/photography/replay to press the “MENU” button to enter the corresponding MENU setting,
please see the table of contents for the details.
2. In any mode of MENU Settings, press the OK button to enter the next level MENU, press the up and down key
choose corresponding settings, press the OK key to determine , then press the MENU button to exit.
2.2 Power on/off the camera and auto shut down settings
1. Hold down the power button for 1 second to turn ON the camera. Press and hold the power button for 3 seconds
to turn the camera OFF.
2. To save battery power, the camera can be set to automatically power off within the settings menu. When the
camera is not operating in for a pre-defined time, it will automatically turn off.
3. Press the MENU button twice to switch to the settings MENU, Navigate to “automatic shutdown”, and press the
OK button. Here you can set the auto shutdown time for “OFF, 1 min, 3 mins or 5 mins”.
2.3 Date/Time Settings
1. Press the MENU button twice to open the settings MENU, Navigate to "date/time” and press the OK button. Now
you can enter the year, month, day, hours, minutes and seconds. Use the arrow buttons to set up correct
date/time and press OK key when done. The current item is marked in red.
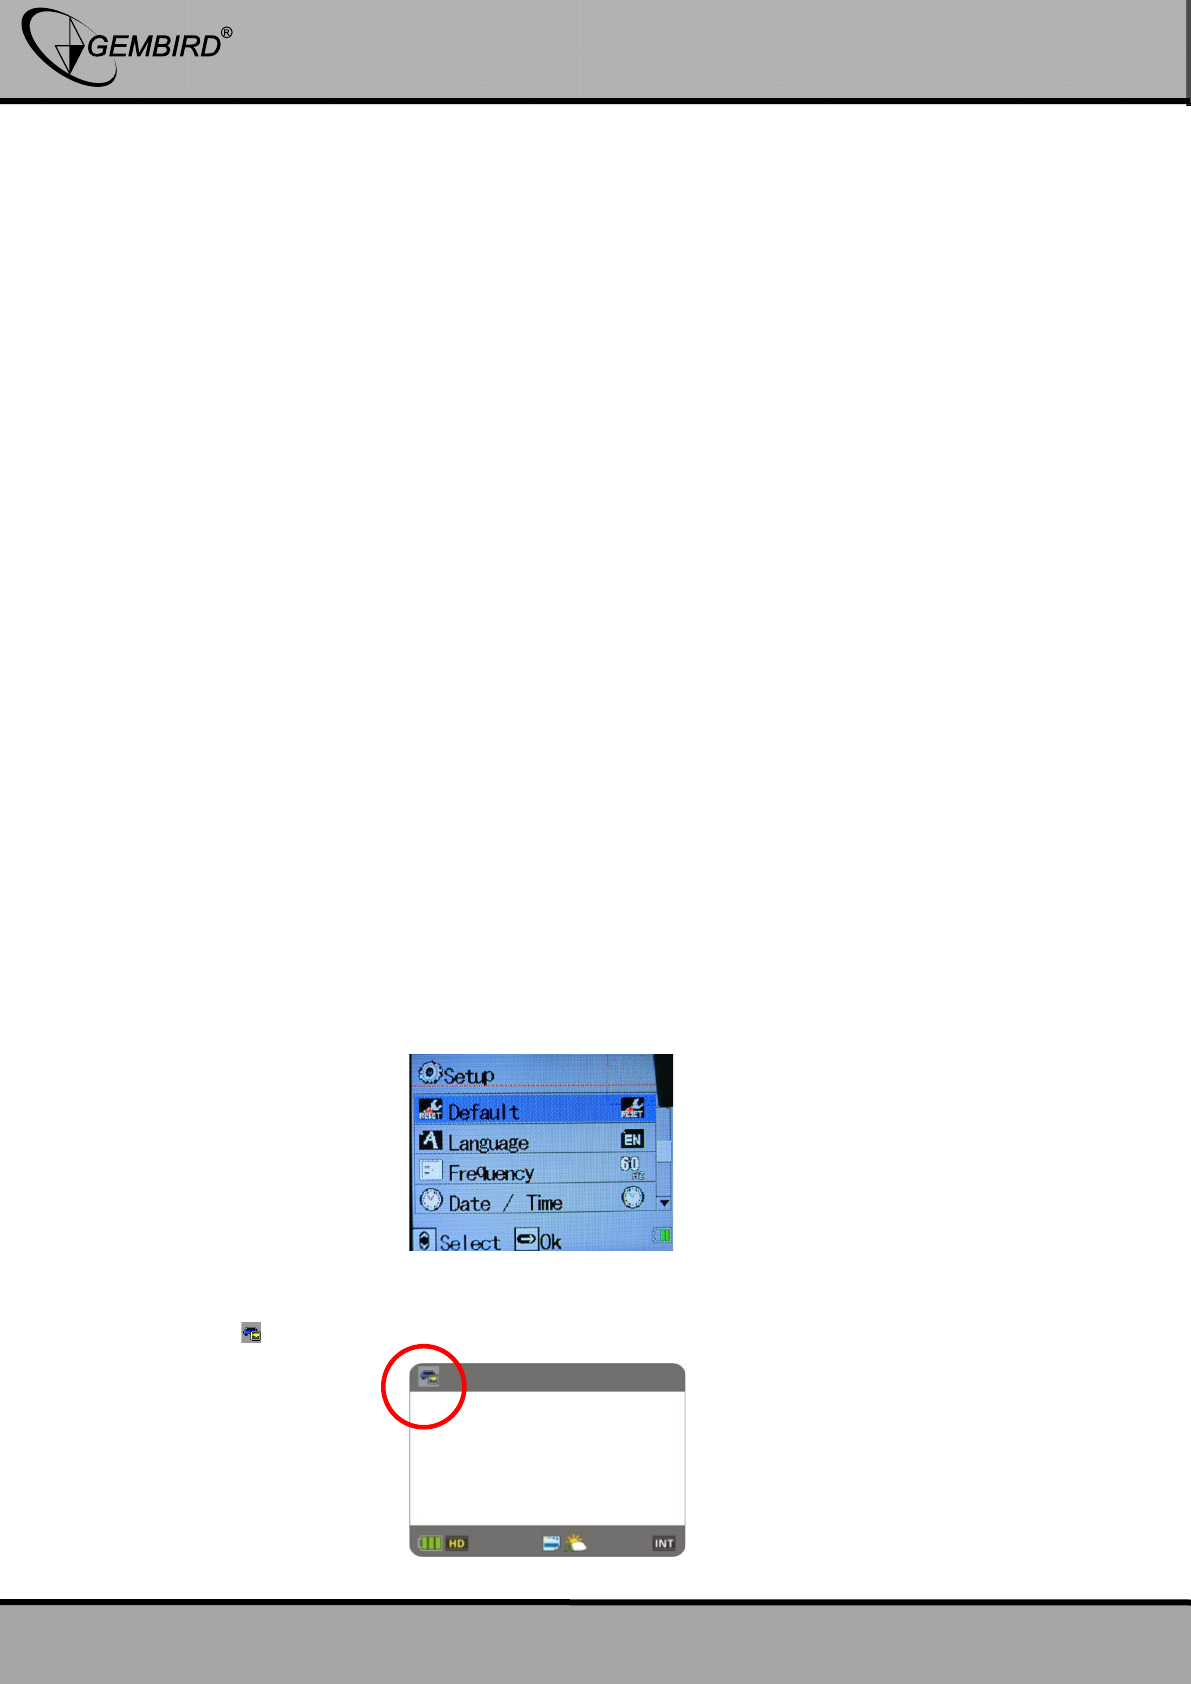
3. Camera mode
Power on the camera. The screen first displays a welcome screen, then a ‘video camera’ icon appears in the upper
right corner " ". This indicates the camera is in camera mode.
5

Hulp nodig? Stel uw vraag in het forum

Spelregels

Misbruik melden

Gebruikershandleiding.com neemt misbruik van zijn services uitermate serieus. U kunt hieronder aangeven waarom deze vraag ongepast is. Wij controleren de vraag en zonodig wordt deze verwijderd.

Product:

Bijvoorbeeld antisemitische inhoud, racistische inhoud, of materiaal dat gewelddadige fysieke handelingen tot gevolg kan hebben.

Bijvoorbeeld een creditcardnummer, een persoonlijk identificatienummer, of een geheim adres. E-mailadressen en volledige namen worden niet als privégegevens beschouwd.

Spelregels forum

Om tot zinvolle vragen te komen hanteren wij de volgende spelregels:

Belangrijk! Als er een antwoord wordt gegeven op uw vraag, dan is het voor de gever van het antwoord nuttig om te weten als u er wel (of niet) mee geholpen bent! Wij vragen u dus ook te reageren op een antwoord.

Belangrijk! Antwoorden worden ook per e-mail naar abonnees gestuurd. Laat uw emailadres achter op deze site, zodat u op de hoogte blijft. U krijgt dan ook andere vragen en antwoorden te zien.

Abonneren

Abonneer u voor het ontvangen van emails voor uw Gembird ACAM-001 bij:


U ontvangt een email met instructies om u voor één of beide opties in te schrijven.


Ontvang uw handleiding per email

Vul uw emailadres in en ontvang de handleiding van Gembird ACAM-001 in de taal/talen: Nederlands, Duits, Engels als bijlage per email.

De handleiding is 29,19 mb groot.


U ontvangt de handleiding per email binnen enkele minuten. Als u geen email heeft ontvangen, dan heeft u waarschijnlijk een verkeerd emailadres ingevuld of is uw mailbox te vol. Daarnaast kan het zijn dat uw internetprovider een maximum heeft aan de grootte per email. Omdat hier een handleiding wordt meegestuurd, kan het voorkomen dat de email groter is dan toegestaan bij uw provider.

Uw handleiding is per email verstuurd. Controleer uw email

Als u niet binnen een kwartier uw email met handleiding ontvangen heeft, kan het zijn dat u een verkeerd emailadres heeft ingevuld of dat uw emailprovider een maximum grootte per email heeft ingesteld die kleiner is dan de grootte van de handleiding.

Er is een email naar u verstuurd om uw inschrijving definitief te maken.

Controleer uw email en volg de aanwijzingen op om uw inschrijving definitief te maken

U heeft geen emailadres opgegeven

Als u de handleiding per email wilt ontvangen, vul dan een geldig emailadres in.

Uw vraag is op deze pagina toegevoegd

Wilt u een email ontvangen bij een antwoord en/of nieuwe vragen? Vul dan hier uw emailadres in.


Info