Windows® is a reg
Maschinenlärminformations-V
oder weniger gemäss EN ISO 7779.
Das Gerät ist nicht für die Benutzung im unmittelbaren Gesichtsfeld am Bildschirmarbeitsplatz
vorgesehen. Um störende Reexionen am Bildschirmarbeitsplatz zu vermeiden, darf dieses Produkt
nicht im unmittelbaren Gesichtsfeld platziert werden.
Для пользователей из России срок службы: 5 лет
AEEE Y
Ürünün Sanayi ve
T
heyetlerine yapılabilir
Üretici: SEIKO EPSON CORPORA
Adres: 3-5, Owa 3-chome, Suwa-shi, Nagano-ken 392-8502 Japan
T
Web: http://www
The contents of this manual and the specications of this product are subject to
change without notice.
http://epson.sn
Ink Bottle Codes / C
d’
For E
BK C M Y
ET 104
L3250 Series / L1250 Series 103
Clearing P
bourrage papier / Kağıt sıkışmasını
temizleme F
For E
http://support.epson.net/
http://ww
T
Dépannage /
Sorun giderme
Storing and
Stockage et transport /
Depolama ve nakliye
A
B
C
For A
BK C M Y
522
Checking Ink Lev
V
recharge / Mür
etme ve y
Cop
Check the ink levels. If any of the ink lev
steps A to H in section 2 to rell the tank.
V
de la ligne inférieureA à H de la section 2 pour
recharger le réservoir en question.
Mürekkep seviyelerini kontrol edin. Mürekkep seviyelerinden biri alt çizginin
altındaysa tankı yeniden doldurmak için bölüm 2’A –H adımlar
bakın.
A
B
C
D
See the online User’s Guide f
information.
safety
clearing paper jams or adjusting print quality.
can obtain the latest versions of all guides from
the following websit
Reportez-vous au Guide d’utilisation en ligne pour en savoir plus.
disposerez ainsi d’
dépannage, comme la résolution des bourrages papier ou le r
qualité d’
manuels sur le site
Daha ayrıntılı bilgi için çevrimiçi Kullanım Kılavuzu 'na bakın. Bu, size kağıt
sıkışmalarının giderilmesi ve yazdırma kalitesinin ayarlanması gibi işletim,
güvenlik ve sorun giderme talimatlarını sağlay
son sürümlerini aşağıdaki web sitesinden alabilirsiniz.
For A
BK C M Y
003
Press the or button to star
Appuyez sur la touche ou pour commencer la copie.
Kopyalamaya başlamak için veya düğmesine basın.
T
of the printer’
below the lower line could damage the print
Pour connaîtr
niveaux d’
de l’
inférieure peut endommager l’
Gerçek kalan mürekkebi onaylamak için tüm yazıcı tanklarındak
mürekkep seviyelerini görsel olarak kontrol edin. Mürekkep seviyesi
alt çizginin altındayken yazıcının uzun süre kullanılması yazıcıy
verebilir
The unit must be closed completely bef
L
à nouveau.
Ünite tekrar açılmadan önce tamamen kapatılmalıdır
Suppor
Destek
OBe sure to keep the ink bottle upright when tightening the cap
Place the printer and the bottle in a plastic bag separat
the printer level as you st
leak.
OIf print quality has declined the next time you print, clean and align
the print head.
OAssurez-vous de main
lorsque vous resserrez le capuchon. Plac
dans un sac plastique séparément et maintenez l’
l’horizontale lorsque vous la stockez et la transportez. Autrement
de l’
OSi la qualité de l’
nettoyez et alignez la t
OKapağı sıkar
Y
taşıma sırasında yazıcıyı düz tutun. Aksi takdirde mür
olabilir
OBir sonraki yazdırma işleminizde yazdırma kalitesi düştüyse,
yazdırma kafasını temizleyin ve hizalayın.
D
A
B
C
D
E
Guide to C
Buttons and F
T
Clears a network error
make network settings using the WPS push butt
Prints a network connection report to determine the causes
of any network problems.
button down for mor
sheet.
*1 Starts monochrome or color copying on A4 size plain paper
increase the number of copies (by up to 20 copies), pr
button within 1 second intervals.
Stops the current operation. Hold this button do
seconds until the button ashes to run print head cleaning.
*1 Check Scanned Images: Press the and
buttons simultaneously to run software on a USB-
connected computer and check scanned images.
*1 Copy in Draft Mode: Pr and the or
buttons simultaneously to copy in draft mode. F
users in
PIN Code Setup (WPS): Hold down the and
buttons simultaneously to start PIN Code Setup
(
Wi-F Hold down the
and buttons simultaneously to start Wi-F
Direct (Simple AP) Setup.
Restore Default Network Settings:
on while holding down the button to restore the
default network settings.
When the network settings are restor
printer turns on and the network status lights ash
alternately
Print Nozzle Check P
while holding down the button to print the nozzle
check pattern.
*1 : Only for ET
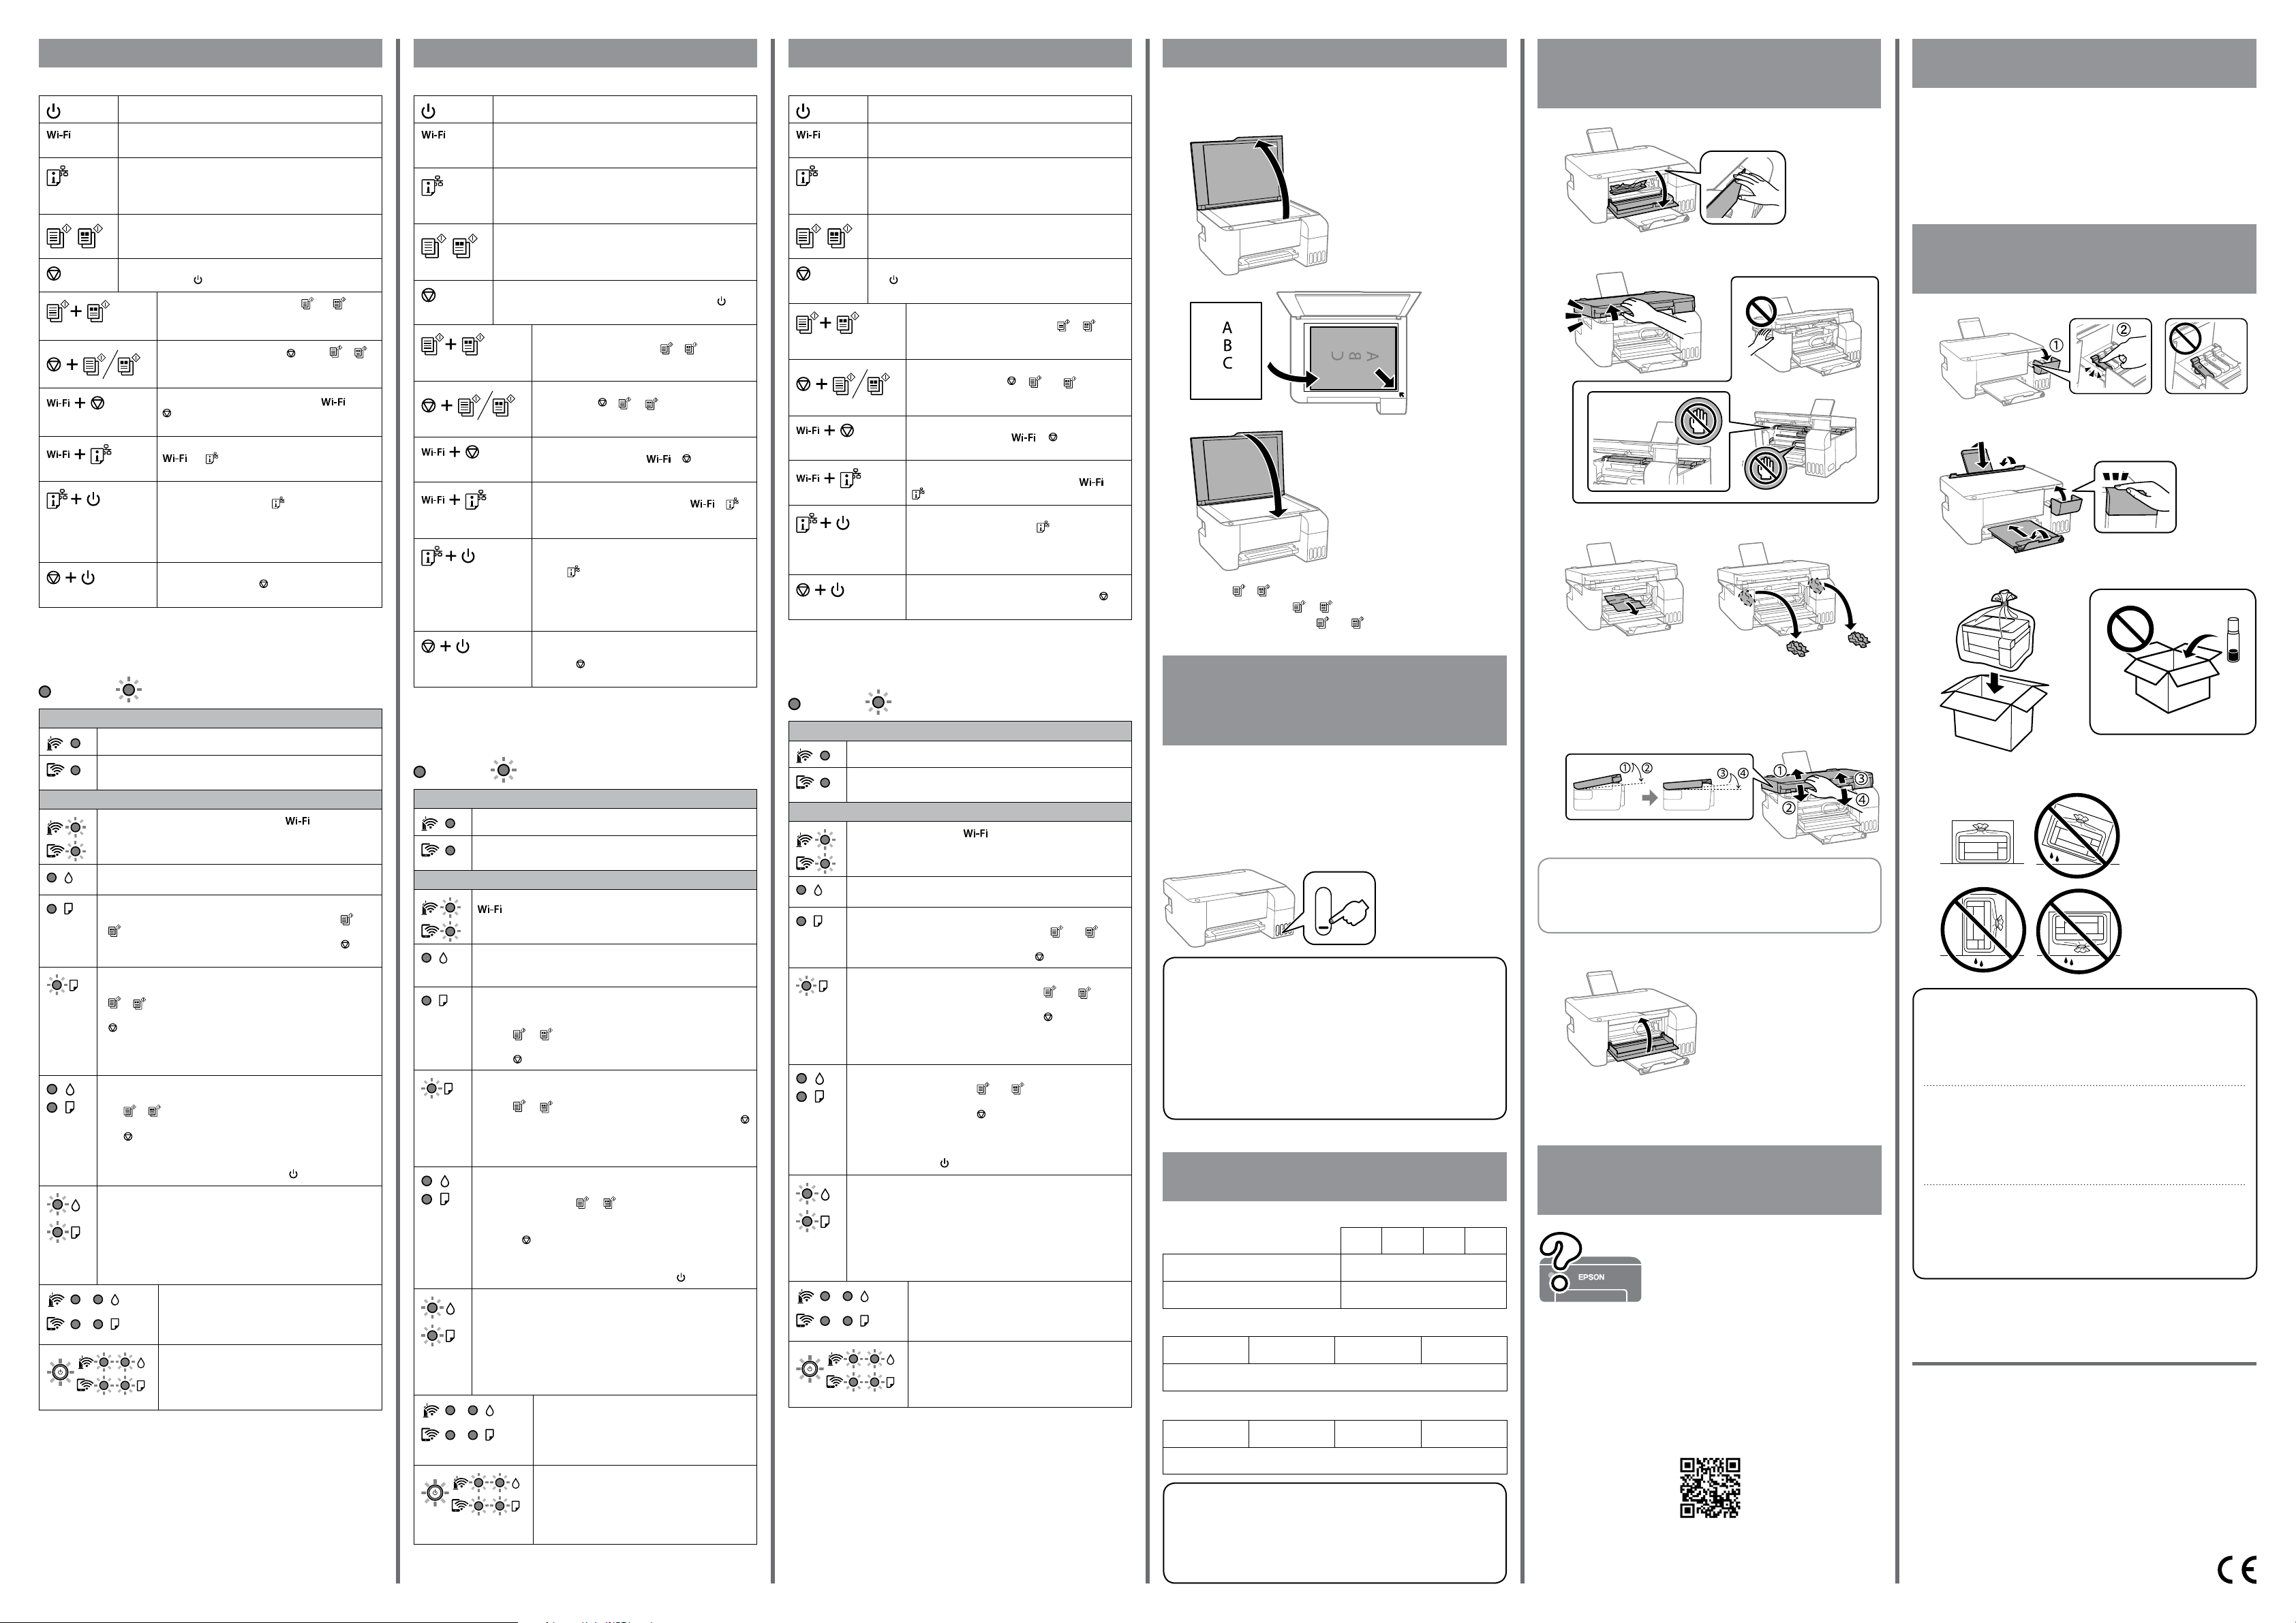
Reading the Indication Lights
: On : Flashing
Normal Status
The printer is connected to a wireless (Wi-Fi) network.
The printer is connected to a network in
mode.
Error Status
Wi-F button to clear
the error and try again.
Initial ink charging may not be complete
page to complete initial ink charging
No paper is loaded or more than one sheet has been fed at a time
ET-2810 Series and L3250 Series: Load paper and pr or
button.
ET-1810 Series and L1250 Series: Load paper and pr
button.
A paper jam has occurred.
ET-2810 Series and L3250 Series: Remove the paper and pr
or button.
ET-1810 Series and L1250 Series: Remove the paper and pr
button.
See the
ashing, see the jammed paper section from
the User’.
The printer was not turned o correctly
ET-2810 Series and L3250 Series: After clearing the error by pr
the or button, cancel any pending print jobs.
ET-1810 Series and L1250 Series: After clearing the error by pr
the button, cancel any pending print jobs
We r
have dried or clogged.
T button.
Flashing simultaneously: An ink pad is nearing or at the end of its
service life.
Flashing alternately: A bor
at the end of its service life. Borderless printing is not available
printing with a border is available.
T
or an authorized Epson service provider
The printer has started in recovery mode because the
rmware update failed
For mor
“Solving ProblemsUser.
A printer error has occurred. Remo
inside the printer
the error continues to occur after turning the pow
o and on again, contact Epson support.
Only for ET
Uniquement pour ET
Y
Close. F
Refermez. Pour v
Kapatın. Güvenlik için ünite iki adımda kapatılır.
Use of genuine Epson ink other than the specied ink could cause
damage that is not cover
L
peut provoquer des dommages non c
Belirtilen or
sonucunda, Epson garanti kapsamına girmeyen hasarlar oluşabilir
Légende du panneau de c
Boutons et fonctions
Permet d’allumer ou d’
Annule une erreur de réseau. Maintenez enf
de 5 secondes pour modier les paramètres du réseau a
bouton-poussoir WPS.
Imprime un rapport de connexion réseau pour déterminer
les causes de tout problème réseau. P
d'informations, maintenez c
de 7 secondes pour imprimer une page d'état du réseau.
*1 Démarre la copie monochrome ou couleur sur du papier
A4 normal. Pour aug
20), appuyez sur cette touche à des int
d'1 seconde.
Permet d'arrêter l'
enfoncée pendant 5 secondes jusqu
clignote pour procéder au netto
*1 Contrôle des images scannées: Appuy
simultanément sur les touches et pour lancer
le logiciel sur un ordinateur connecté par USB et
contrôler les images scannées.
*1 Copie en mode Brouillon: Appuy
sur les touches et ou pour eectuer une
copie en mode brouillon. Mode brouillon non
disponible pour les utilisateurs d'Europe occiden
Paramétr Maintenez
simultanément les touches et enfoncées
pour démarrer le paramétrage du code PIN (WPS).
Paramétr
Maintenez simultanément les touches et
enfoncées pour paramétrer le mode
(Simple AP).
Restauration des paramètr
Mettez l'imprimante sous tension en maintenant la
touche enfoncée pour restaurer les paramètr
réseau par défaut.
Lorsque les paramètres r
l'imprimante s'allume et les voyants d'
clignotent alternativemen
Impression d'un modèle de vérication des buses:
Mettez l'imprimante sous tension en maintenant
la touche enfoncée pour imprimer le modèle de
vérication des buses.
*1 : Uniquement sur ET
Lecture des vo
: Allumé : Clignotant
Etat normal
L
L
(Simple AP).
Etat d’
Une erreur de connexion
pour eacer l’
Il est possible que le chargement d’
Reportez-vous à la section 2 de première page pour procéder au
premier chargement de l'encr
Aucune feuille de papier n
entraînées en même temps.
ET-2810 Series et L3250 Series: Insérez du papier et appuyez sur la
touche ou .
ET-1810 Series et L1250 Series: Insérez du papier et appuyez sur la
touche
Un bourrage papier est survenu.
ET-2810 Series et L3250 Series: Retirez le papier et appuyez sur la
touche ou .
ET-1810 Series et L1250: Retirez le papier et appuy .
Consultez la section «Élimination des bourrages papier». Si le voyant
continue à clignoter
«Résolution de problèmes» dans le Guide d'utilisation .
L
ET-2810 Series et L3250 Series: Après a
appuyant sur la touche ou , annulez toutes les tâches
d’impr
ET-1810 Series et L1250: Apr
la touche , annulez toutes les tâches d’
Nous vous recommandons d'e
les buses peuvent avoir séché et êtr
Pour éteindr .
Clignotant simultané: Un tampon encreur est (quasiment) en n
de vie.
Clignotement alternatif: Un tampon encr
marges est (quasiment) en n de vie. L
pas disponible, mais l'impression av
Pour remplac
impression sans marges, con
service Epson autorisé.
L
lamise à jour du micrologiciel ayant échoué
Pour plus de détails
indicateurs d'erreur dans la section «Résolution de
problèmes» du Guide d'utilisation .
Une erreur est survenue au niveau de l’imprimant
Retirez le papier présent dans l'imprimante
l’imprimant
tension. Si l’
la procédure de mise hors tension et sous t
contactez l’assistance Epson.
Kumanda paneli kıla
Düğmeler ve ışlevler
Y
Bir ağ hatasını temizler
yapmak için 5 saniye veya daha uzun sür
Ağ sorunlarının nedenlerini belirlemek için bir ağ bağlantısı
raporu yazdırır
yazdırmak amacıyla bu düğmeyi 7 saniyeden uzun süre basılı
tutun.
*1 A4 boyutta düz kağıtta tek renkli veya renkli kopyalamayı
başlatır
aralıklarla bu düğmeye basın.
Mevcut işlemi durdurur
için düğmesi yanıp sönene kadar 5 saniye boyunca bu
düğmeyi basılı tutun.
*1 T Y
bağlı bir bilgisayarda çalıştırmak için ve
düğmelerine aynı anda basın ve taranan resimleri
kontrol edin.
*1 T T
kopyalama yapmak için ve veya
düğmelerine aynı anda basın. Batı Avrupa
kullanıcılara taslak modu sunulmamaktadır
PIN Kodu A PIN Kodu Ayarını (
başlatmak için aynı anda ve düğmelerine
basın.
Wi-F
AP) Kurulumunu başlatmak için aynı anda ve
düğmelerine basın.
V Varsayılan
ağ ayarlarını geri yüklemek için düğmesini basılı
tutarken yazıcıyı açık konuma getirin.
Ağ ayarları geri yüklendiğinde, yazıcı açılır ve ağ
durumu ışıkları sırayla yanıp söner
Püskürtme Ucu Kontrol Deseni
Püskürtme ucu kontrol desenini yazdırmak için
düğmesine basılı tutarken yazıcıyı açın.
*1 :
Gösterge ışıklarını anlama
: :
Normal durum
Y
Y
Hata durumu
Wi-F düğmesine basar
ve yeniden deneyin.
İlk mürekkep dolumu tamamlanmamış olabilir
dolumunu tamamlamak için ön sayfada bölüm 2'ye bakın.
Hiç kâğıt yük
ET-2810 Serisi ve L3250 Serisi: Kağıdı yükleyin ve veya
düğmesine basın.
ET-1810 Serisi ve L1250 Serisi: Kâğıt yükleyip düğmesine basın.
Bir kâğıt sıkışması oluştu.
ET-2810 Serisi ve L3250 Serisi: Kağıdı çıkarın ve veya
düğmesine basın.
ET-1810 Serisi ve L1250 Serisi: Kâğıdı çıkarın ve düğmesine basın.
“Kağıt Sıkışmasını Giderme”
sönmeye devam ederse, K'nda
altındaki sıkışan k
Y
ET-2810 Serisi ve L3250 Serisi: veya düğmesine basarak
hatayı temizledikten sonra bekleyen yazdırma işlerini iptal edin.
ET-1810 Serisi ve L1250 Serisi: düğmesine basarak hatayı
temizledikten sonra bekleyen yazdırma işlerini iptal edin.
Püskürtme uçları kurumuş veya tıkanmış olabileceğinden bir
püskürtme denetimi gerçekleştirilmesini öner
Y düğmesine bastığınızdan emin olun.
Aynı anda y: Bir mürekkep pedi kullanım ömrünün
sonuna yaklaşıyor veya sonunda.
Sırayla yanıp sönüy: Bir kenarlıksız yazdırma mürekkep pedi
kullanım ömrünün sonuna yaklaşıyor veya sonunda. Kenarlıksız
yazdırma kullanılamıyor ama bir kenarlıkla yazdırma kullanılabilir
Mürekkep pedini veya kenarlıksız yazdırma mürekkep pedini
değiştirmek için Epson ile ya da yetkili bir Epson hizmet sağlayıcısıyla
iletişime geçin.
Y
olduğu için kurtarma modunda başlatılmıştır.
Daha fazla ayrıntı için Kullanım Kılavuzu 'nda “Sorun
Çözme
Bir yazıcı hatası oluştu.
Gücü kapatın ve yeniden açın. Gücü kapatıp tekrar
açtıktan sonra hata oluşmaya devam ederse Epson
destek birimi ile irtibata geçin.
P r oof Sig n- o :
A.Y oshiza w a CRM A.T ok umor i
K .G azan
edit or
P11438643-MD X/SD X
St a r t Here ES3
4139731_b0_00.indd A2 siz e
11/13/2020
4139731-00 Black
Back