The coee is not hot.The cups were not preheated.• Enable the cup warmer (A6), leave the
cups at least 20 minutes to warm up.
• Warm the cups by rinsing them with hot
water (Please note: you can use the hot
water function).
The internal circuits have cooled down
because 2/3 minutes have elapsed
since the last coee was made.
Before making the coee, heat the infuser by
rinsing using the "rinse" function (see section
"8.1 Rinsing").
A low coee temperature is set.
Set a hotter coee temperature (see section
"8.10 Setting the temperature").
The coee is weak or not creamy
enough.
The coee is ground too coarsely. Turn the grinding adjustment dial (A5) one
click anticlockwise towards "1" while the cof-
fee mill is in operation (g. 14). Continue one
click at a time until coee delivery is satisfac-
tory. The eect is only visible after delivering
2 coees (see section "9.5 Adjusting the coee
mill").
The coee is unsuitable. Use pre-ground coee for espresso machines.
The coee is delivered too slowly or a
drop at a time.
The coee is ground too nely. Turn the grinding adjustment dial (A5) one
click clockwise towards "7" while the coee
mill is in operation (g. 14). Continue one click
at a time until coee delivery is satisfactory.
The eect is only visible after delivering 2
coees (see section "9.5 Adjusting the coee
mill").
Coee does not come out of one or
both of the spouts.
The coee spouts (A7) are blocked. Clean the spouts with a toothpick (see section
"12.7 Cleaning the coee spouts").
The appliance does not come onThe power cord (C8) connector is not
inserted correctly.
Insert the connector as far as it will go in the
socket at the back of the appliance (A19- g.
1).
It is not plugged into the mains socket. Plug into the mains socket (g. 1).
The main switch (A20) is not turned on.Press the main switch (g. 2).
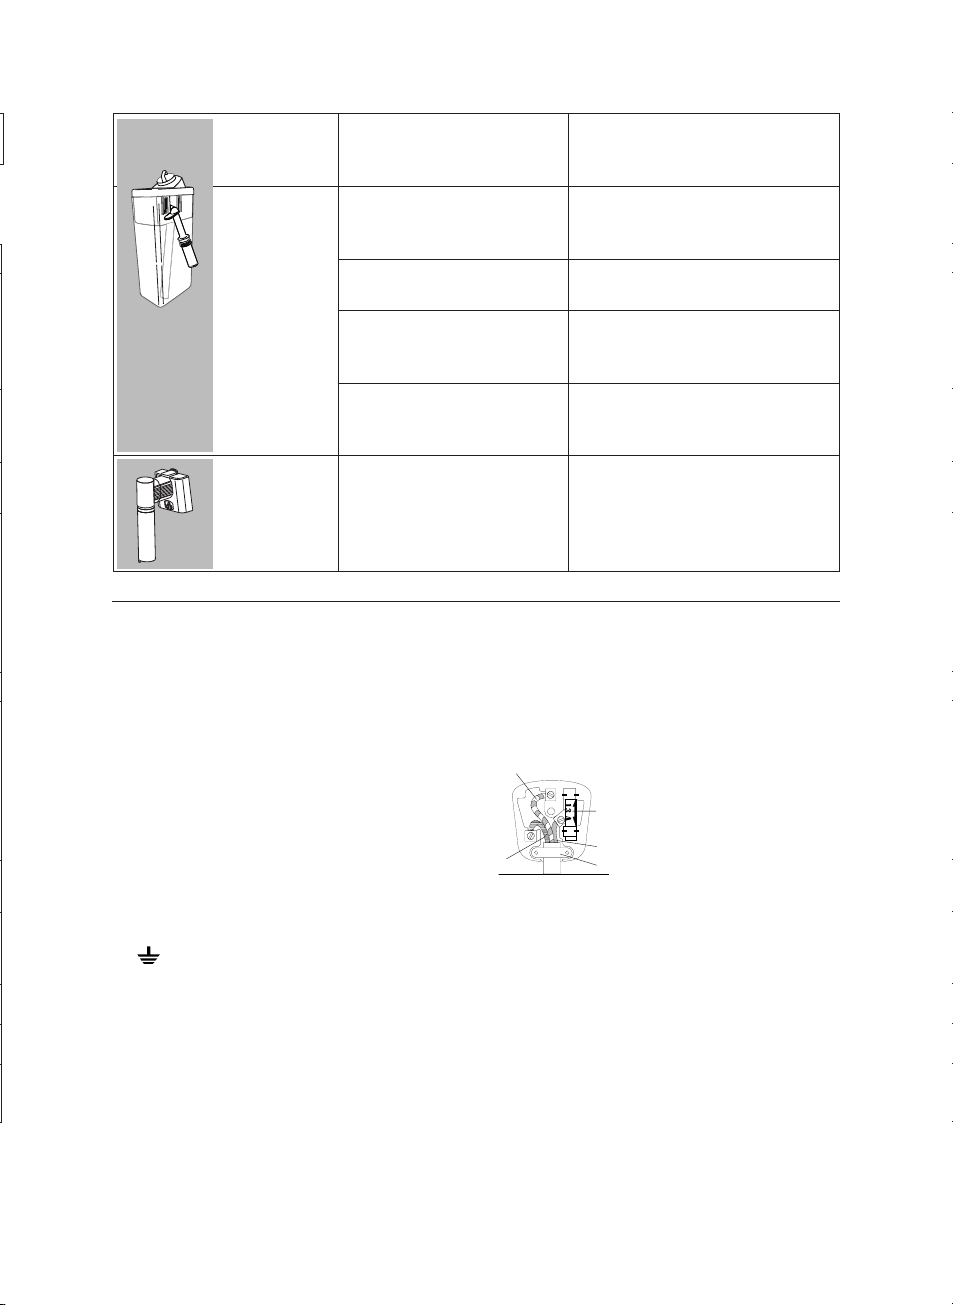
The infuser cannot be extractedThe appliance has not been turned o
correctly
Turn the appliance o by pressing the but-
ton (B1) (section "7. Turning o").
19. TROUBLESHOOTING
Below is a list of some of the possible malfunctions.
If the problem cannot be resolved as described, contact Customer Services.
INSERT MILK CONTAINERThe milk container (D) is not inserted correctly.Insert the milk container (g. 24) as far as it
will go.
The milk does not
come out of the milk
spout (D5)
The milk container lid (D2) is dirty.Clean the milk container lid as described in sec-
tion "12.10 Cleaning the milk container"
The milk contains
large bubbles and
squirts out of the
milk spout (D5) or
there is little froth
The milk is not cold enough or is not
semi-skimmed.
Use skimmed or semi-skimmed milk at refrige-
rator temperature (about 5° C). If the result is
not as you wished, try changing brand of milk.
The froth adjustment dial (D1) is incor-
rectly adjusted.
Adjust following the instructions in section "10.
Making cappuccinos and milk-based coees".
The milk container lid (D2) or froth
adjustment dial (D1) are dirty.
Clean the milk container lid and dial as de-
scribed in section "12.10 Cleaning the milk
container".
The hot water/steam connection noz-
zle (A8) is dirty.
Clean the connection nozzle as described in
section "12.11 Cleaning the hot water/steam
connection nozzle".
The milk contains
large bubbles and
squirts out of the
milk spout or there is
little froth.
The spout (C6) is dirty.Clean as described in section "11.5 Cleaning
the spout after use"
20. ELECTRICAL REQUIREMENTS UK ONLY
Before using this appliance ensure that the voltage indicated on the product corresponds with the main voltage in your home, if you are in any doubt
about your supply contact your local electricity company.
The exible mains lead is supplied connected to a B.S. 1363 fused plug having a fuse of 13 amp capacity.
Should this plug not t the socket outlets in your home, it should be cut o and replaced with a suitable plug, following the procedure outlined below.
Note: Such a plug cannot be used for any other appliance and should therefore be properly disposed of and not left where children might nd it and
plug it into a supply socket - with the obvious consequent danger.
N.B. We recommend the use of good quality plugs and wall sockets that can be switched o when the machine is not in use.
IMPORTANT: the wires in the mains lead tted to this appliance are coloured in accordance with the following code:
GREEN AND YELLOW EARTH
BLUE NEUTRAL
BROWN LIVE
As the colours of the wires in the mains lead of this appliance may not correspond with the coloured markings identifying the terminals in your plug,
proceed as follows:
- The wire which is coloured green and yellow must be connected to the terminal in the plug which is marked with the letter E or by the earth symbol
or coloured green or green and yellow.
- The wire which is coloured blue must be connected to the terminal which is marked with the letter N or coloured black.
- The wire which is coloured brown must be connected to the terminal which is marked with the letter L or coloured red.
When wiring the plug, ensure that all strands of wire are securely retained in each terminal. Do not forget to tighten the mains lead clamp on the plug.
If your electricity supply point has only two pin socket outlets, or if you are in doubt, consult a qualied electrician.
Should the mains lead ever require replacement, it is essential that this operation be carried out by a qualied electrician and should only be replaced
with a exible cord of the same size.
After replacement of a fuse in the plug, the fuse cover must be retted. If the fuse cover is lost, the plug must not be used until a replacement cover is
obtained. The colour of the correct replacement fuse cover is that of the coloured insert in the base of the fuse recess or elsewhere on the plug. Always
state this colour when ordering a replacement fuse cover.
Only 13amp replacement fuses which are asta approved to B.S. 1362 should be tted.
This appliance conforms to the Norms EN 55014 regarding the suppression of radio interference.
Gebruikershandleiding.com neemt misbruik van zijn services uitermate serieus. U kunt hieronder aangeven waarom deze vraag ongepast is. Wij controleren de vraag en zonodig wordt deze verwijderd.
Product:
Spelregels forum
Om tot zinvolle vragen te komen hanteren wij de volgende spelregels:
lees eerst de handleiding door;
controleer of uw vraag al eerder door iemand anders is gesteld;
probeer uw vraag zo duidelijk mogelijk te stellen;
heeft u een probleem en al geprobeerd om dit op te lossen, vermeld dit erbij aub;
heeft u een oplossing gekregen van een bezoeker dan horen wij dat graag in dit forum;
wilt u een reactie geven op een vraag of antwoord, gebruik dan niet dit formulier maar klik op de knop 'reageer op deze vraag';
uw vraag wordt direct op de website gezet; vermijd daarom persoonlijke gegevens in te vullen;
Belangrijk! Als er een antwoord wordt gegeven op uw vraag, dan is het voor de gever van het antwoord nuttig om te weten als u er wel (of niet) mee geholpen bent! Wij vragen u dus ook te reageren op een antwoord.
Belangrijk! Antwoorden worden ook per e-mail naar abonnees gestuurd. Laat uw emailadres achter op deze site, zodat u op de hoogte blijft. U krijgt dan ook andere vragen en antwoorden te zien.
Abonneren
Abonneer u voor het ontvangen van emails voor uw DeLonghi ECAM45.760 Eletta Cappuccino bij:
nieuwe vragen en antwoorden
nieuwe handleidingen
U ontvangt een email met instructies om u voor één of beide opties in te schrijven.
Ontvang uw handleiding per email
Vul uw emailadres in en ontvang de handleiding van DeLonghi ECAM45.760 Eletta Cappuccino in de taal/talen: Engels als bijlage per email.
De handleiding is 2.95 mb groot.
U ontvangt de handleiding per email binnen enkele minuten. Als u geen email heeft ontvangen, dan heeft u waarschijnlijk een verkeerd emailadres ingevuld of is uw mailbox te vol. Daarnaast kan het zijn dat uw internetprovider een maximum heeft aan de grootte per email. Omdat hier een handleiding wordt meegestuurd, kan het voorkomen dat de email groter is dan toegestaan bij uw provider.
Andere handleiding(en) van DeLonghi ECAM45.760 Eletta Cappuccino
Uw handleiding is per email verstuurd. Controleer uw email
Als u niet binnen een kwartier uw email met handleiding ontvangen heeft, kan het zijn dat u een verkeerd emailadres heeft ingevuld of dat uw emailprovider een maximum grootte per email heeft ingesteld die kleiner is dan de grootte van de handleiding.
Er is een email naar u verstuurd om uw inschrijving definitief te maken.
Controleer uw email en volg de aanwijzingen op om uw inschrijving definitief te maken
U heeft geen emailadres opgegeven
Als u de handleiding per email wilt ontvangen, vul dan een geldig emailadres in.
Uw vraag is op deze pagina toegevoegd
Wilt u een email ontvangen bij een antwoord en/of nieuwe vragen? Vul dan hier uw emailadres in.