EN
BRAINZ WIRELESS CHARGER CLOCK
INSTRUCTION MANUAL
PLEASE READ ALL INSTRUCTIONS CAREFULLY AND
RETAIN FOR FUTURE USE
This is what you need:
USB Cable (included)
3x AAA Battery (not included)
USB Adapter or power supply (not included)
Mobile device equipped with QI technology
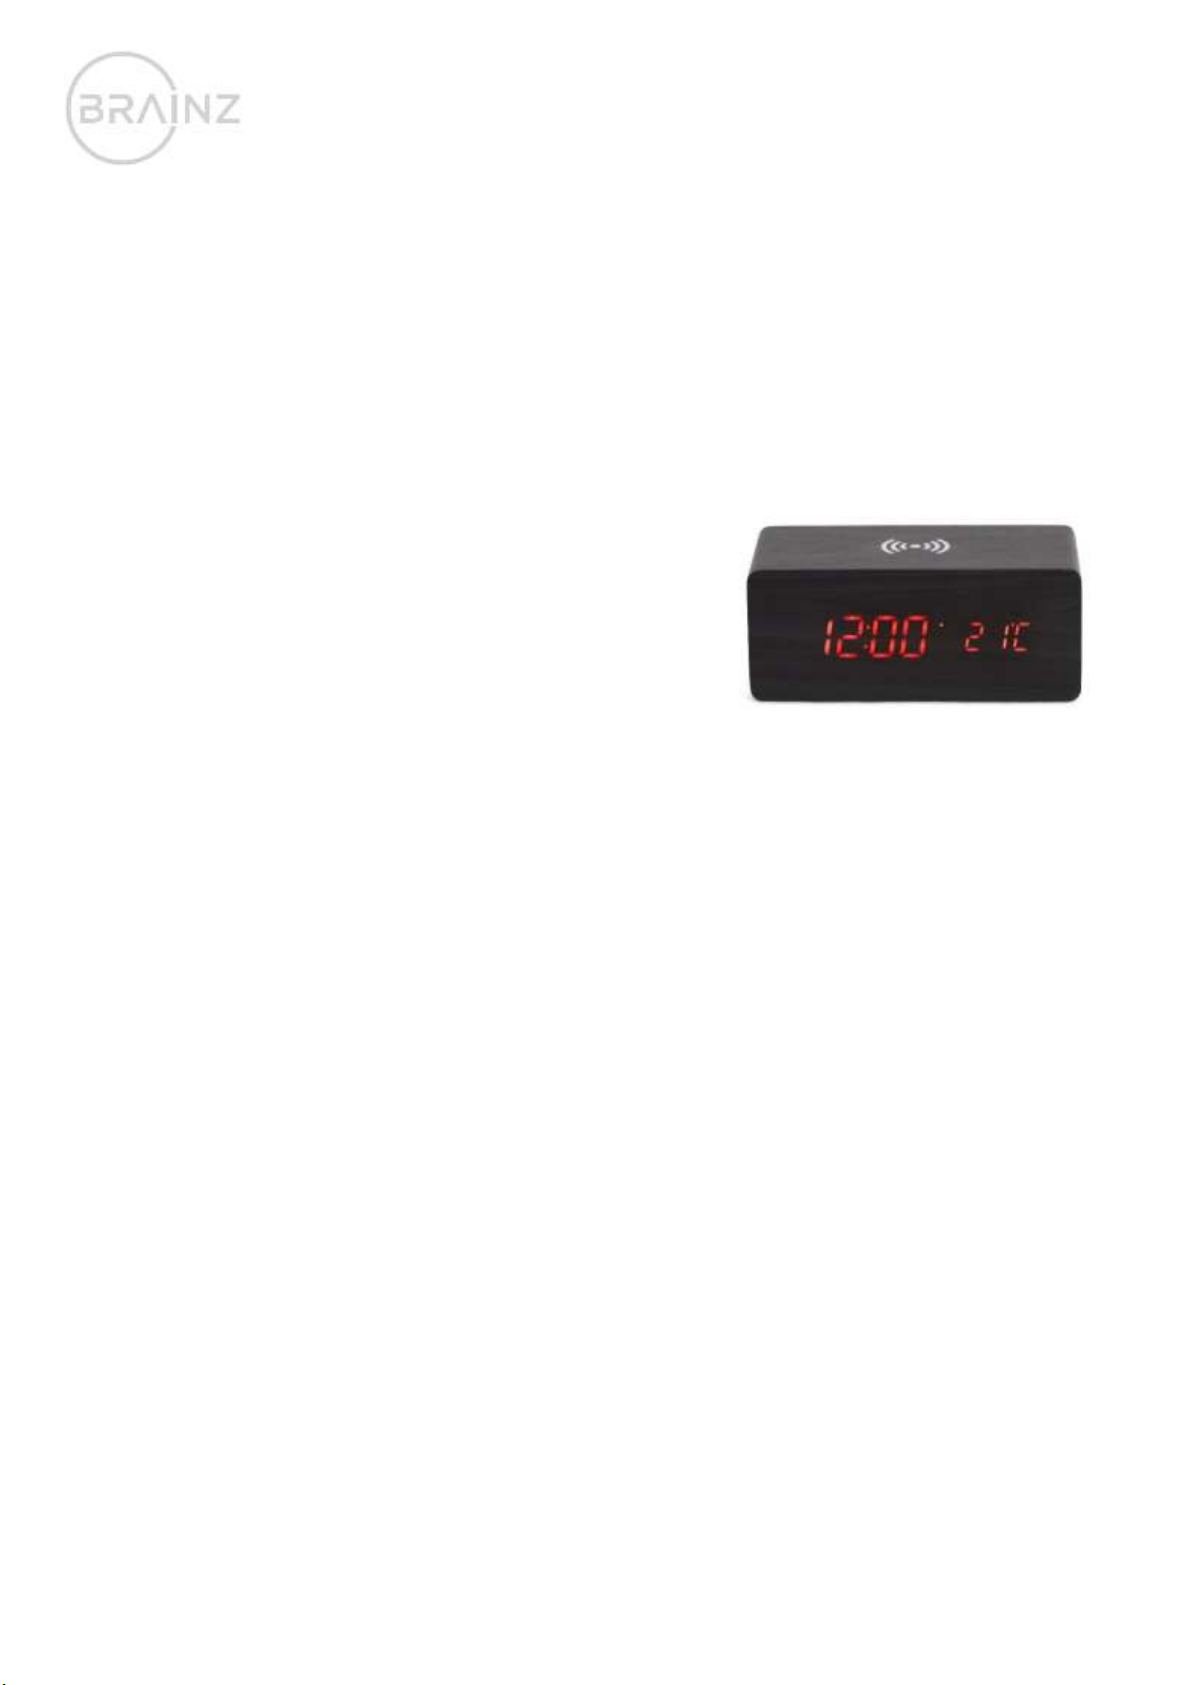
Product description:
Digital alarm clock with wireless charging system and finished in a beautiful dark wood look. The power supply is via a
supplied USB cable. The display can show time, date and temperature. An all-in-1 alarm clock in a stylish design! To charge
your phone wirelessly it must be equipped with QI technology.
This is how you set it up:
Turn on the clock by plugging in the USB cable or putting the batteries into the clock. The clock is on when you hear a sound
coming from the clock. Now you can set the time and date of the clock. While the clock is flashing, press "SET" to set the time
and date. On the desired screen (time or date), press and hold the "SET" button for 2 seconds.
Setting the time
On the time screen, press and hold the "SET" button for 2 seconds. The clock starts to flash. Here you can set whether you
want to use a 12-hour clock or a 24-hour clock. Use the "UP" and "DOWN" buttons to set this. Ready? Then press "SET" once.
The clock will now start to flash again. Set the hour first. Then press "SET" again. Now set the minutes. Press "SET" again. The
clock is now set to the time you entered.
Setting the date
On the date screen, press and hold the "SET" button for 2 seconds. The clock starts to flash. The clock first asks for the year.
Enter the desired year using the "Up" and "Down" buttons and press "SET" when done. You can then set the month and day.
Use the "UP" and "DOWN" buttons to set the date. Note: the first digit you set is the month you are in. The second digit is
the day of the month. Use the "SET" button to continue when you are finished entering. The clock is now entered on the date
you entered.
Setting the alarm
The clock has 3 different alarm functions that you set in the same way. Use the "SET" button to switch to screen A1, A2 or A3.
On the desired alarm, press and hold the "SET" button for 2 seconds. Just as with setting the time, you can set the desired
alarm here. Ready? Then press "SET" again. If a red dot is lit to the right of the current time, the alarm is activated.
The alarm will repeat every day at the entered time. The alarm goes off for 1 minute. If you want to turn off the alarm, you
only need to press 1 of the 3 buttons. You can deactivate the alarm by choosing the correct alarm with the "SET" button and
then pressing the "UP" button to switch off the alarm.