783318
1
Verklein
Vergroot
Pagina terug
1/2
Pagina verder
This quick guide, the online operating instructions and the
"Important safety and legal information" booklet are part of
the product.
Please read all three documents carefully before you turn on
your device. They contain important information about
device safety, usage and disposal.
Please keep these documents in a safe place and pass them
on in full to the new owner if the device changes hands.
The online operating instructions and FAQs for your
Notebook can be found at: www.peaq-online.com
Package contents
PEAQ Notebook Evolution V140V
Power adapter (100 V - 240 V)
Power cable
Quick guide
Important safety and legal information
Warranty card
Remove all components from the packaging and remove the
packaging material, including the protective ilm. Check to
ensure that the delivery is complete. If you ind that there are
missing or damaged components, contact customer service
immediately.
Technical speciications
Processor* (CPU): Intel® Core™ i5-1135G7
Intel® Core™ i7-1165G7
Operating syem*: Windows 11 Home in S mode**,
Windows 11 Home/11 Professional
RAM*: 8 GB / 16 GB
Internal orage*: 512 GB / 1024 GB
Graphics unit (GPU): Intel® Iris® X Graphics
Screen size: 14" (35.6 cm)
Display: Full-HD IPS display
(WUXGA 1920 x 1200, 16:10)
Camera: Front: 0.9 MP / IR (Windows Hello)
Interfaces: 2x USB-A 3.2 Gen1, 2x USB Type-C®
3.2 Gen2 (PD, 1x Thunderbolt™ 4),
HDMI®-A 2.0, Audio Out/Mic In
(3.5mm)
Network: WiFi 6 (802.11ac/b/g/n/ax)
2.4 GHz/5 GHz, Bluetooth® 5.2
Card slot: SD(HC/XC) up to 1 TB
Size: approx. 309 x 213 x 15 mm
Weight: approx. 975 g
Material /Colour: Magnesium/Black
Battery: Lithium polymer (charged by
DC IN / USB Type-C®)
* feature option depending on model
** Please ind more information about Windows in S mode in the Service section:
www.peaq-online.com
Operation and storage
Temperatures: between 5 °C to 30 °C
Relative humidity: of 30 % to 70 %
Refer to the detailed operating instructions for technical speciications on the
power adapter and battery. The battery in this product cannot be easily replaced
by users themselves.
Welcome EN
Diese Kurzanleitung, die Online-Bedienungsanleitung und
das Heft "Sicherheitshinweise und rechtliche Bestimmungen"
sind Bestandteile des Produktes.
Lesen Sie bitte alle drei Dokumente aufmerksam, bevor Sie Ihr
Notebook in Betrieb nehmen. Sie enthalten wichtige Hinweise zur
Benutzung, Sicherheit und Entsorgung des Notebook.
Bewahren Sie diese Dokumente sorgältig auf und händigen
Sie sie bei Weitergabe des Notebook vollständig an den neuen
Besitzer aus.
Die Online-Bedienungsanleitung sowie die FAQs zu Ihrem
Notebook finden Sie unter: www.peaq-online.com
Lieferumfang
PEAQ Notebook Evolution V140V
Netzteil (100 V - 240 V)
Netzkabel
Kurzanleitung
Sicherheitshinweise und rechtliche Bestimmungen
Garantiekarte
Nehmen Sie alle Teile aus der Verpackung und entfernen Sie
das Verpackungsmaterial, inkl. der Schutzfolien, vollständig.
Überprüfen Sie die Vollständigkeit der Lieferung. Wenn Sie
fehlende Teile oder Beschädigungen feststellen, wenden Sie
sich umgehend an den Kundendienst.
Technische Daten
Prozessor* (CPU): Intel® Core™ i5-1135G7
Intel® Core™ i7-1165G7
Betriebssyem*: Windows 11 Home in S mode**,
Windows 11 Home/Windows 11 Pro
RAM*: 8 GB / 16 GB
Interner Speicher*: 512 GB / 1024 GB
Grafikprozessor (GPU): Intel® Iris® X Graphics
Display-Größe: 14" (35,6 cm)
Bildschirm: Full-HD-IPS-Display
(WUXGA 1920 x 1200, 16:10)
Kamera: Front: 0,9 MP / IR (Windows Hello)
Schnittellen: 2x USB-A 3.2 Gen1, 2x USB Type-C®
3.2 Gen2 (PD, 1x Thunderbolt™ 4),
HDMI®-A 2.0, Audio Out/Mic In
(3.5mm)
Netzwerk: WiFi 6 (802.11ac/b/g/n/ax)
2.4 GHz/5 GHz, Bluetooth® 5.2
Karteneinschub: SD(HC/XC) bis zu 1 TB
Größe: ca. 309 x 213 x 15 mm
Gewicht: ca. 975 g
Material/Farbe: Magnesium/Schwarz
Akku: Li-Polymer (laden über DC IN /
USB Type-C®)
* modellabhängige Ausstattungsoption
** Weitere Informationen zu Windows im S Modus inden Sie im
Service-Bereich: www.peaq-online.com
Betrieb und Lagerung
Temperaturbereich: von 5 °C bis 30 °C
Relative Luftfeuchtigkeit: von 30 % bis 70 %
Technische Daten zum Netzteil und Akku entnehmen Sie bitte der ausührlichen
Bedienungsanleitung. Der Akku dieses Produktes kann nicht ohne Weiteres vom
Benutzer selbst ausgetauscht werden.
Willkommen DE Kurzanleitung
Das Notebook auladen
Laden Sie Ihr Notebook vollständig auf, bevor Sie es zum ersten
Mal verwenden.
Verbinden Sie den DC-Stecker des mitgelieferten Netzteils
mit der Ladebuchse (DC IN) des Notebook.
Stecken Sie anschließend das Netzteil in eine Steckdose.
Die Lade-LED leuchtet während des Ladevorgangs.
Lassen Sie das Netzteil nur so lange an der Steckdose, bis
der Akku des Notebook vollständig geladen ist. Trennen Sie
außerdem immer das Netzteil vom Notebook, wenn Sie das
Notebook nicht laden.
Stellen Sie sicher, nur ein Netzteil zu verwenden, welches
die auf dem Notebook angegebenen technischen Daten
erfüllt. Die Verwendung von Netzteilen mit z.B. höherer
Spannung führt zu irreversiblen Schäden an Ihrem Gerät,
die nicht von der Garantie abgedeckt sind!
Das Notebook zum ersten Mal einschalten
a Klappen Sie den Bildschirm hoch, sodass dieser mindestens
im 90°-Winkel zur Tastatur steht.
b Drücken Sie ür ca. 3 Sekunden den Ein-/Ausschalter, um das
Notebook einzuschalten. Es erscheint der Startassistent.
c Befolgen Sie die Anweisungen des Startassistenten, um Ihr
Notebook einzurichten.
Im Laufe des Start-Assistenten werden Sie aufgefordert,
sich mit Ihrem Microsoft-Konto anzumelden. Falls Sie noch
über kein Microsoft-Konto verfügen, richten Sie an dieser
Stelle bitte eines ein.
Nach Beendigung des Startassistenten wird Ihr Notebook
koniguriert. Dies kann einige Minuten in Anspruch nehmen.
Schalten Sie das Notebook in dieser Zeit nicht aus!
Den Bildschirm entsperren
Sobald das Notebook eingerichtet ist (und nach jedem
weiteren Einschalten und Hochfahren), erscheint der
Sperrbildschirm. Drücken Sie eine beliebige Taste auf der
Tastatur, um den Bildschirm zu entsperren.
Wenn Ihr Notebook durch ein Passwort geschützt ist,
müssen Sie anschließend das Passwort eingeben.
Alternativ können Sie sich auch über Windows Hello an
Ihrem Notebook anmelden. Wählen Sie "Einstellungen"
"Navigation" (drei waagrechte Striche) "Konten"
"Anmeldeoptionen" "Windows Hello", um diese
Funktion zu aktivier
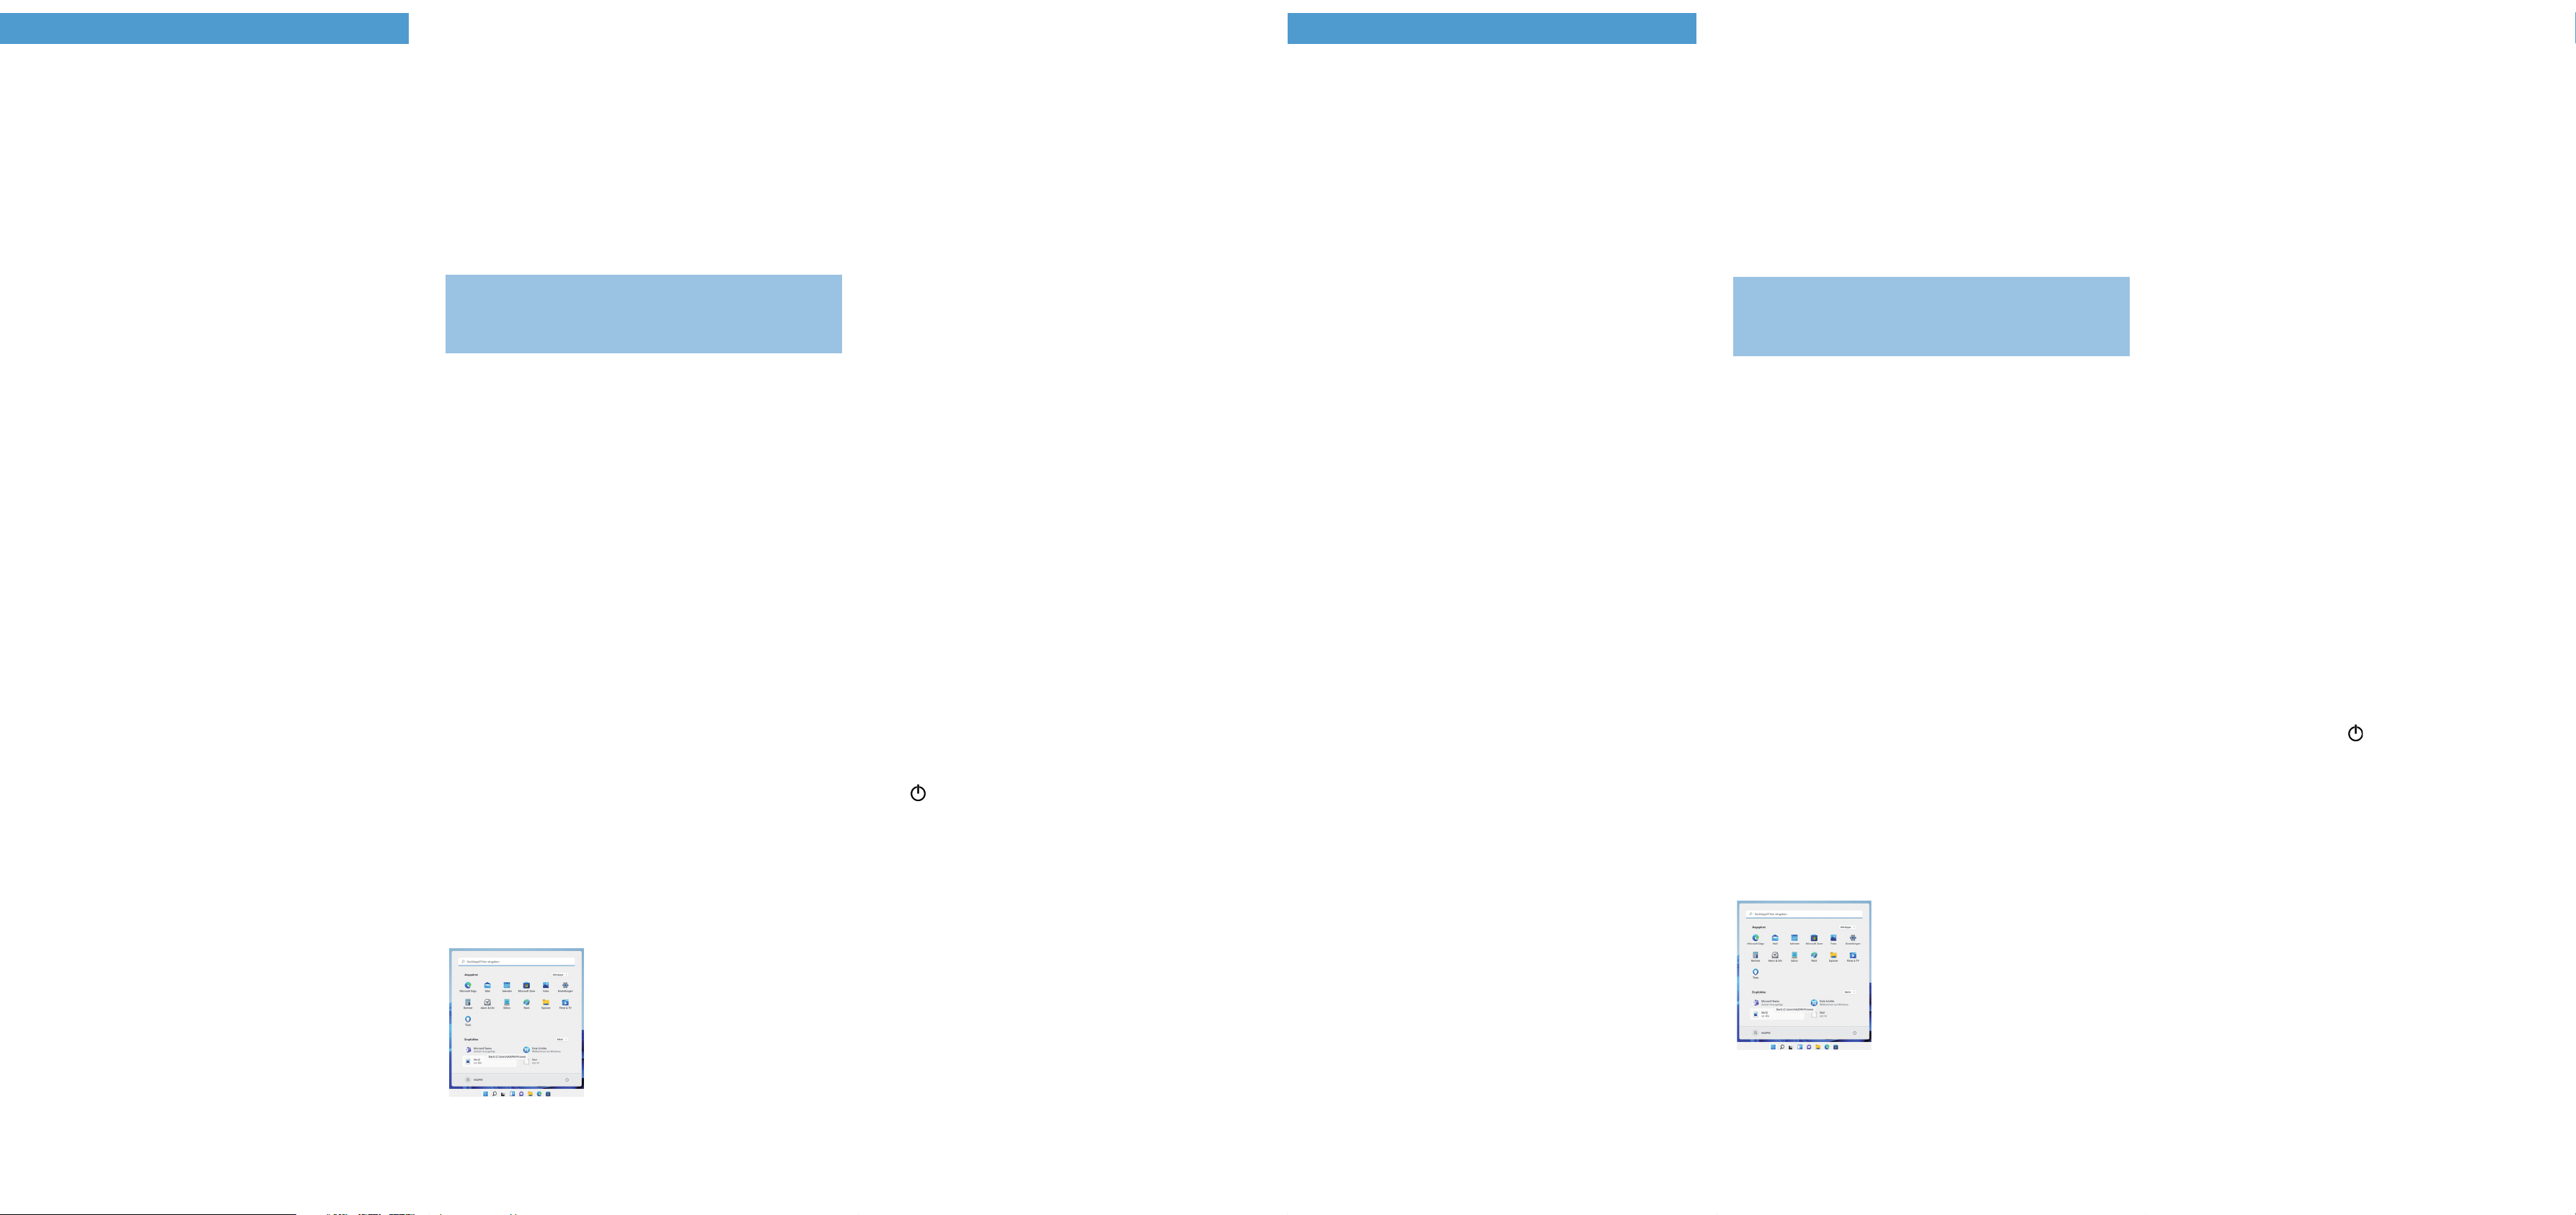
en und einzurichten.
Das Startmenü
Um das Startmenü einzublenden, klicken Sie auf das
Windows-Symbol unten im Display oder drücken Sie die
Windows-Taste auf der Tastatur. Ein erneutes Drücken
blendet das Startmenü wieder aus.
Das Startmenü zeigt im oberen
Bereich die nützlichsten Apps und
im unteren empfohlene Anwendungen
und zuletzt verwendete Dateien.
In der oberen Liste inden Sie unter
anderem den Link zum Öffnen der
Einstellungen (Zahnradsymbol).
Im App-Bereich können Sie Apps und
Favoriten in Form von Symbolen
"anheften" und organisieren.
Unter "Alle Apps" finden Sie eine alphabetisch geordnete
Liste aller installierten Apps. Durch Klicken auf einen
übergeordneten Buchstaben erscheint ein alphabetischer
Schnellzugriff auf die Navigationsliste.
Schnelleinstellungen
Mit der Tastenkombination [Windows] + [A] öffnen sich
die Schnelleinstellungen mit Kurzlinks zu einigen wichtigen
Funktionen des Notebook.
WLAN aktivieren & Browser aufrufen
a Rufen Sie die Einstellungen auf (s. "Das Startmenü").
b Klicken Sie in den Einstellungen auf „Navigation“
(drei waagrechte Striche) und dann auf "Netzwerk
und Internet".
c Klicken Sie auf den WLAN-Schieber bzw. auf das Wort "Aus".
Neben dem Schieber erscheint nun das Wort "Ein".
Das Notebook sucht nach allen verfügbaren
Drahtlosnetzwerken in der Nähe und zeigt diese anschließend
als Liste an ("Verfügbare Netzwerke anzeigen").
d Klicken Sie auf das Netzwerk, mit dem Sie sich verbinden
möchten.
e Geben Sie falls nötig den Netzwerkschlüssel (Passwort) ein.
f Klicken Sie auf "Verbinden". Das Notebook verbindet sich
mit dem ausgewählten Netzwerk.
Sie finden den Button zum Aufrufen des Internetbrowsers
in der Taskleiste unten im Display. Klicken Sie auf das
kleine blaue "e", um den Browser aufzurufen. Um eine
Internetadresse (URL) einzugeben, klicken Sie in die mittig
oben im Fenster angezeigte Suchleiste.
Reset
Sollte sich das Notebook "auhängen" und nicht mehr
reagieren, können Sie es zurücksetzen. Halten Sie dazu den
Ein-/Ausschalter mindestens 10 Sekunden lang gedrückt, bis
sich das Notebook ausschaltet. Warten Sie ca. 20 Sekunden
und schalten Sie das Notebook ganz normal wieder ein.
Durch das Zurücksetzen des Notebook gehen nicht
gespeicherte Dateien verloren.
Das Notebook ausschalten
Standby
Um den Standby-Modus zu aktivieren, drücken Sie kurz
den Ein-/Ausschalter. Erneutes kurzes Drücken weckt das
Notebook aus dem Standby-Modus auf.
Herunterfahren
Öffnen Sie das Startmenü. Klicken Sie im Startmenü unten
auf "" und anschließend auf "Herunterfahren".
Das Notebook ährt herunter.
Energie sparen
Deaktivieren Sie die WLAN-Funktion, wenn Sie sie
nicht verwenden.
Lassen Sie das Netzteil nur so lange an der Steckdose,
bis der Akku des Notebook vollständig geladen ist. Trennen
Sie außerdem immer das Netzteil vom Notebook, wenn Sie
das Notebook nicht laden.
Reduzieren Sie in den Einstellungen unter "System"
"Anzeige" die Displayhelligkeit.
Aktivieren Sie den Standby-Modus oder schalten Sie das
Notebook vollständig aus, wenn Sie das Notebook nicht
verwenden.
Quick guide
Charging the Notebook
Please charge your Notebook fully before using it for the
irst time.
Connect the DC plug on the supplied power adapter to the
charging socket (DC IN) on the Notebook.
Then plug the power adapter into a socket.
The charging LED lights up while the device is charging.
Only leave the power adapter connected to the socket until
the battery of the Notebook is fully charged. In addition,
always disconnect the power adapter from the Notebook
when you are not charging the Notebook.
Ensure that you only use a power supply unit that
corresponds to the technical data stated on the notebook.
Using power supply units e.g. with a higher voltage causes
irreversible damage to your device, which is not covered by
the warranty.
Turning on the Notebook for the irst time
a Bring the screen upwards until it is standing at a minimum
angle of 90° to the keyboard.
b Press the on/off switch for about 3 seconds to switch
on the Notebook. The setup assistant will then appear
on the screen.
c Follow the setup assistant instructions to set up your Notebook.
During the startup, the wizard prompts you to register for
your Microsoft account. If you do not yet have a Microsoft
account, please set one up here.
After completion of the startup, your Notebook is conigured.
This may take several minutes to complete. Do not turn the
Notebook off during this time!
Unlocking the display
As soon as the device has been set up (and every time it is
subsequently switched on and booted up), the lock screen
appears. Press any key on the keyboard to unlock the screen.
If your Notebook is password-protected, you must then
enter the password.
Alternatively, you can also log into your Notebook via
Windows Hello. To activate and set up this feature,
select "Settings" "Navigation" (three horizontal lines)
"Accounts" "Sign-in options" "Windows Hello".
Start menu
To display the start menu, click the Windows icon in the bot-
tom of the display or press the Windows button on the key-
board. Press the icon a second time to hide the Start menu.
The Start menu shows the most useful
apps in the upper area and recommended
applications and recently used iles in
the lower area.
In the upper list you will ind, among
other things, the link to open the settings
(cogwheel symbol). In the app area,
you can "pin" and organise apps and
favourites in the form of icons.
You will find a list of all installed apps in alphabetical
order under "All Apps". An alphabetic quick access to the
navigation list appears when you click on a respective first
letter.
Quick Settings
The key combination [Windows] + [A] opens the quick
settings with short links to some important functions
of the notebook.
Activating WiFi and opening the browser
a Call up Settings (see "Start menu").
b In the settings, click "Navigation" (three horizontal lines)
and then "Network & Internet".
c Click the WiFi slider or the word "Off". The word "On"
now appears next to the slider.
The Notebook searches for all available wireless networks
nearby and then displays them as a list ("Show available
networks").
d Click the network that you wish to connect to.
e Enter the network key (password) if necessary.
f Click "Connect". The Notebook connects to the selected
network.
The button for launching the Internet browser can be found
on the task bar at the bottom of the display. Click the little
blue "e" to launch the browser. To enter an Internet address
(URL), click the search bar displayed centrally at the top of
the window.
Reset
If the Notebook "freezes" and no longer responds, you can
reset it. Press and hold down the on/off switch for at least 10
seconds until the Notebook switches off. Wait for about 20
seconds and then turn the Notebook on normally.
Any files that have not been saved will be lost when the
Notebook is reset.
Switching off the Notebook
Standby
Briely press the on/off switch on the device to activate the
standby mode. Press it again quickly to take the Notebook
out of standby mode.
Shutting down
Open the Start menu. Click " " in the bottom area of the
Start menu and then tap "Shut down". The Notebook
shuts down.
Saving energy
Deactivate the WiFi function when it is not in use.
Only leave the power adapter connected to the socket until
the Notebook's battery is fully charged. In addition, always
disconnect the power adapter from the Notebook when you
are not charging the Notebook.
Reduce the display brightness under "System" "Display"
in the settings.
Activate standby mode or turn off the Notebook completely
if you are not using the Notebook.
1

Hulp nodig? Stel uw vraag in het forum

Spelregels
1

Forum

Peaq-PNB-V140V

Zoeken resetten

Misbruik melden

Gebruikershandleiding.com neemt misbruik van zijn services uitermate serieus. U kunt hieronder aangeven waarom deze vraag ongepast is. Wij controleren de vraag en zonodig wordt deze verwijderd.

Product:

Bijvoorbeeld antisemitische inhoud, racistische inhoud, of materiaal dat gewelddadige fysieke handelingen tot gevolg kan hebben.

Bijvoorbeeld een creditcardnummer, een persoonlijk identificatienummer, of een geheim adres. E-mailadressen en volledige namen worden niet als privégegevens beschouwd.

Spelregels forum

Om tot zinvolle vragen te komen hanteren wij de volgende spelregels:

Belangrijk! Als er een antwoord wordt gegeven op uw vraag, dan is het voor de gever van het antwoord nuttig om te weten als u er wel (of niet) mee geholpen bent! Wij vragen u dus ook te reageren op een antwoord.

Belangrijk! Antwoorden worden ook per e-mail naar abonnees gestuurd. Laat uw emailadres achter op deze site, zodat u op de hoogte blijft. U krijgt dan ook andere vragen en antwoorden te zien.

Abonneren

Abonneer u voor het ontvangen van emails voor uw Peaq PNB V140V bij:


U ontvangt een email met instructies om u voor één of beide opties in te schrijven.


Ontvang uw handleiding per email

Vul uw emailadres in en ontvang de handleiding van Peaq PNB V140V in de taal/talen: Nederlands, Duits, Engels als bijlage per email.

De handleiding is 0.34 mb groot.


U ontvangt de handleiding per email binnen enkele minuten. Als u geen email heeft ontvangen, dan heeft u waarschijnlijk een verkeerd emailadres ingevuld of is uw mailbox te vol. Daarnaast kan het zijn dat uw internetprovider een maximum heeft aan de grootte per email. Omdat hier een handleiding wordt meegestuurd, kan het voorkomen dat de email groter is dan toegestaan bij uw provider.

Andere handleiding(en) van Peaq PNB V140V

Peaq PNB V140V Gebruiksaanwijzing - Deutsch - 41 pagina's

Peaq PNB V140V Gebruiksaanwijzing - English - 41 pagina's

Peaq PNB V140V Snelstart handleiding - Français - 2 pagina's

Peaq PNB V140V Gebruiksaanwijzing - Français - 42 pagina's

Peaq PNB V140V Snelstart handleiding - Italiano, Polski - 2 pagina's


Uw handleiding is per email verstuurd. Controleer uw email

Als u niet binnen een kwartier uw email met handleiding ontvangen heeft, kan het zijn dat u een verkeerd emailadres heeft ingevuld of dat uw emailprovider een maximum grootte per email heeft ingesteld die kleiner is dan de grootte van de handleiding.

Er is een email naar u verstuurd om uw inschrijving definitief te maken.

Controleer uw email en volg de aanwijzingen op om uw inschrijving definitief te maken

U heeft geen emailadres opgegeven

Als u de handleiding per email wilt ontvangen, vul dan een geldig emailadres in.

Uw vraag is op deze pagina toegevoegd

Wilt u een email ontvangen bij een antwoord en/of nieuwe vragen? Vul dan hier uw emailadres in.


Info