651R/751Razur
31
ENGLISH
You can use the Volume knob or the / buttons to make changes to the
picture or press the Pic.Adj. button again to move to the next item.
Adjustments are available for Brightness, Contrast, Saturation, Sharpness
and Y/C Delay.
A second feature of the Picture Adjustment button on the unit’s front panel
is setting the output resolution for the scaler (this can also be done in the
OSD see earlier section).
If the front panel (not remote) button is pressed and held for approx. 10
seconds the 651R/751R will show the current scaler output resolution on
the 651R/751R’s front panel display. Holding for a further 10 seconds will
change the output resolution to the next available one (and allow time for the
TV to re-sync).
Holding further will continue the process and the video output will gradually
move through all possible resolutions 480p 60Hz, 576p 50Hz, 720p 50Hz,
720p 60Hz, 1080i 50Hz, 1080i 60Hz, 1080p 50Hz and 1080p 60Hz (and
back round).
This feature can be useful if the scaler output is accidentally set to a
resolution your TV does not support and picture is lost.
By pressing and holding the Pic.Adj. button, you can cause the 651R/751R
to scroll through all resolutions automatically. Simply let go of the button
when a visible video image at a suitable resolution appears.
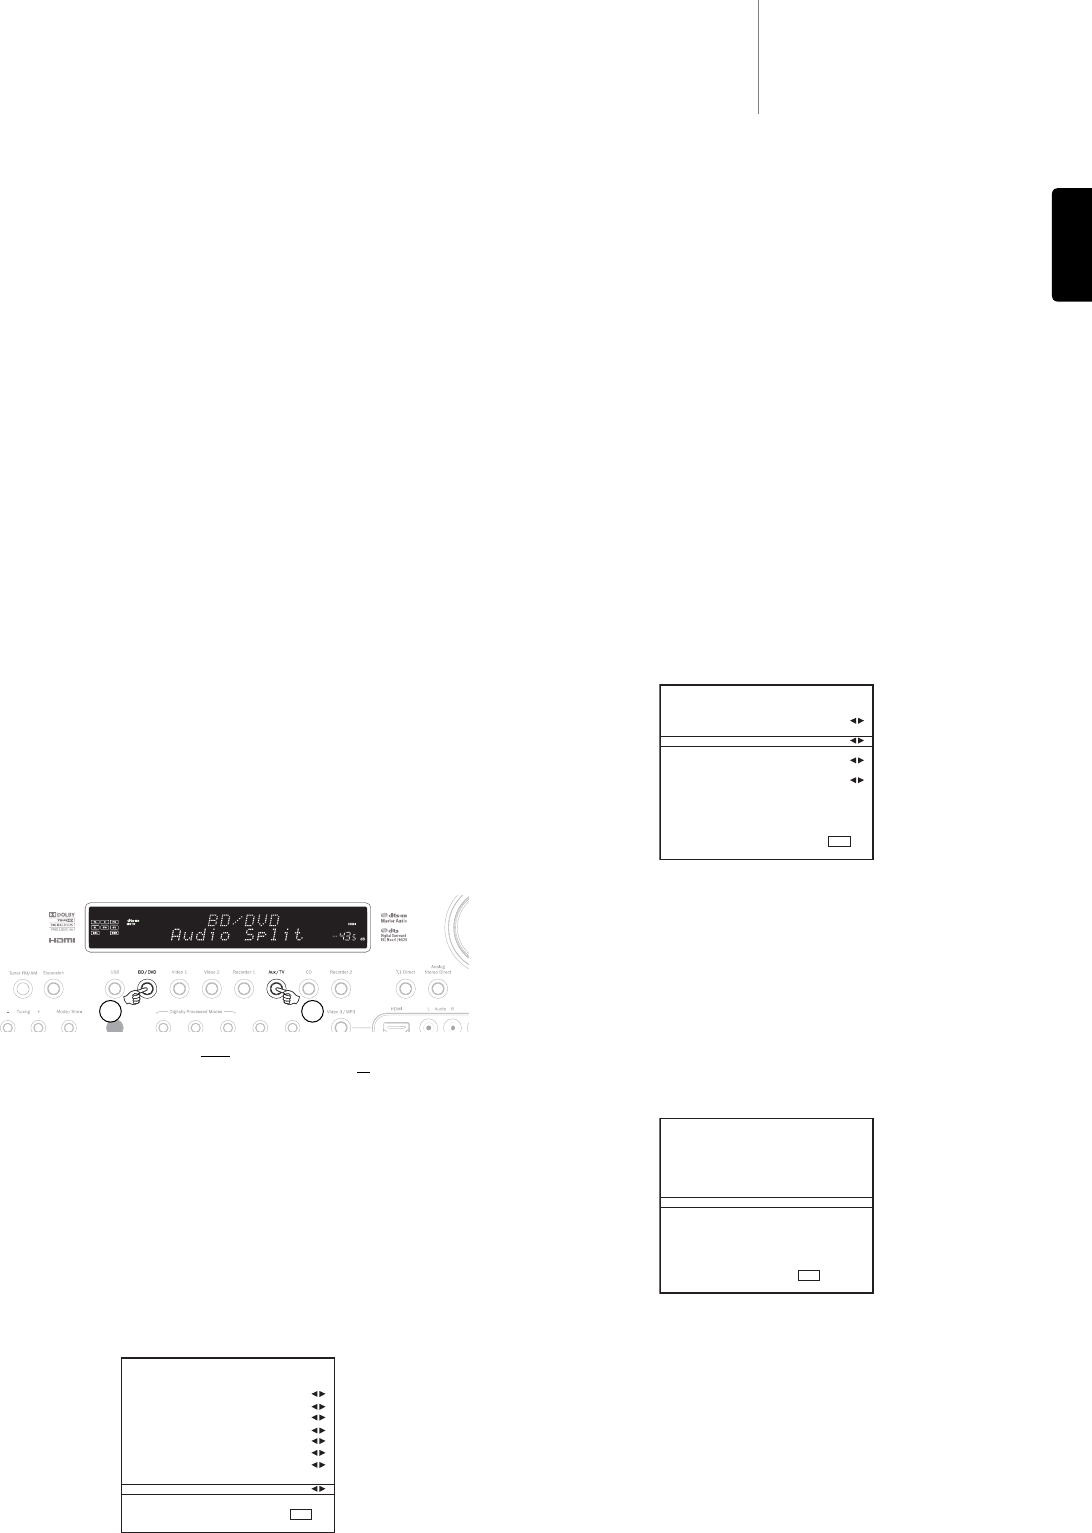
Audio split mode
In some circumstances the 651R/751R is able to allow the user to view one
source whilst listening to another. For instance you could watch the video of
a sports channel whilst getting an audio commentary from another such as
the Tuner.
To perform Audio Split:
1. Select the source you wish to watch in the normal way.
2. Press and hold the button on the front panel (not remote) for the source
you wish to listen to. After 4 seconds approx “Audio Split” will scroll across
the display and you will now be listening to that source instead. Video will
not have changed.
The 651R/751R allows splitting from
any source whatever its video input
type (Composite, S-Video, Component or HDMI) but only to
sources where
analogue or digital audio is the current audio input type, not HDMI.
If the combination is not allowed “Mode Unavailable” will instead scroll
across the display and no change will be made. To cancel audio split mode
simply select a new source and normal operation will be resumed.
HDMI A and B outputs
The 651R/751R has two HDMI outputs allowing the connection of two TVs
or a TV and projector etc. Both outputs show the same picture. HDMI A also
features an Audio Return Channel for TVs that feature this (see earlier
section).
To switch between only HDMI A active, HDMI B active or HDMI A and B both
active select the HDMI/Component Assign menu in the OSD and highlight
the HDMI Out menu item. Use the left and right buttons to scroll though the
options.
Alternatively, press and hold the Pic. Adj. button when the OSD is on, scrolls
the output from HDMI A to HDMI B to HDMI A+B and so on.
Note: The 651R/751R also shows the active HDMI outputs on the front
panel display of the unit itself whenever the OSD is on.
This is so you can still see what the active outputs are even if the OSD
disappears if you turn off the HDMI output you have connected to your TV.
HDMI Bypass
The 651R/751R features an HDMI bypass mode that copies the incoming
HDMI to the output without internal reception or processing.
This does not necessarily mean all future standards will pass through
however if they use new pixel clock rates or bit depths that the 651R/751R
HDMI 1.4 chipset cannot support.
This feature has been included to allow some measure of compatibility with
any future unsupported audio/video formats as they can be sent directly to
the TV/Projector.
It can also be useful if you have a TV with built in speakers and would like to
send the incoming source to the TV for decoding rather than have the
651R/751R do the decoding.
To select HDMI Bypass select the Advanced Setup menu from the main OSD
screen, then the Advanced Audio menu and highlight the HDMI Bypass menu
item.
Uses the Up/Down buttons to switch between Normal (HDMI reception) and
Bypass modes.
Trigger Outputs
The 651R/751R feature two trigger outputs that can be used to signal to
external devices for simple automation functions.
Examples might be using the Triggers to open or close curtains, tell a
projection screen to roll up and down or turning on/off external power amps
etc.
The outputs are 0V for Off and 12V for On at up to 100mA. The connections
are 3.5mm mono mini-jacks, with the tip as the output, ring as ground.
To choose how the triggers operate select the Advanced Setup menu from
the Main Menu, then select the Trigger A (or Trigger B) menu item, the
options are:
Manual Select: Yes/No – When enabled this means the trigger output can
be toggled On and Off by the matching Trigger button on the remote control.
If disabled these buttons will have no effect.
Note: When enabled the remote buttons can be used to toggle the outputs
(override the status) even if they are also following the status of a zone or
source selection as below.
Follow Standby: Yes/No/Zone 2 – this means the trigger output can follow
the On/Off status of the Main Zone or alternatively that of Zone 2.
Sources: Yes/No – the trigger output can be made to go high when one or
more specific sources is selected.
Note: Follow Standby and selecting any Sources are mutually exclusive
options.
1 2