584776
1
Verklein
Vergroot
Pagina terug
1/48
Pagina verder
1
Dansk ............. 19
Català ............. 16
Español ........... 13
Italiano ........... 10
Deutsch ............. 7
Français ............ 4
English .............. 1
Norsk .............. 37
Lietuvių .......... 34
Latviešu .......... 31
Suomi ............. 28
Eesti ............... 25
Nederlands ...... 22
Svenska .......... 43
Português ....... 40
4. Select a connection method and prepare for software installation
Windows
1. For Windows 7 or lower, do not connect the USB cable before installing
the software. The installation process prompts to connect the cable at
the appropriate time. If the cable is already connected, restart the printer
when installation prompts to connect the cable.
2. Continue to “5. Locate or download the software installation les.”
NOTE: During software installation, select the option to Directly connect
this computer using a USB cable.
Mac
1. Connect the USB cable between the computer and the printer before
installing the software.
2. Continue to “5. Locate or download the software installation les.”
Wireless network connection
(M177fw wireless model only)
1. To connect the printer to a wireless (Wi-Fi) network, on the printer control
panel, touch the Wireless button.
2. Touch Wireless Menu, and then touch Wireless Setup Wizard.
Select the network name from the SSID list, or enter the network name
if it is not listed.
3. Use the keyboard to enter the passphrase, and then touch the OK button.
4. Wait while the printer establishes a network connection.
5. On the printer control panel, touch the Network button. If an IP
address is listed, the network connection has been established. If not,
wait a few more minutes and try again. Note the IP address for use
during software installation. Example IP address: 192.168.0.1
6. To print from a computer, continue to “5. Locate or download the
software installation les.” To print from a phone or tablet only, continue
to “8. Mobile and wireless printing.”
NOTE: During software installation, select the option to Help me set up a
rst-time wireless connection.
Manually congure the IP address
For information on how to manually congure the IP address, see the printer
User Guide, go to:
www.hp.com/support/ljMFPM176series
www.hp.com/support/ljMFPM177series
Wired (Ethernet) network connection
Use a standard network cable.
1. Connect the network cable to the printer and to the network. Wait a few
minutes for the printer to acquire a network address.
2. On the printer control panel, touch the Network button. If an IP address
is listed, the network connection has been established. If not, wait a few
more minutes and try again. Note the IP address for use during software
installation. Example IP address: 192.168.0.1
To manually congure the IP address, see “Manually congure the IP
address.”
3. Continue to “5. Locate or download the software installation les.”
NOTE: During software installation, select the option to Connect through
a network.
www.hp.com/support/ljMFPM176series www.register.hp.com
www.hp.com/support/ljMFPM177series
Color LaserJet Pro MFP M176, M177
Getting Started Guide
USB connection directly between the
printer and the computer
Use an A-to-B type USB cable.
IMPORTANT:
Follow
Steps 1 - 3 on
the printer hardware setup
poster, then continue with
Step 4 below.
1

Hulp nodig? Stel uw vraag in het forum

Spelregels
1

Forum

HP-Color-LaserJet-Pro-MFP-M177

Zoeken resetten

  • Printer blijft bij opstarten initiëren. aan en uitzetten helpt niet Gesteld op 2-2-2024 om 14:54

    Reageer op deze vraag Misbruik melden
  • STREPENARTEFACTEN BIJ UITPRINTEN. HOE NEUTRALISEREN? Gesteld op 28-4-2023 om 21:45

    Reageer op deze vraag Misbruik melden
  • Hoe kan ik een lettertype op een document vergroten Gesteld op 24-9-2022 om 23:56

    Reageer op deze vraag Misbruik melden
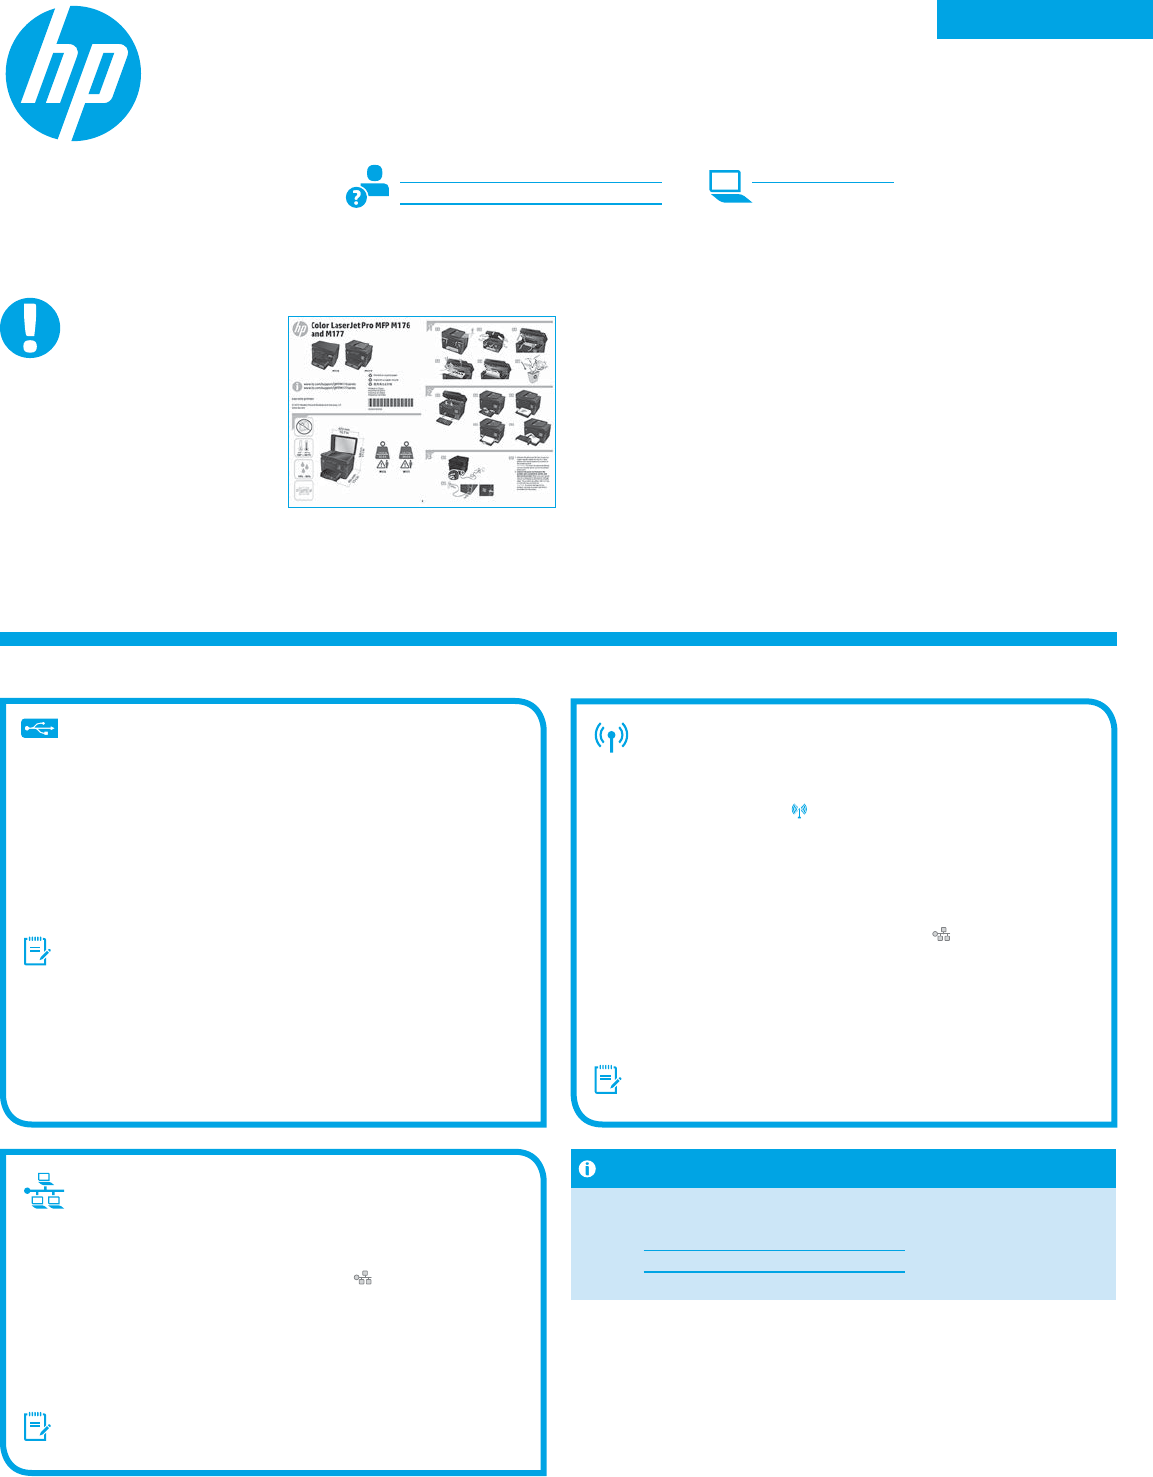
  • Ik heb een printer HP Color laser MFP M177fw, maar geen manual en ik ben ook niet bekend met het apparaat.
    Nu heb ik het bovenste deksel geopend en het blijft geopend staan.
    Hoe kan ik het weer sluiten, naar beneden krijgen? Moet ik er stevig op drukken of moet ergens een palletje omgezet worden of moet ik een knopje indrukken? Gesteld op 25-7-2022 om 12:23

    Reageer op deze vraag Misbruik melden
  • printer hp deskjet 2540 "apparaatstatus" kan niet meer printen Gesteld op 16-5-2022 om 17:07

    Reageer op deze vraag Misbruik melden
  • Hoe scan ik een bestand die niet vanuit de computer komt in op het apparaat zodat ik deze bijvoorbeeld kan doorsturen Gesteld op 2-5-2020 om 12:04

    Reageer op deze vraag Misbruik melden
    • Boven in de invoer leggen (tekst omhoog) en dan op scannen drukken (op bureaublad icoontje van je printer, rechtermuisknop)
      Opslaan,of opslaan als, en dan in je mail toevoegen. Succes Geantwoord op 3-5-2020 om 12:56

      Waardeer dit antwoord (5) Misbruik melden
  • 6
  • ik krijg mijn laser toner cartridge niet uit het apparaat.Ik wil graag een nieuwe installeren.
    hij blokkeert als het ware.
    weet iemand een oplossing hiervoor? Gesteld op 16-4-2020 om 14:48

    Reageer op deze vraag Misbruik melden
  • mijn printer blijft zeggen dat er papier in mijn scan vastzit maar er zit niks in wat moet ik nu?? Gesteld op 27-3-2020 om 18:27

    Reageer op deze vraag Misbruik melden

Misbruik melden

Gebruikershandleiding.com neemt misbruik van zijn services uitermate serieus. U kunt hieronder aangeven waarom deze vraag ongepast is. Wij controleren de vraag en zonodig wordt deze verwijderd.

Product:

Bijvoorbeeld antisemitische inhoud, racistische inhoud, of materiaal dat gewelddadige fysieke handelingen tot gevolg kan hebben.

Bijvoorbeeld een creditcardnummer, een persoonlijk identificatienummer, of een geheim adres. E-mailadressen en volledige namen worden niet als privégegevens beschouwd.

Spelregels forum

Om tot zinvolle vragen te komen hanteren wij de volgende spelregels:

Belangrijk! Als er een antwoord wordt gegeven op uw vraag, dan is het voor de gever van het antwoord nuttig om te weten als u er wel (of niet) mee geholpen bent! Wij vragen u dus ook te reageren op een antwoord.

Belangrijk! Antwoorden worden ook per e-mail naar abonnees gestuurd. Laat uw emailadres achter op deze site, zodat u op de hoogte blijft. U krijgt dan ook andere vragen en antwoorden te zien.

Abonneren

Abonneer u voor het ontvangen van emails voor uw HP Color LaserJet Pro MFP M177 bij:


U ontvangt een email met instructies om u voor één of beide opties in te schrijven.


Ontvang uw handleiding per email

Vul uw emailadres in en ontvang de handleiding van HP Color LaserJet Pro MFP M177 in de taal/talen: Alle talen als bijlage per email.

De handleiding is 8,56 mb groot.


U ontvangt de handleiding per email binnen enkele minuten. Als u geen email heeft ontvangen, dan heeft u waarschijnlijk een verkeerd emailadres ingevuld of is uw mailbox te vol. Daarnaast kan het zijn dat uw internetprovider een maximum heeft aan de grootte per email. Omdat hier een handleiding wordt meegestuurd, kan het voorkomen dat de email groter is dan toegestaan bij uw provider.

Andere handleiding(en) van HP Color LaserJet Pro MFP M177

HP Color LaserJet Pro MFP M177 Gebruiksaanwijzing - Nederlands - 124 pagina's

HP Color LaserJet Pro MFP M177 Gebruiksaanwijzing - Deutsch - 126 pagina's

HP Color LaserJet Pro MFP M177 Gebruiksaanwijzing - English - 122 pagina's

HP Color LaserJet Pro MFP M177 Installatiehandleiding - Alle talen - 2 pagina's


Uw handleiding is per email verstuurd. Controleer uw email

Als u niet binnen een kwartier uw email met handleiding ontvangen heeft, kan het zijn dat u een verkeerd emailadres heeft ingevuld of dat uw emailprovider een maximum grootte per email heeft ingesteld die kleiner is dan de grootte van de handleiding.

Er is een email naar u verstuurd om uw inschrijving definitief te maken.

Controleer uw email en volg de aanwijzingen op om uw inschrijving definitief te maken

U heeft geen emailadres opgegeven

Als u de handleiding per email wilt ontvangen, vul dan een geldig emailadres in.

Uw vraag is op deze pagina toegevoegd

Wilt u een email ontvangen bij een antwoord en/of nieuwe vragen? Vul dan hier uw emailadres in.


Info